
Some days on this restoration you show up with momentum. Other days you show up, fold your arms, and stare at the bike for twenty minutes trying to figure out what could possibly take the least amount of effort. This was one of those days. The good news is my DRC Spring Compression tool from Revzilla showed up fast, ordered Saturday and in hand by Monday. The shocks are still not coming off today though. I am just not feeling it.
So instead I went looking for low hanging fruit, and the CB750F oil tank removal fit the bill. Three bolts, two hoses, quick and easy. Exactly what I needed after a busy few days.
Table of Contents
A Few Side Cover Casualties
Before getting to the oil tank, a quick note on something that happened almost by accident. There were old bits of side cover material left inside the mounts and my dad wants to save all the side cover pieces. His plan is to lay some steel screen behind the cracks and plastic weld everything back together, which should make it rock solid again once it is done.
The problem is these pieces have gotten incredibly brittle with age. I went to pull one out and it snapped almost immediately. I was not pulling hard. It just could not take any pressure at all. I got the rest of the pieces out carefully with a screwdriver and avoided any more breakage, but that first piece is a reminder of just how fragile fifty-year old plastic gets. Everything is bagged and set aside for our attempt at plastic welding.
Getting the CB750F Oil Tank Off
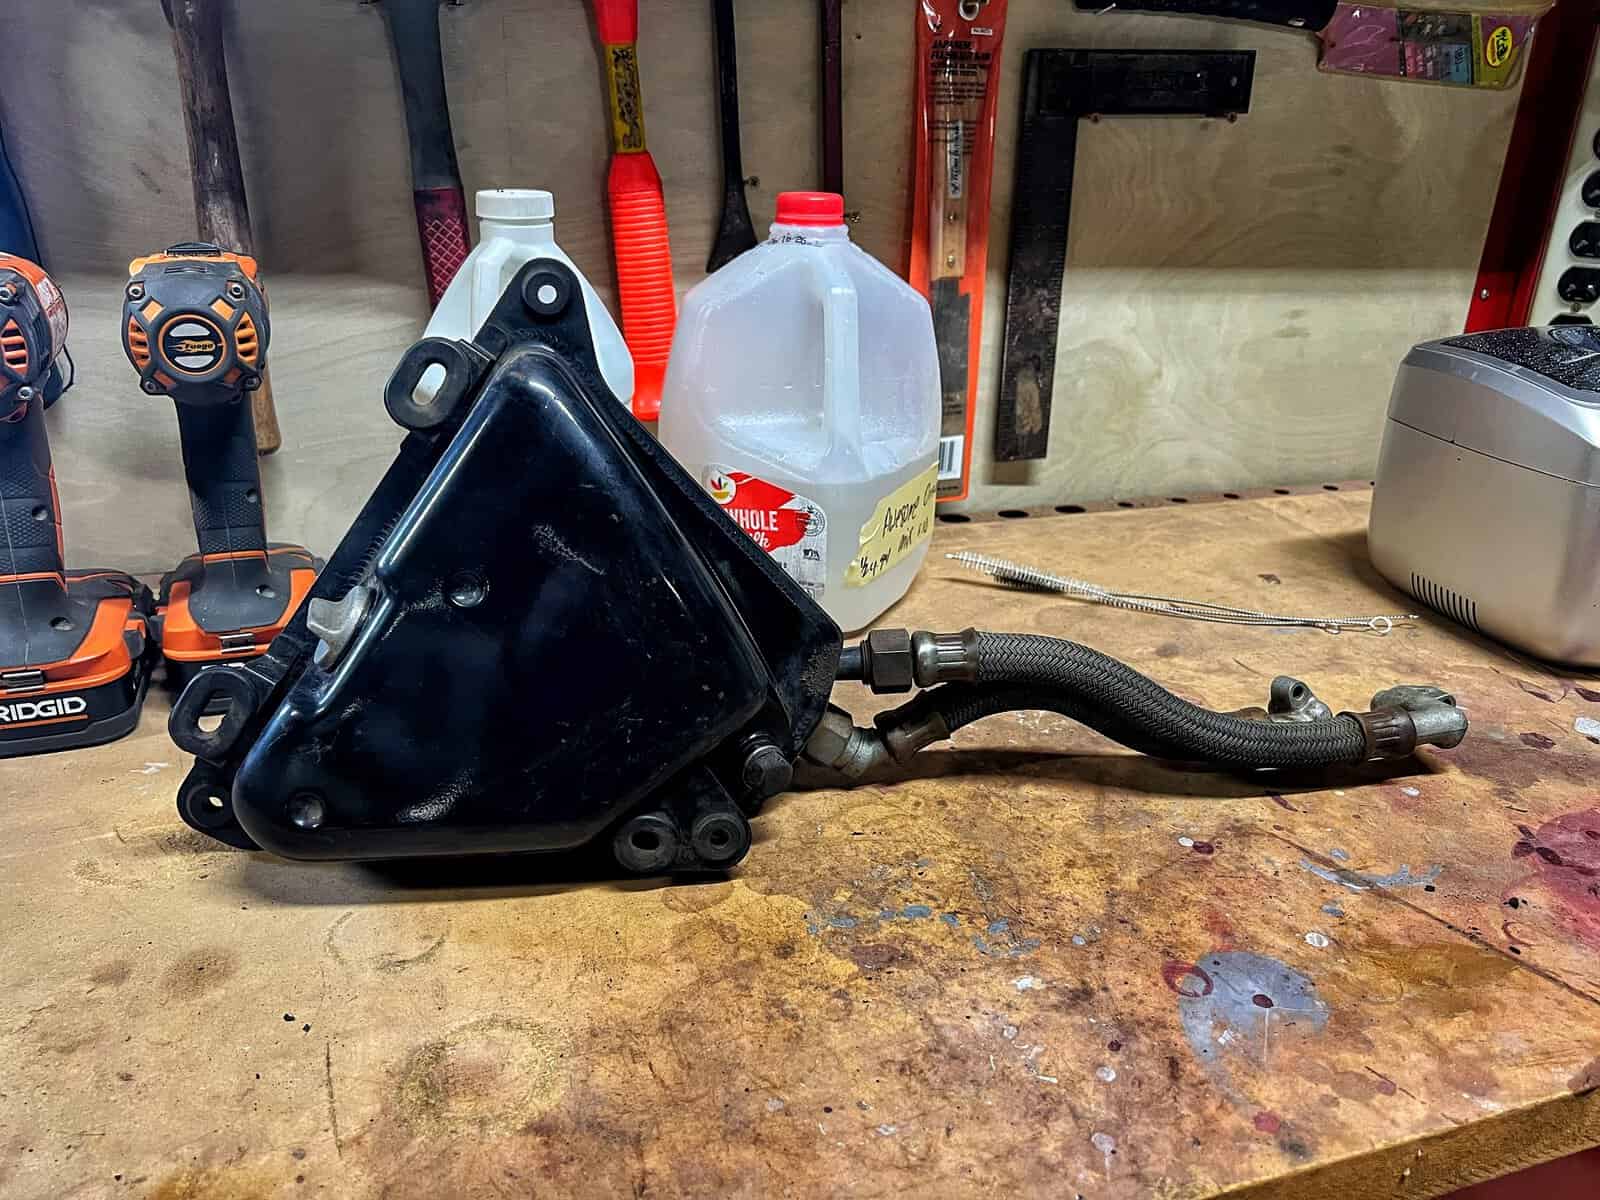
This is the part of the day that actually went the way I hoped. The oil tank came off clean. Three bolts, three washers, two hoses, and it was free. No fighting, no surprises, no mystery fasteners. After some of the sessions I have had on this bike, an easy removal like this feels like a gift.
There was an old sticker still legible on the tank listing the engine oil capacity at 3.5 liters, or 3.7 US quarts, with a recommended oil and filter change every 3,000 kilometers, which works out to somewhere between 1,500 and 2,000 miles. That is a short interval by modern standards. Makes you wonder what oil technology looked like back in the mid-70s that called for changes that frequent.

Cleaning Up the Oil Tank
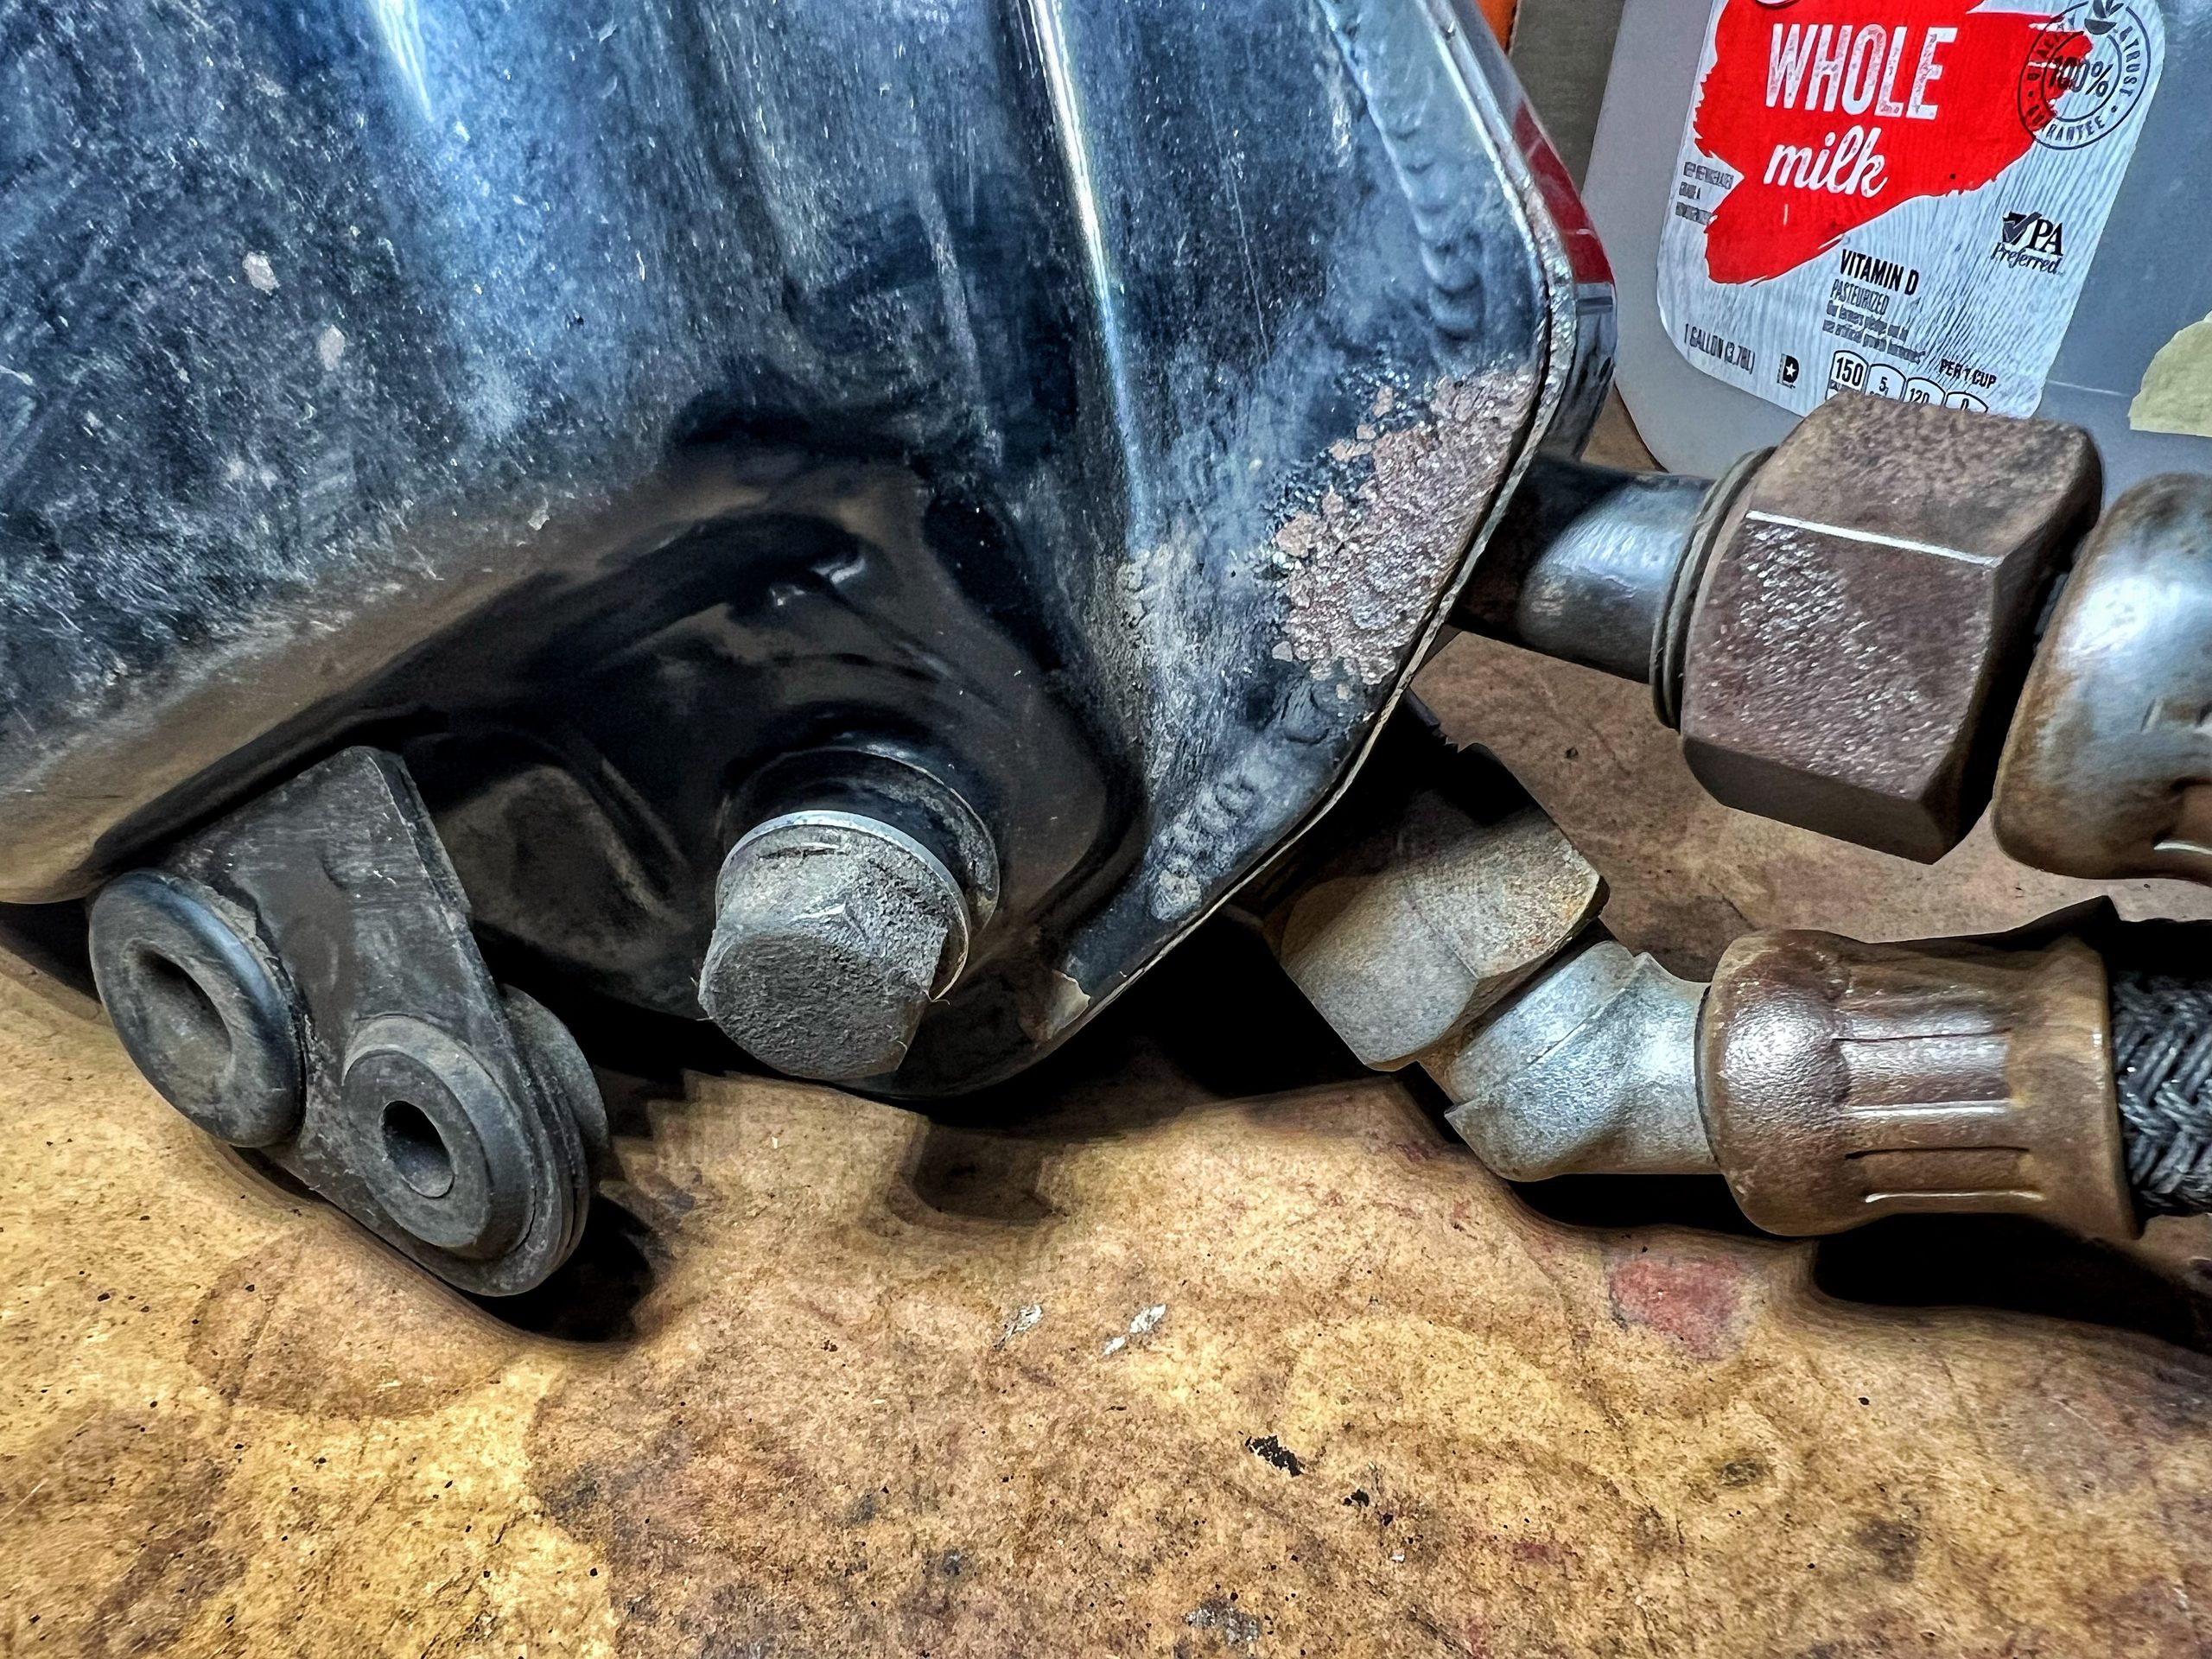
Cleanup followed the usual process at this point. A blast of air to knock off loose dust and dirt, then degreaser to start cutting into what was left. There were a few spots where the paint had lifted and surface rust had taken hold, mostly low on the tank where water naturally collects and sits. Water runs down, pools in the low spots, and rust follows.
The wire wheel on the Dremel knocked the loose paint and surface rust off those spots with almost no effort, which is always satisfying after some of the harder cleaning jobs on this project. A little touch-up paint on those spots and the tank will be in good shape. I am leaving the two hoses attached for now and will pull them when it is actually time to paint.
If you are doing similar wire wheel work on an old bike, wear actual safety glasses. I am fully channeling my inner Norm Abrams on this one. Loose wires from a worn out wire wheel will absolutely find their way into your shirt, and the idea of one finding your eye instead is not something I want to test.

Where the CB750F Stands Right Now
I am feeling pretty good about where the back half of this bike is. The oil tank is done. A handful of components remain before I can really call the rear section finished, not counting the seat, which feels like its own separate project at this point given the rust I found on the seat pan a couple sessions back.
Once those last few pieces come off, the plan is to start touching up the frame from the engine back, then shift attention to the front end. The rear wheel is still sitting on the floor of the garage waiting for its turn and I have not forgotten about it. That cleanup is going to be substantial given the corroded spokes.
The bigger thing on my mind right now is the rear fork, (I keep calling it a swingarm in the video). My dad raised a real concern when we first got the bike on the lift. He was not sure if it runs on a simple bushing or on loose bearings packed in grease, and if it is the bearing setup, getting it apart is easy but getting it back together without knocking bearings loose is apparently a real chore. That is a story for its own session once I actually pull the trigger on it.
Ride With Me
If you want to keep up with the CB750F restoration as it moves through the back half and toward the front end, subscribe to the WaltInPA YouTube channel so you catch every session. If you know someone working through their own vintage bike project, share this one with them, especially if they are debating an easy win day of their own. And if you want to weigh in on what I should use for shop rags or anything else on this build, come hang out in the WaltInPA Discord where good people talk shop.
Recent Posts
The four of us sat down for episode 6 of Kickstand Conversations to talk about something we’ve all done at one point or another: strapping a camera to a motorcycle and talking to it. Trekkie,...
I'm going to be honest with you. I almost didn't ride last Sunday. The group ride fell apart through the week, the weather had been good all week instead of just Sunday like the forecast called for,...