
Not every session on the CB750F is a two-hour war with a grease trap. Sometimes it is more of a check-in, a few parts off the bike, a few problems moving toward solutions. That is pretty much what this one was. The CB750F rear pegs came off, the shock situation got some clarity from the shop manual, and the community came through in a way that genuinely surprised me.
Also I got new gloves. Harbor Freight had their nitrile gloves on sale for 50% off and I made it down there before the sale ended. Six bucks. The last pair did not exactly survive contact with throttle body cleaner so the timing worked out.
Table of Contents
What the Shop Manual Says About the CB750F Rear Shocks
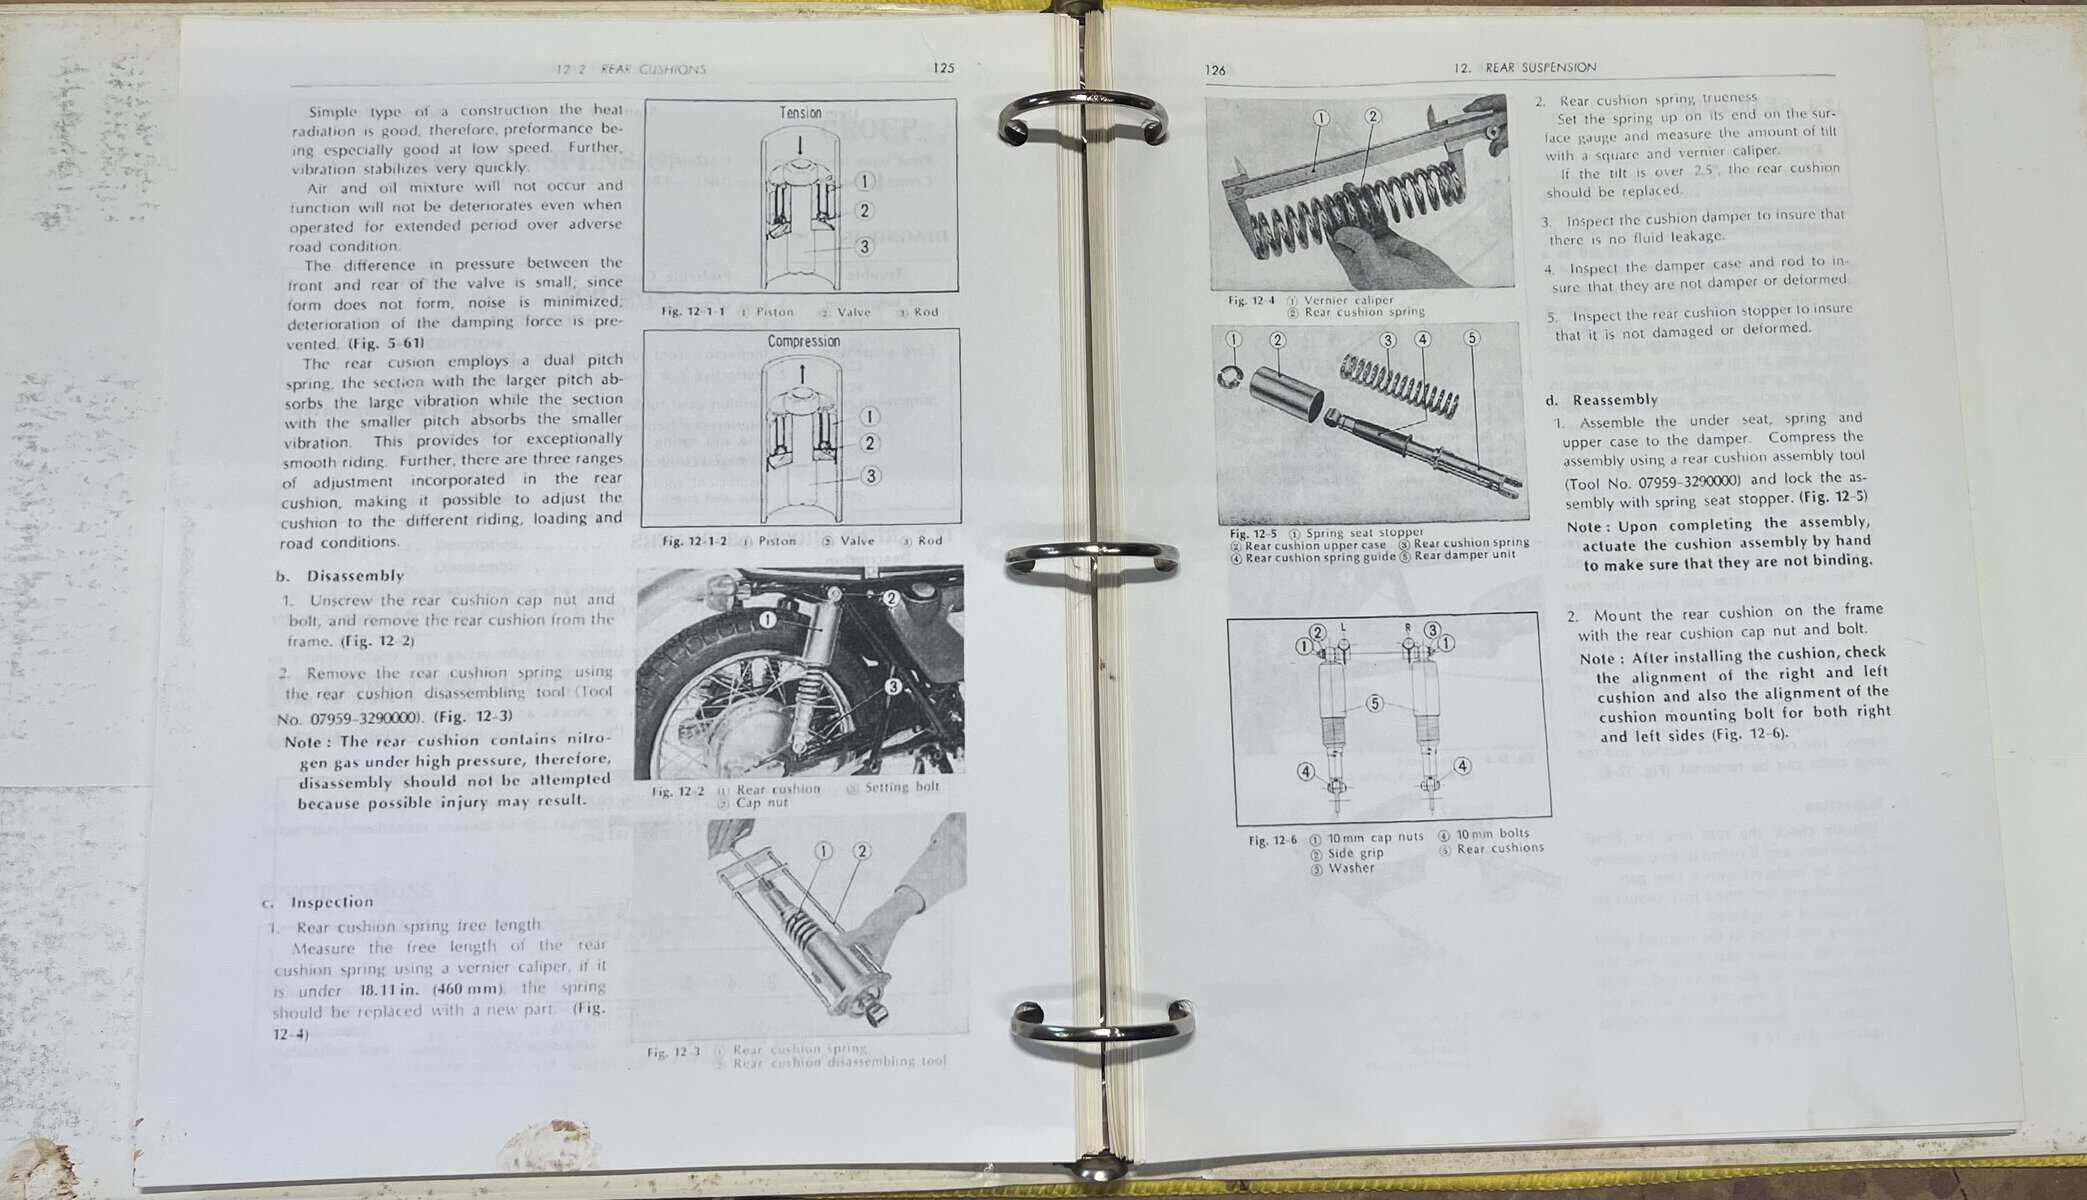
I had been putting the shocks off because I did not want to fight around the coils to clean them only to find out I needed to pull the spring anyway for a service job. So I did what I probably should have done earlier and pulled out the shop manual.
The short version is that the shocks are not really serviceable in the traditional sense. The manual does walk you through disassembly using a spring compressor and gives you a specific part number for the Honda tool you need to compress the spring and pop the cap. It also tells you to check the seal around the piston because these are filled with nitrogen and hydraulic oil. If that seal is leaking, the damper is effectively done and needs to be replaced rather than rebuilt.
I went looking for the OEM tool listed in the manual and came up empty. Too old. The part number did not lead anywhere useful. I did find a spring compressor on eBay listed for late 70s and early 80s CB750F, 900F, and 1100F applications, which is basically the trifecta of bikes I want to own at some point. The last one that sold went for around $112 plus shipping, and I could not bring myself to spend that on a tool I will use maybe three times.
Instead I found a generic motorcycle and ATV spring compressor on Revzilla for $27 . It has long legs that should work on this style of rear suspension and a lot of other bikes. That is the kind of tool that earns its keep over time rather than sitting on a shelf after one job. Of course I did not stop at $27 because Revzilla offered me their RPM membership for $40 more, which gets you $15 back on your next order, free shipping, and some cash back. I ran the numbers and it made sense given that I am going to be ordering other stuff from them anyway. Batteries, spark plugs, brake pads, and chains are all in my future on this bike and they have exact fit parts listed for the 750F.
The spring compressor should arrive in a few days. The shocks are not getting touched until then.
Pulling the CB750F Rear Pegs
With the shocks on hold I moved to something simpler. The rear pegs were next on the list and they looked straightforward enough. They came off without much of a fight, which felt like a small victory after some of the sessions I have had lately.
One thing worth noting for anyone doing similar work: the cotter pin that holds the pivot pin in place was rusted through and snapped off during removal. I used a punch to drift the pivot pin out so I could get the whole assembly apart and clean it properly. The pin itself is a little sticky now and will some additional attention before I can get a new cotter pin in (I don’t have a punch small enough to try and knock the piece of cotter pin out). I left a note in the bag so I do not forget when it comes time to reassemble. That is the kind of small detail that will absolutely bite you six months from now if you do not write it down.
The pegs themselves are corroded. Whether there is anything salvageable under that corrosion I genuinely do not know yet. They went into the ultrasonic cleaner for a soak and then got a wire brushing. I may wind up having to paint the exposed metal depending on what is underneath. Would not be the first time something on this bike surprised me in either direction.

The Tank Situation Has a Path Forward
This is the part of the update I am most excited about.
I reached out to my friend Jeff, who is well known in the local car show scene and has built more than a few vehicles from the ground up. I asked him if he could cut a patch into the bottom of the tank and weld it closed, or if he knew someone who could. He got back to me quickly and said yes, he can do it.
He did flag one thing worth understanding if you are ever dealing with a similar situation. When a gas tank develops rust bad enough to eat through, the metal surrounding the hole is often compromised even if it looks solid from the outside. The rust thins the metal out and if you start welding on thin metal you can create new holes while chasing the original one. His advice was to be prepared for the patch to end up larger than the hole itself so he can get into clean metal on all sides. That is completely fine with me. The hole is on the bottom of the tank and you would have to get up underneath the bike to see it. Whatever size the patch needs to be, it needs to be.
He also needs the petcock installed and working and a gas cap so he can pressure test the tank after the weld to confirm there are no leaks. Which brings up the key situation.

The Key Problem
The CB750F uses one key for the ignition, the gas cap, and the seat latch. The key was lost at some point and without it I cannot get the gas cap on and off, which means I cannot hand Jeff everything he needs for the tank repair. My dad had found a lead on sourcing a duplicate key since there are apparently only about eight key patterns in existence for these bikes. You take the number off the ignition and order the corresponding key. Simple enough. Except the person who had the keys has a full mailbox and that avenue has gone quiet for now.
He is looking into having a key made from the ignition at a locksmith instead. A couple of good ones are in the area. I do not know exactly what that process looks like but it seems like the most reliable path at this point. The tank is not at the top of the build order right now so I have time, but I want to get this moving before it becomes urgent.
The Community Has Been Showing Up
Something I did not expect when I started this project was how much the people around it would want to be involved. When I announced the CB750F restoration on the WaltInPA Discord, I mentioned Pat and Jeff by name as people I might lean on for the hard stuff. Since then a few more have stepped up.
Mark from the Smoke and Steel podcast reminded me that our friend Preston is a mechanic with a background in old British cars and has put together a motorcycle or two, including what I believe was a Ducati minibike of some kind and possibly a Triumph. Goofy from his own YouTube channel also reached out and offered to come over and lend a hand whenever I need an extra set of hands on something.
Between my dad, Jeff, Pat, Preston, Goofy, and my friend Eddie who does his own motorcycle work, I have a pretty solid support network for this thing. I do not feel like I am figuring this out alone, which matters a lot when you are not mechanically confident to begin with.
One More Thing I Found Poking Around
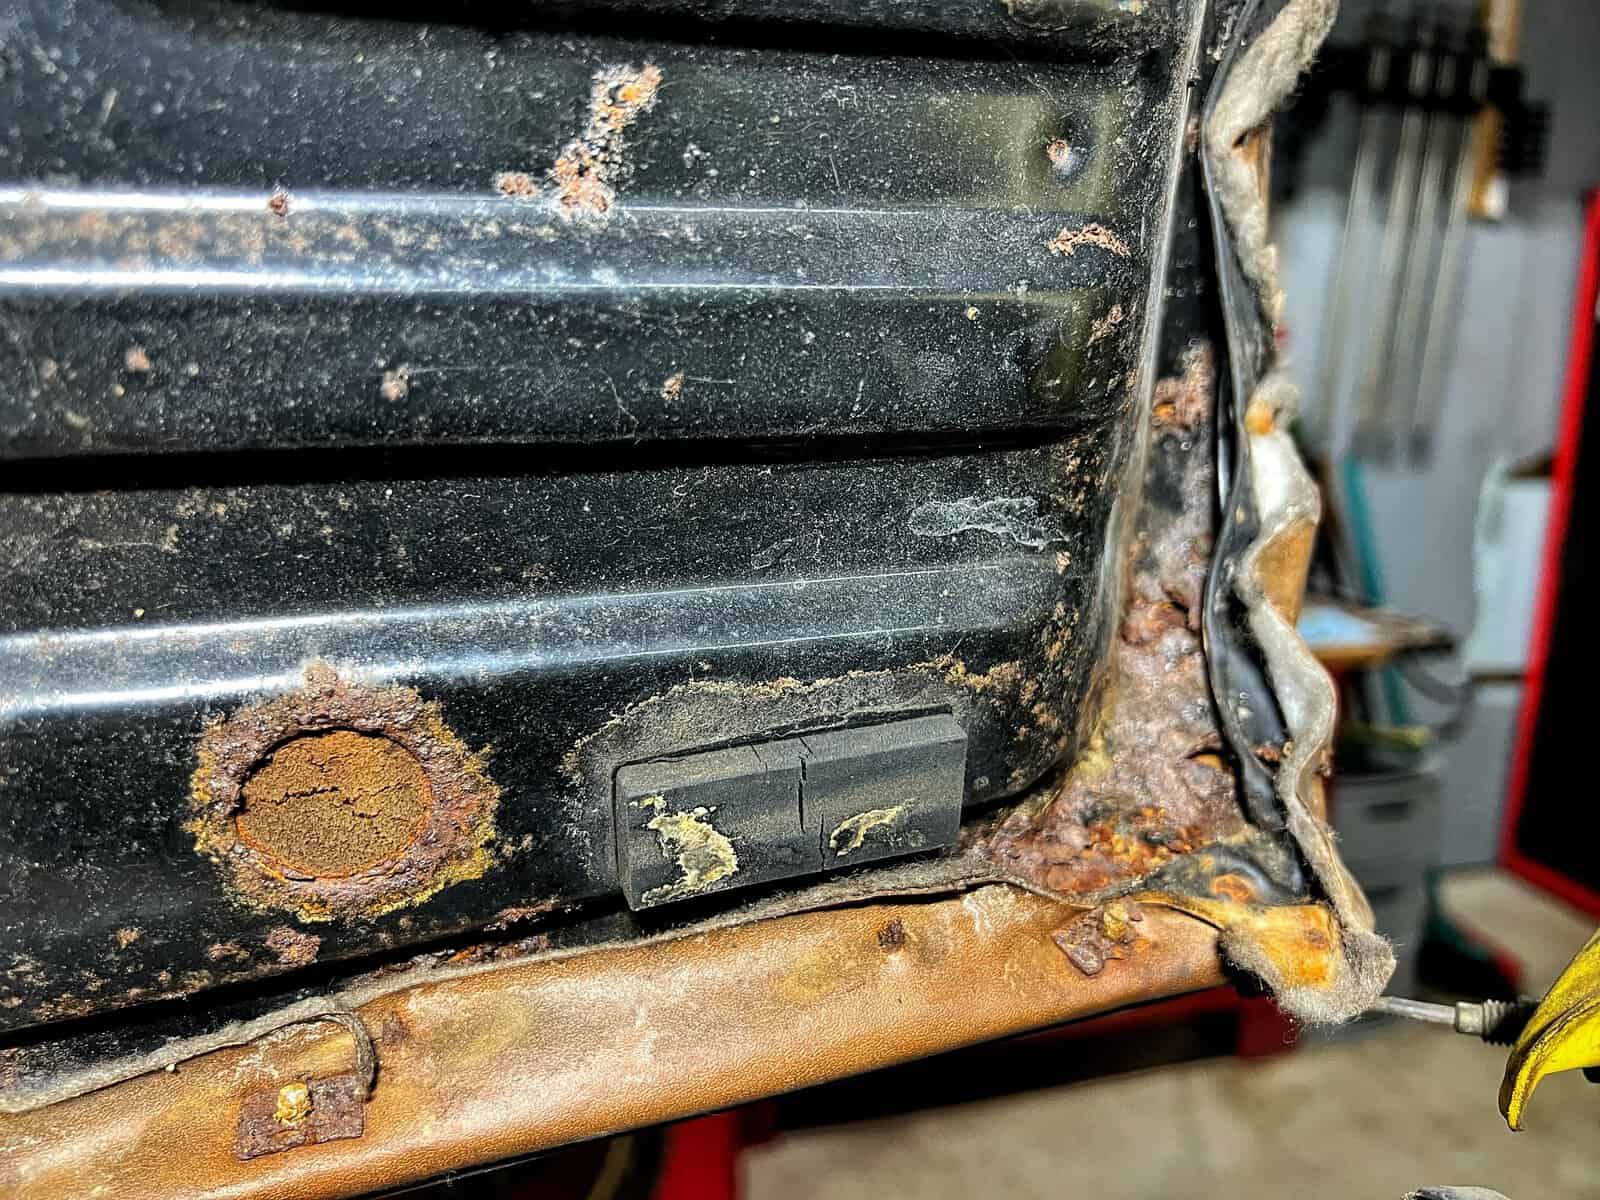
While I was working I noticed the seat pan has more rust going on than I had realized. The foam padding on the underside has been holding moisture against the metal for decades and it shows. There are some deep spots. I am hoping I can lay some fiberglass in there to reinforce the corners without having to cut away metal, but I will know more once I get the seat off and can look at it properly.
The seat will also need to be recovered. You can get a replacement cover for a CB750F for somewhere around $170 to $180 through the vintage Honda parts suppliers. But there is a restoration guy over in Pottstown who fixed several splits in the vinyl on my Bagster MT-09 Comfort Seat $60 and did a great job. I am going to reach out to him and see what it would cost to just have the seat done in brown vinyl to match what is there. Might be a better result than an off the shelf cover and might not cost much more. Worth a conversation.
Also on the Revzilla side, I noticed they have an exact fit electronic voltage regulator for the 750F. Around $130 to $140. That is going on the list for down the road.
Ride With Me
If you want to follow the CB750F build as it keeps moving, subscribe to the WaltInPA YouTube channel so you catch every session as it goes up. If you know someone who is into vintage Honda builds or is thinking about taking on a project bike of their own, share this post with them. And if you want to be part of the conversation, come hang out in the WaltInPA Discord where the community that is helping make this build happen spends its time.
Recent Posts
The four of us sat down for episode 6 of Kickstand Conversations to talk about something we’ve all done at one point or another: strapping a camera to a motorcycle and talking to it. Trekkie,...
I'm going to be honest with you. I almost didn't ride last Sunday. The group ride fell apart through the week, the weather had been good all week instead of just Sunday like the forecast called for,...