
Progress on this build tends to come in two flavors. Either something comes off easier than expected or you spend an hour disconnecting wires one at a time before the thing you actually wanted to remove will even consider moving. CB750F battery box removal was firmly in the second category.
This was also a session where a handful of other threads got some forward motion. New lighting is up in the garage, the seat lock is cleaned and cataloged, the brake caliper rebuild kit decision finally got made, and the rear wheel got its first real assessment. A lot of slow movement across a wide front.
Table of Contents
Garage Improvements
I finally got a proper 10,000 lumen LED fixture mounted above the work area, which makes an immediate difference in being able to actually see what is going on. The battery-operated Dremel that has been struggling with torque throughout this build also got replaced with a new corded rotary tool, which should handle the rust cleanup work without slowing down mid-pass the way the old one did.
Seat Lock Cleaned and Cataloged
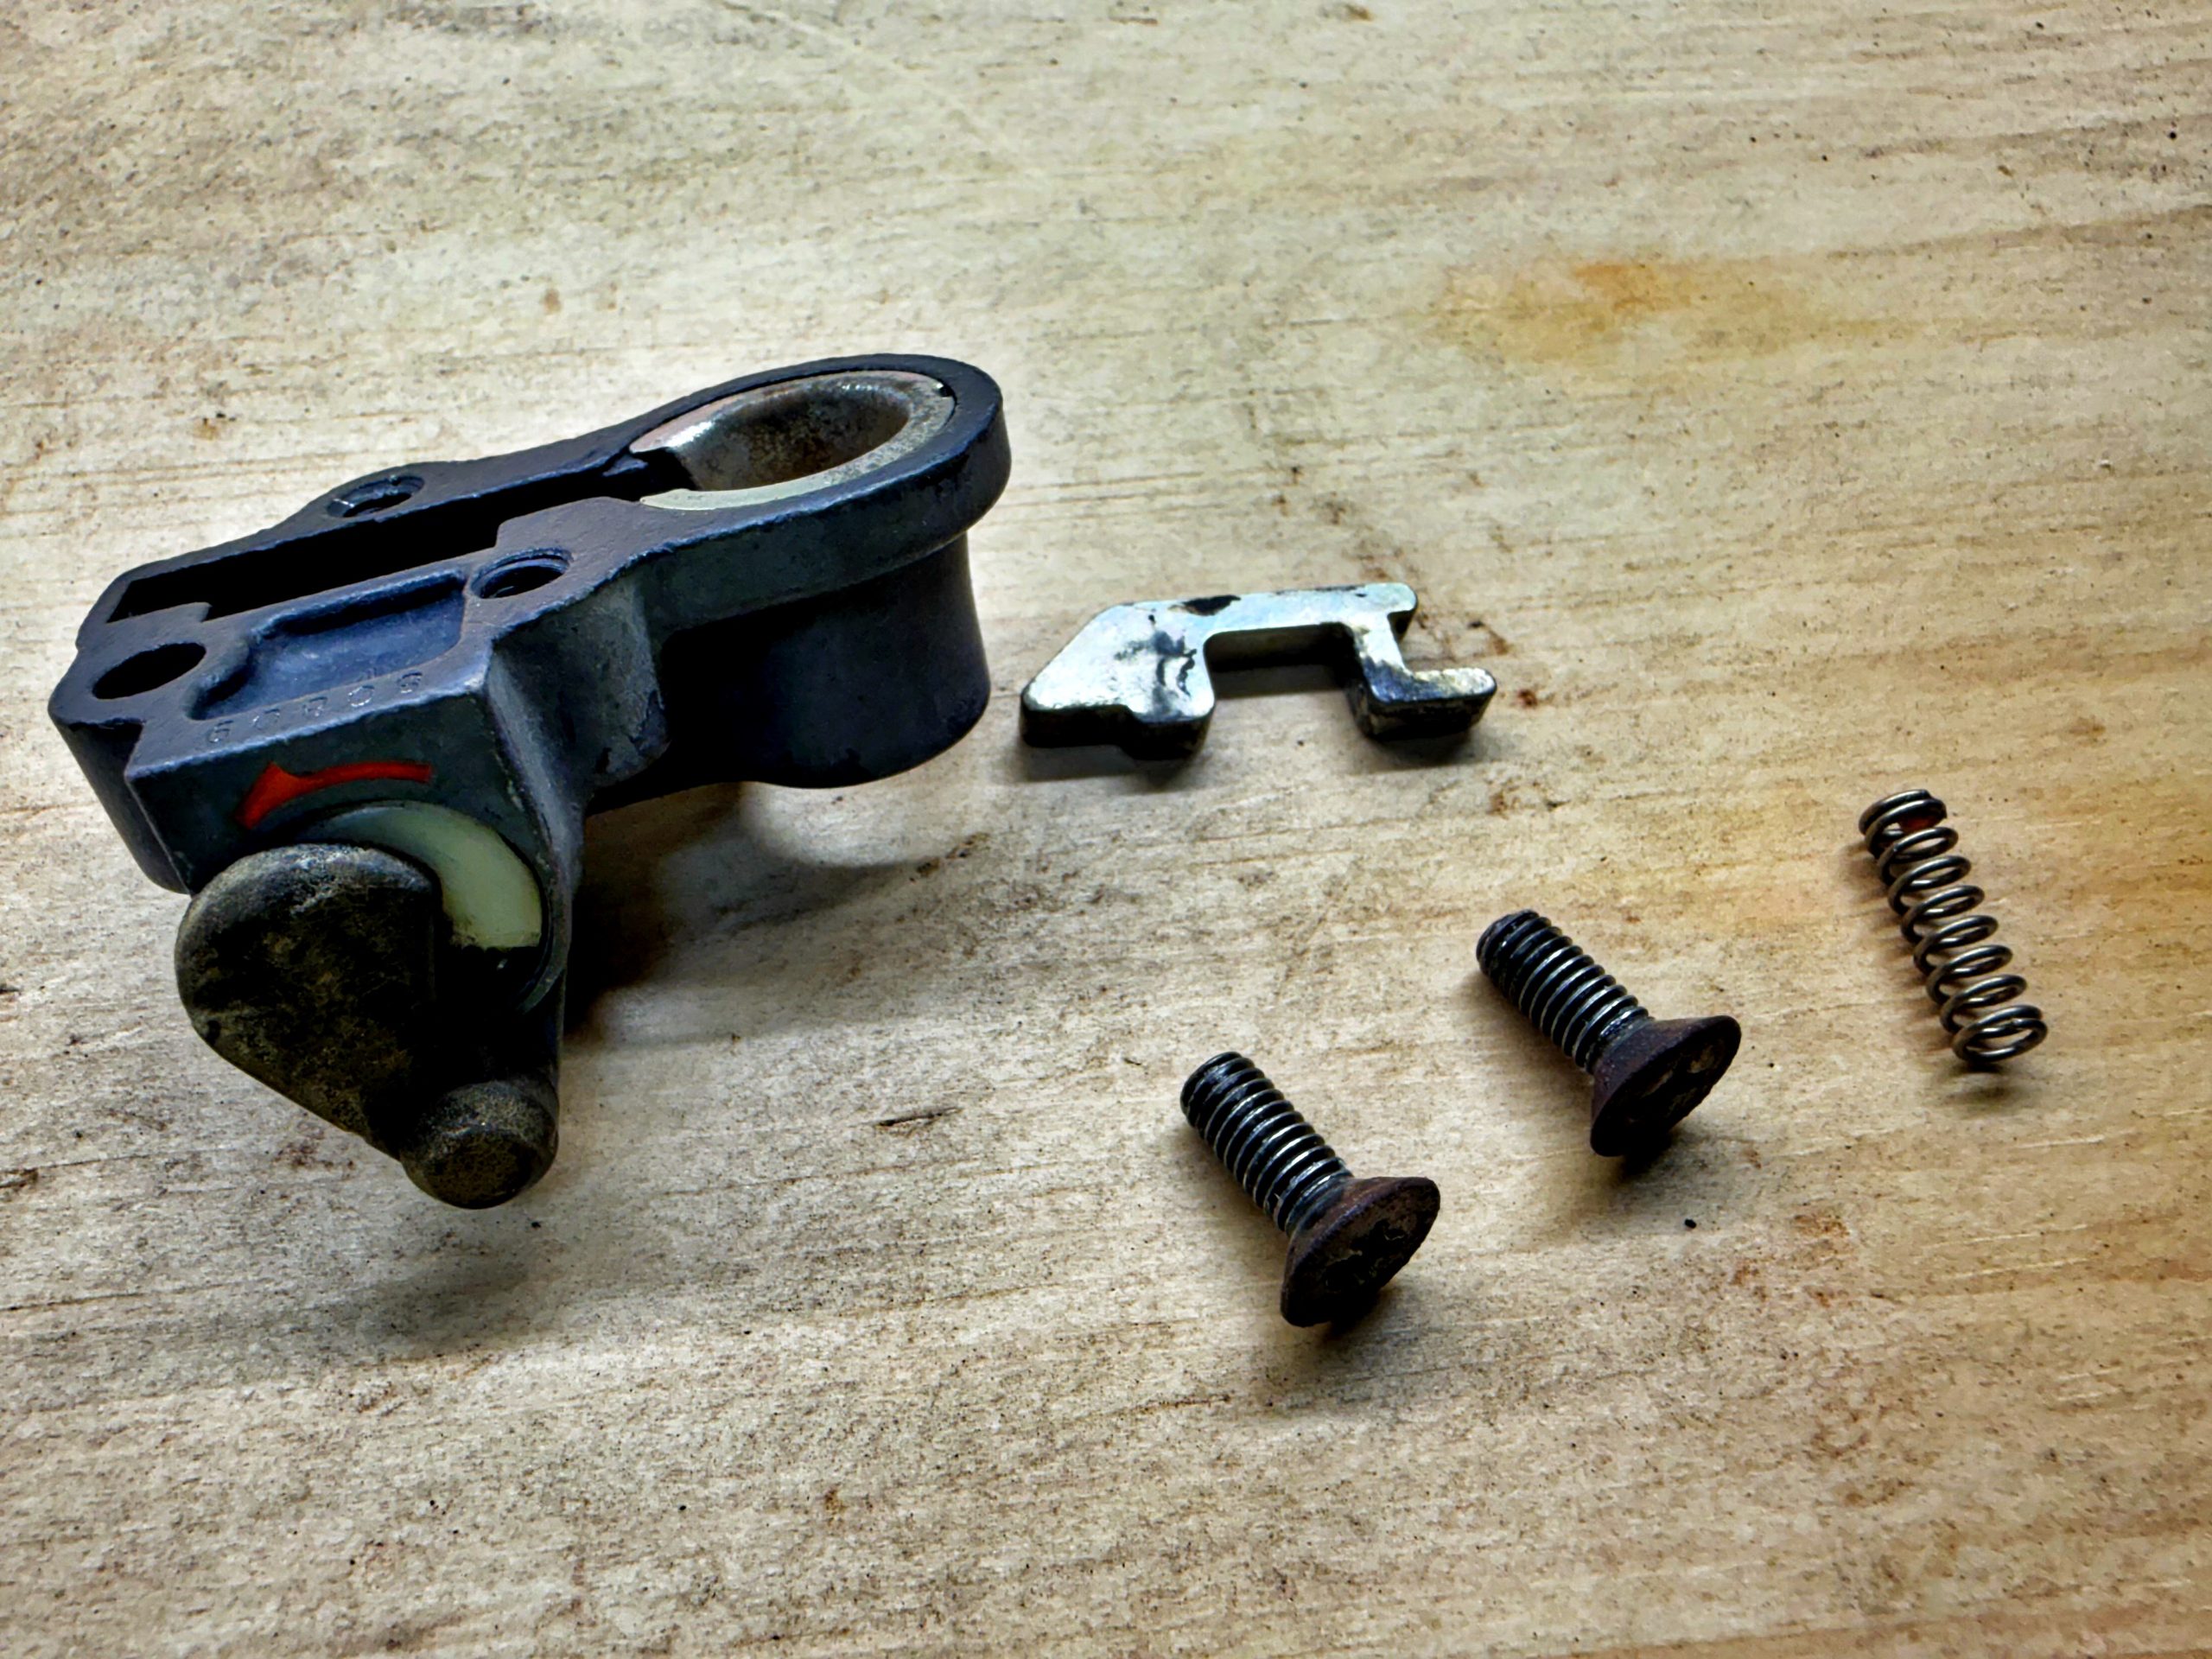
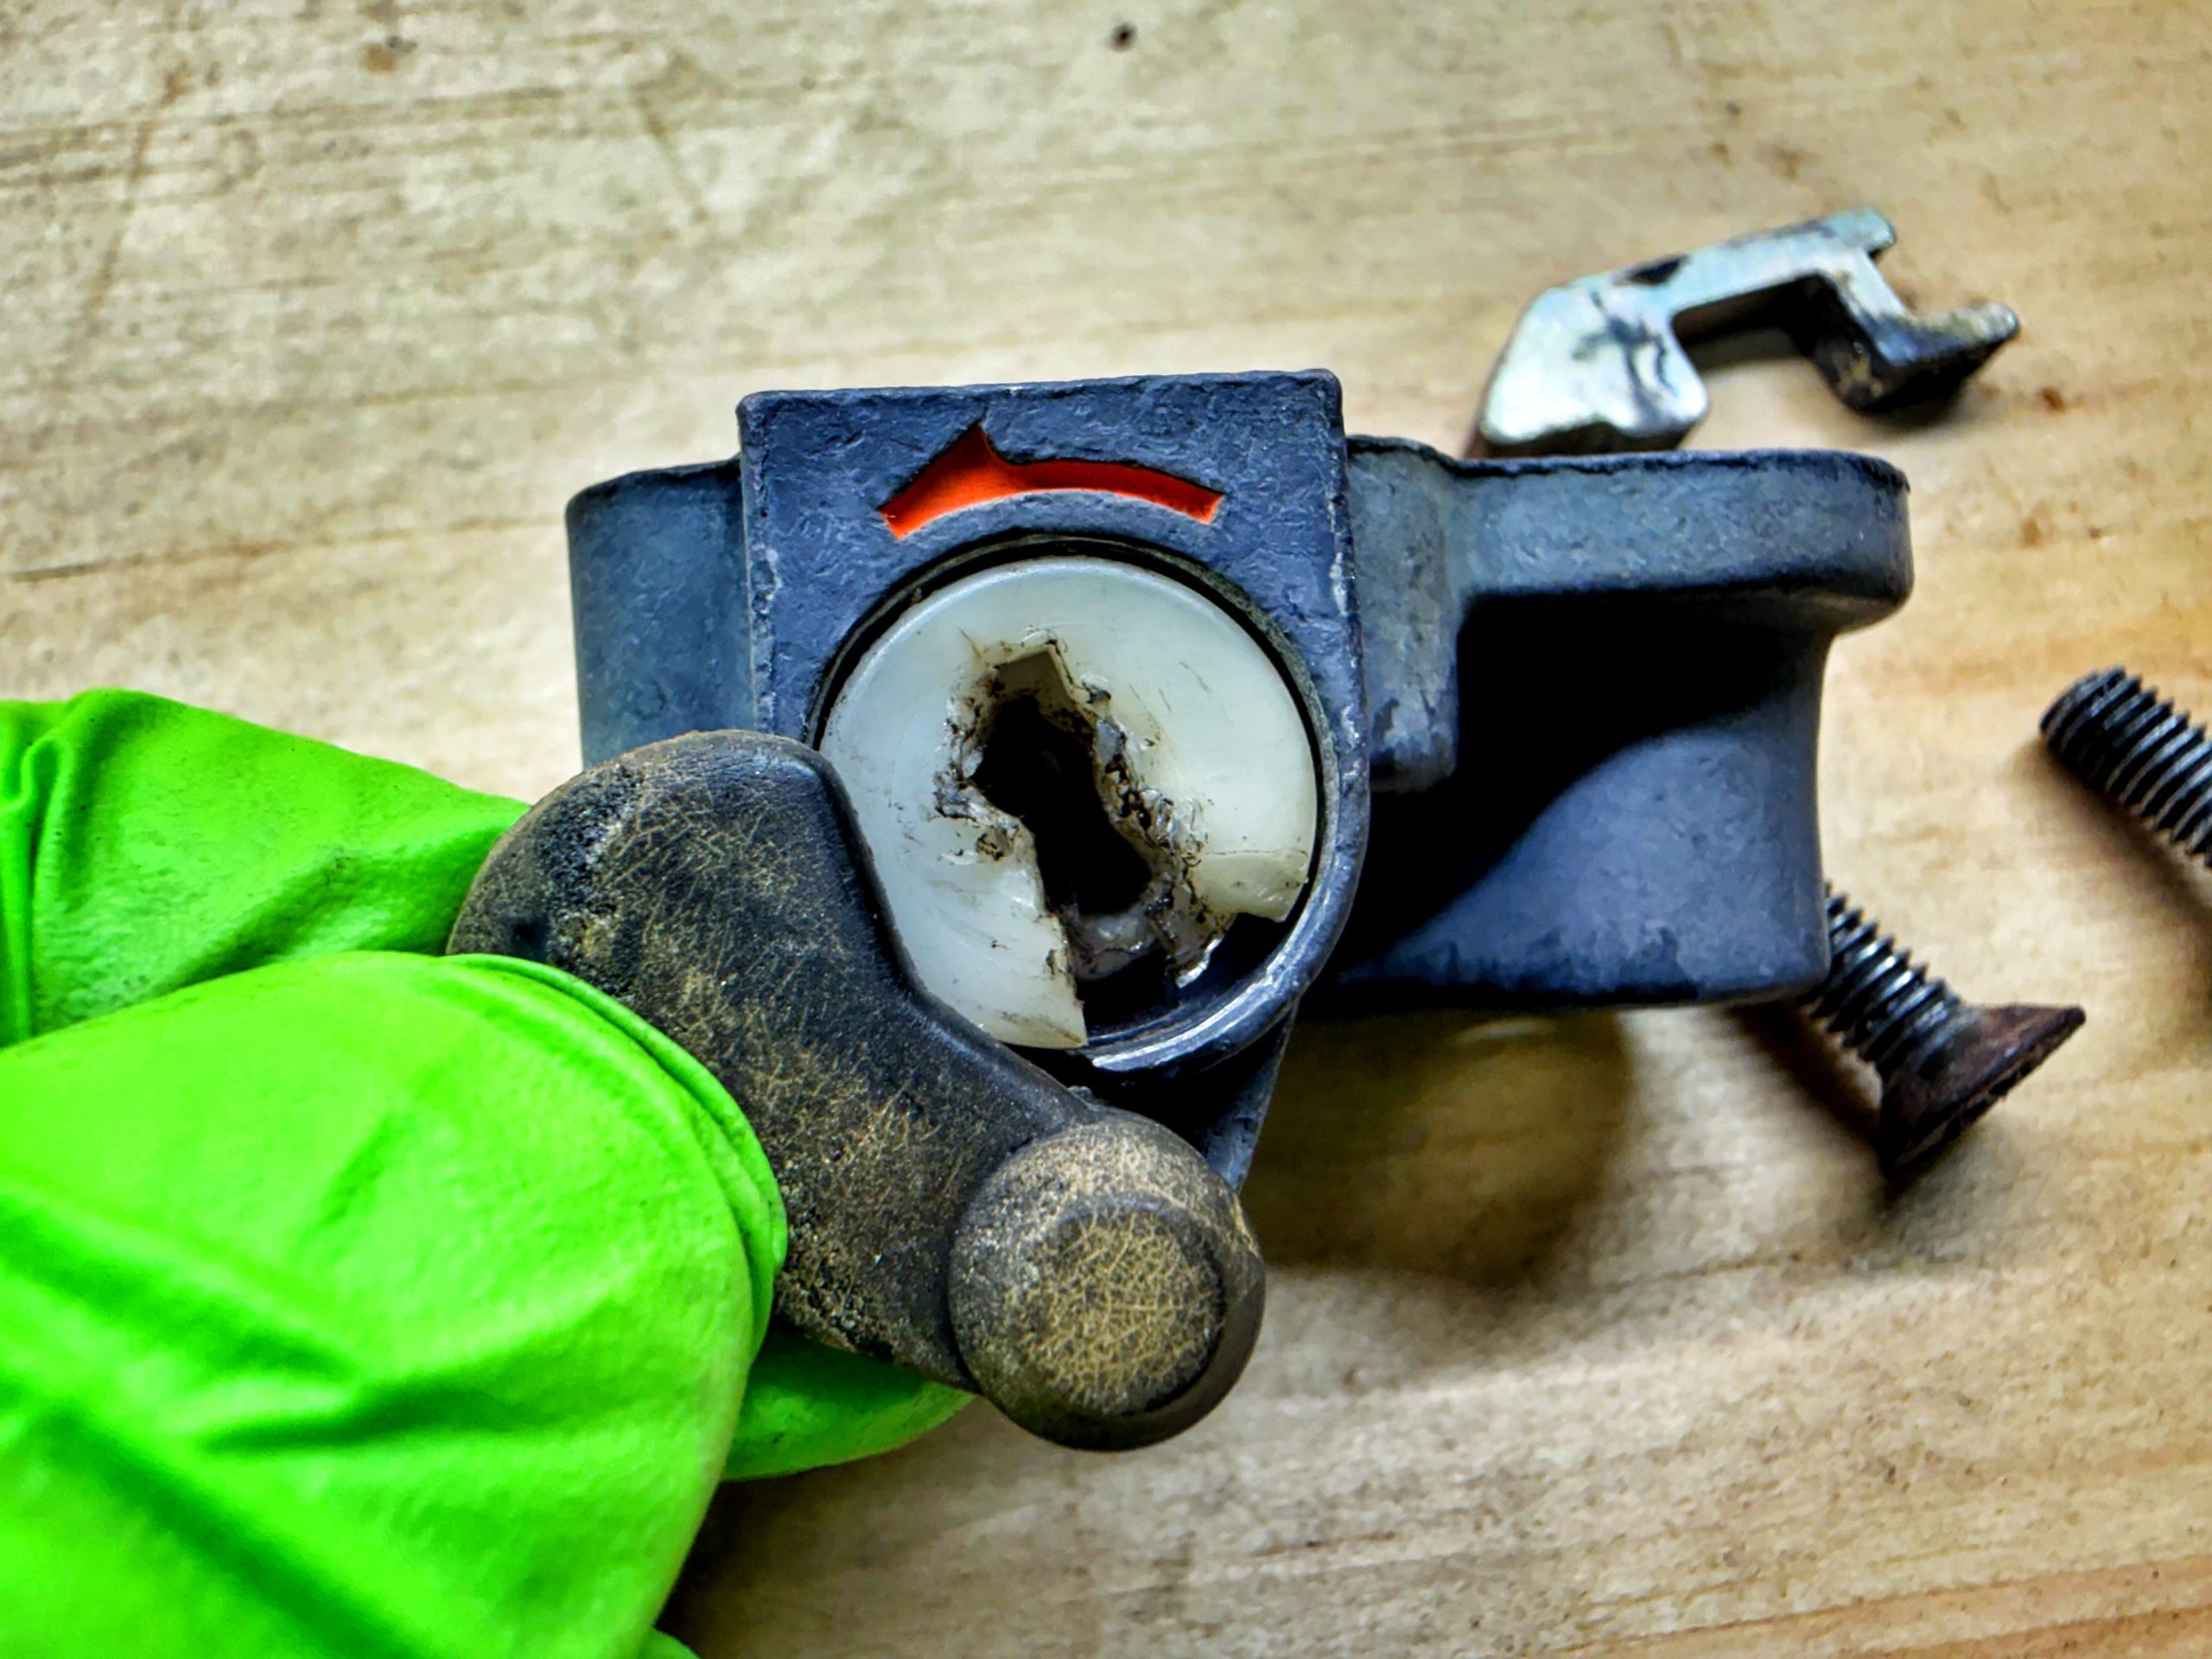
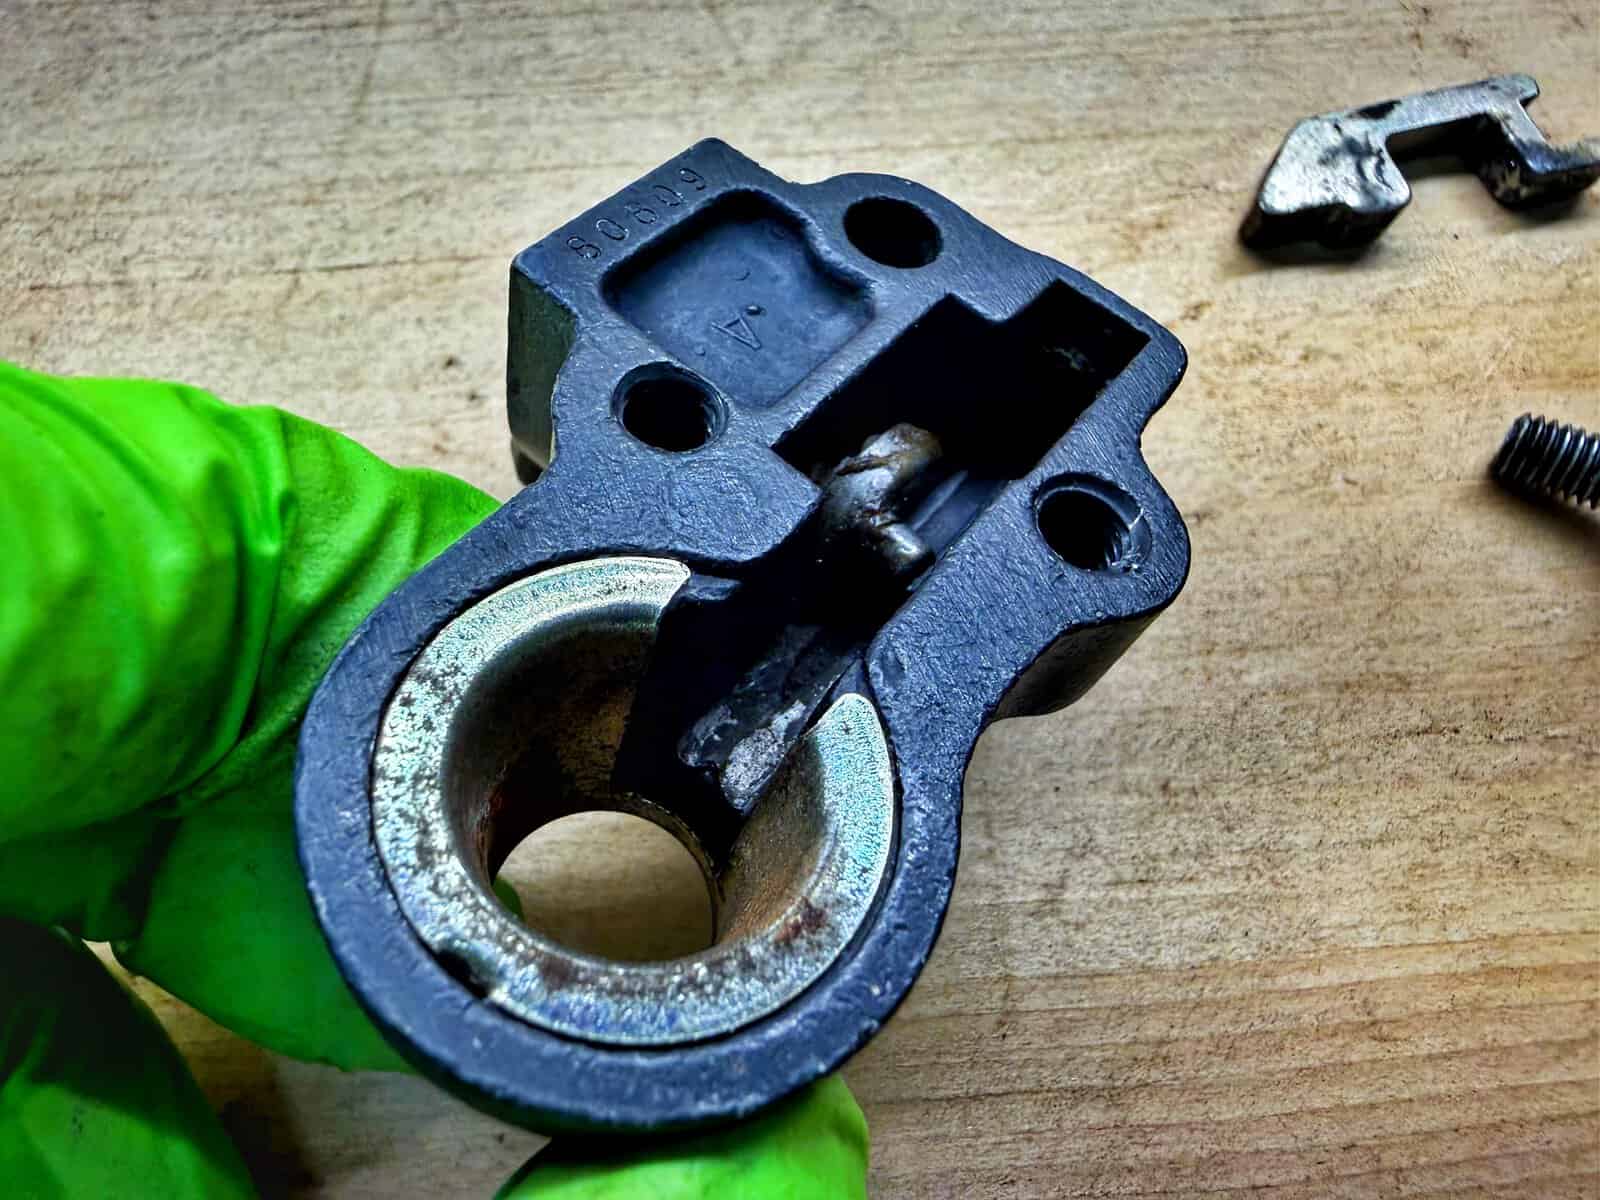
The seat lock came out of the ultrasonic cleaner and got a proper look. The mechanism itself is not totally lost. The cylinder turns when you insert the key, even though the keyway is damaged from being jimmied at some point after the original key was lost. The practical problem is that the damage means a flathead screwdriver would open it just as easily as a key, which is not ideal for a bike I eventually plan to ride and park.
A replacement unit is available for around $25, but it would use a different key than the ones I had cut through Cycle Keys Online, and I do not want to end up carrying two keys for one bike. Getting the original cylinder out to see if it can be repaired or replaced while keeping the existing key is still unresolved. For now the seat lock is cleaned, bagged, labeled, and on the shelf. It will get figured out eventually.
Getting the CB750F Battery Box Out
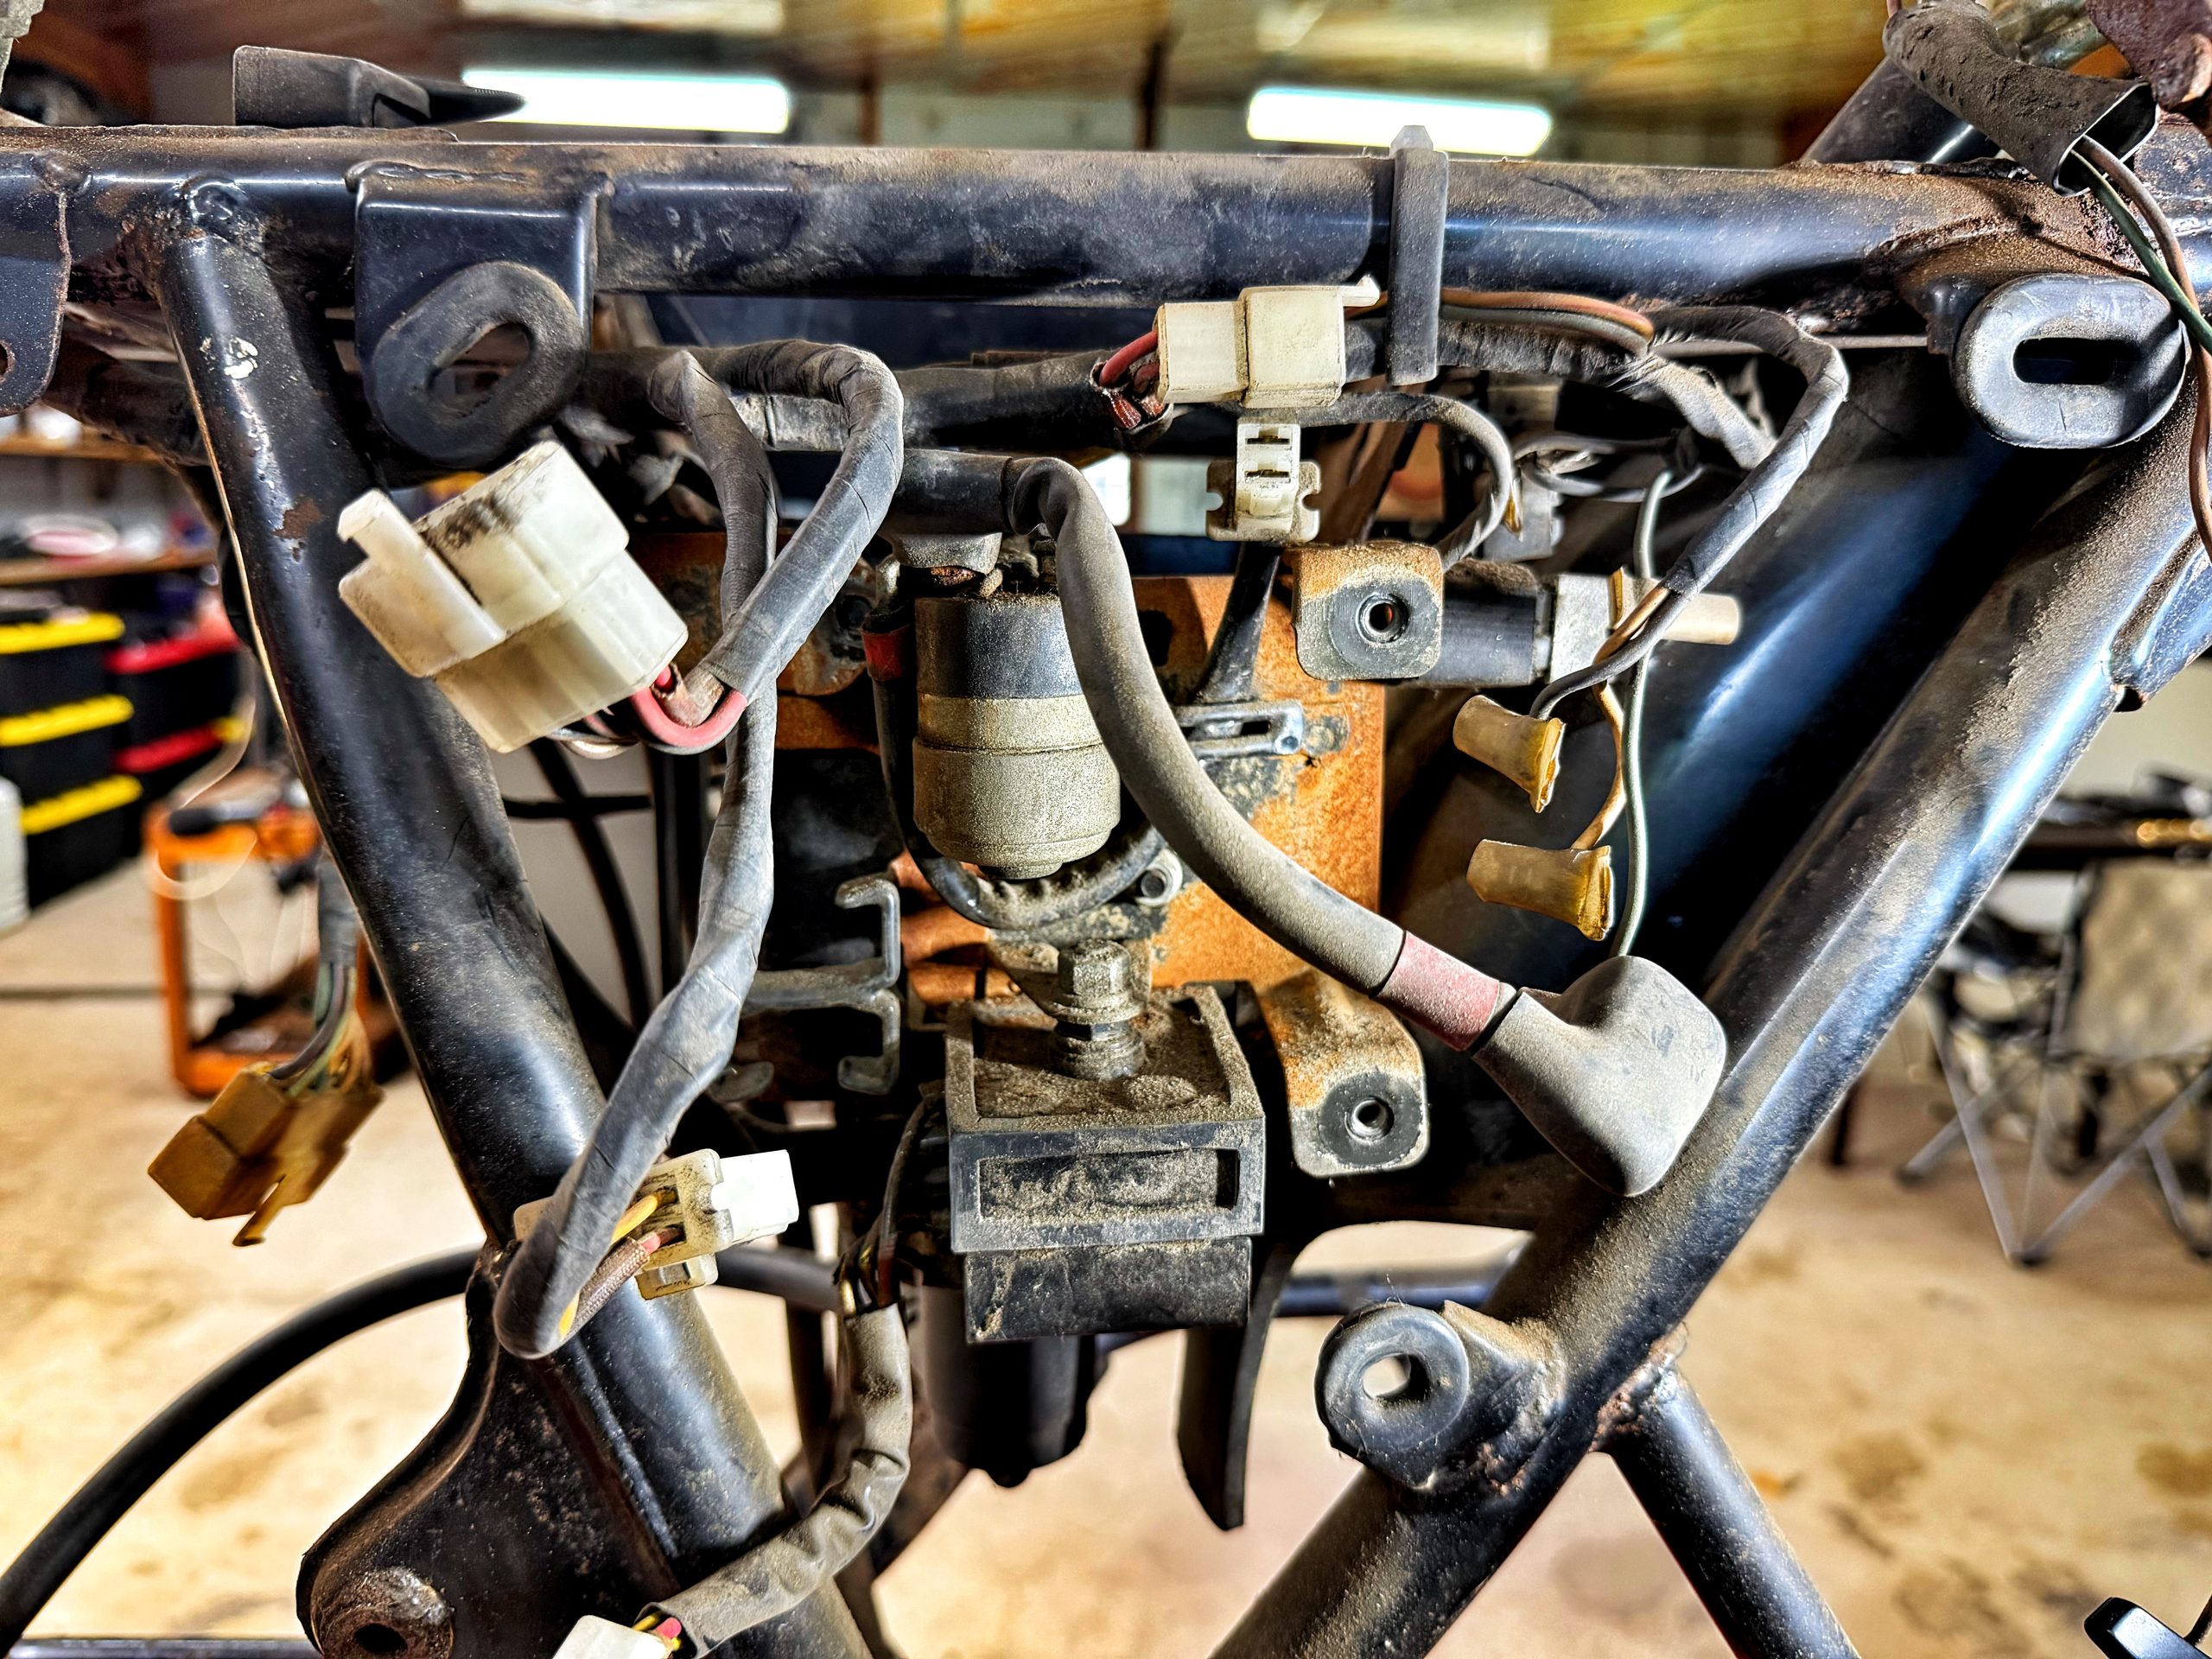
The battery box is held down by four 10mm bolts and should, in theory, lift right out once they are loose. In practice, the box has a collection of electrical components, connectors, and a wiring loom attached to it that all need to be disconnected or repositioned before the box will clear the frame.
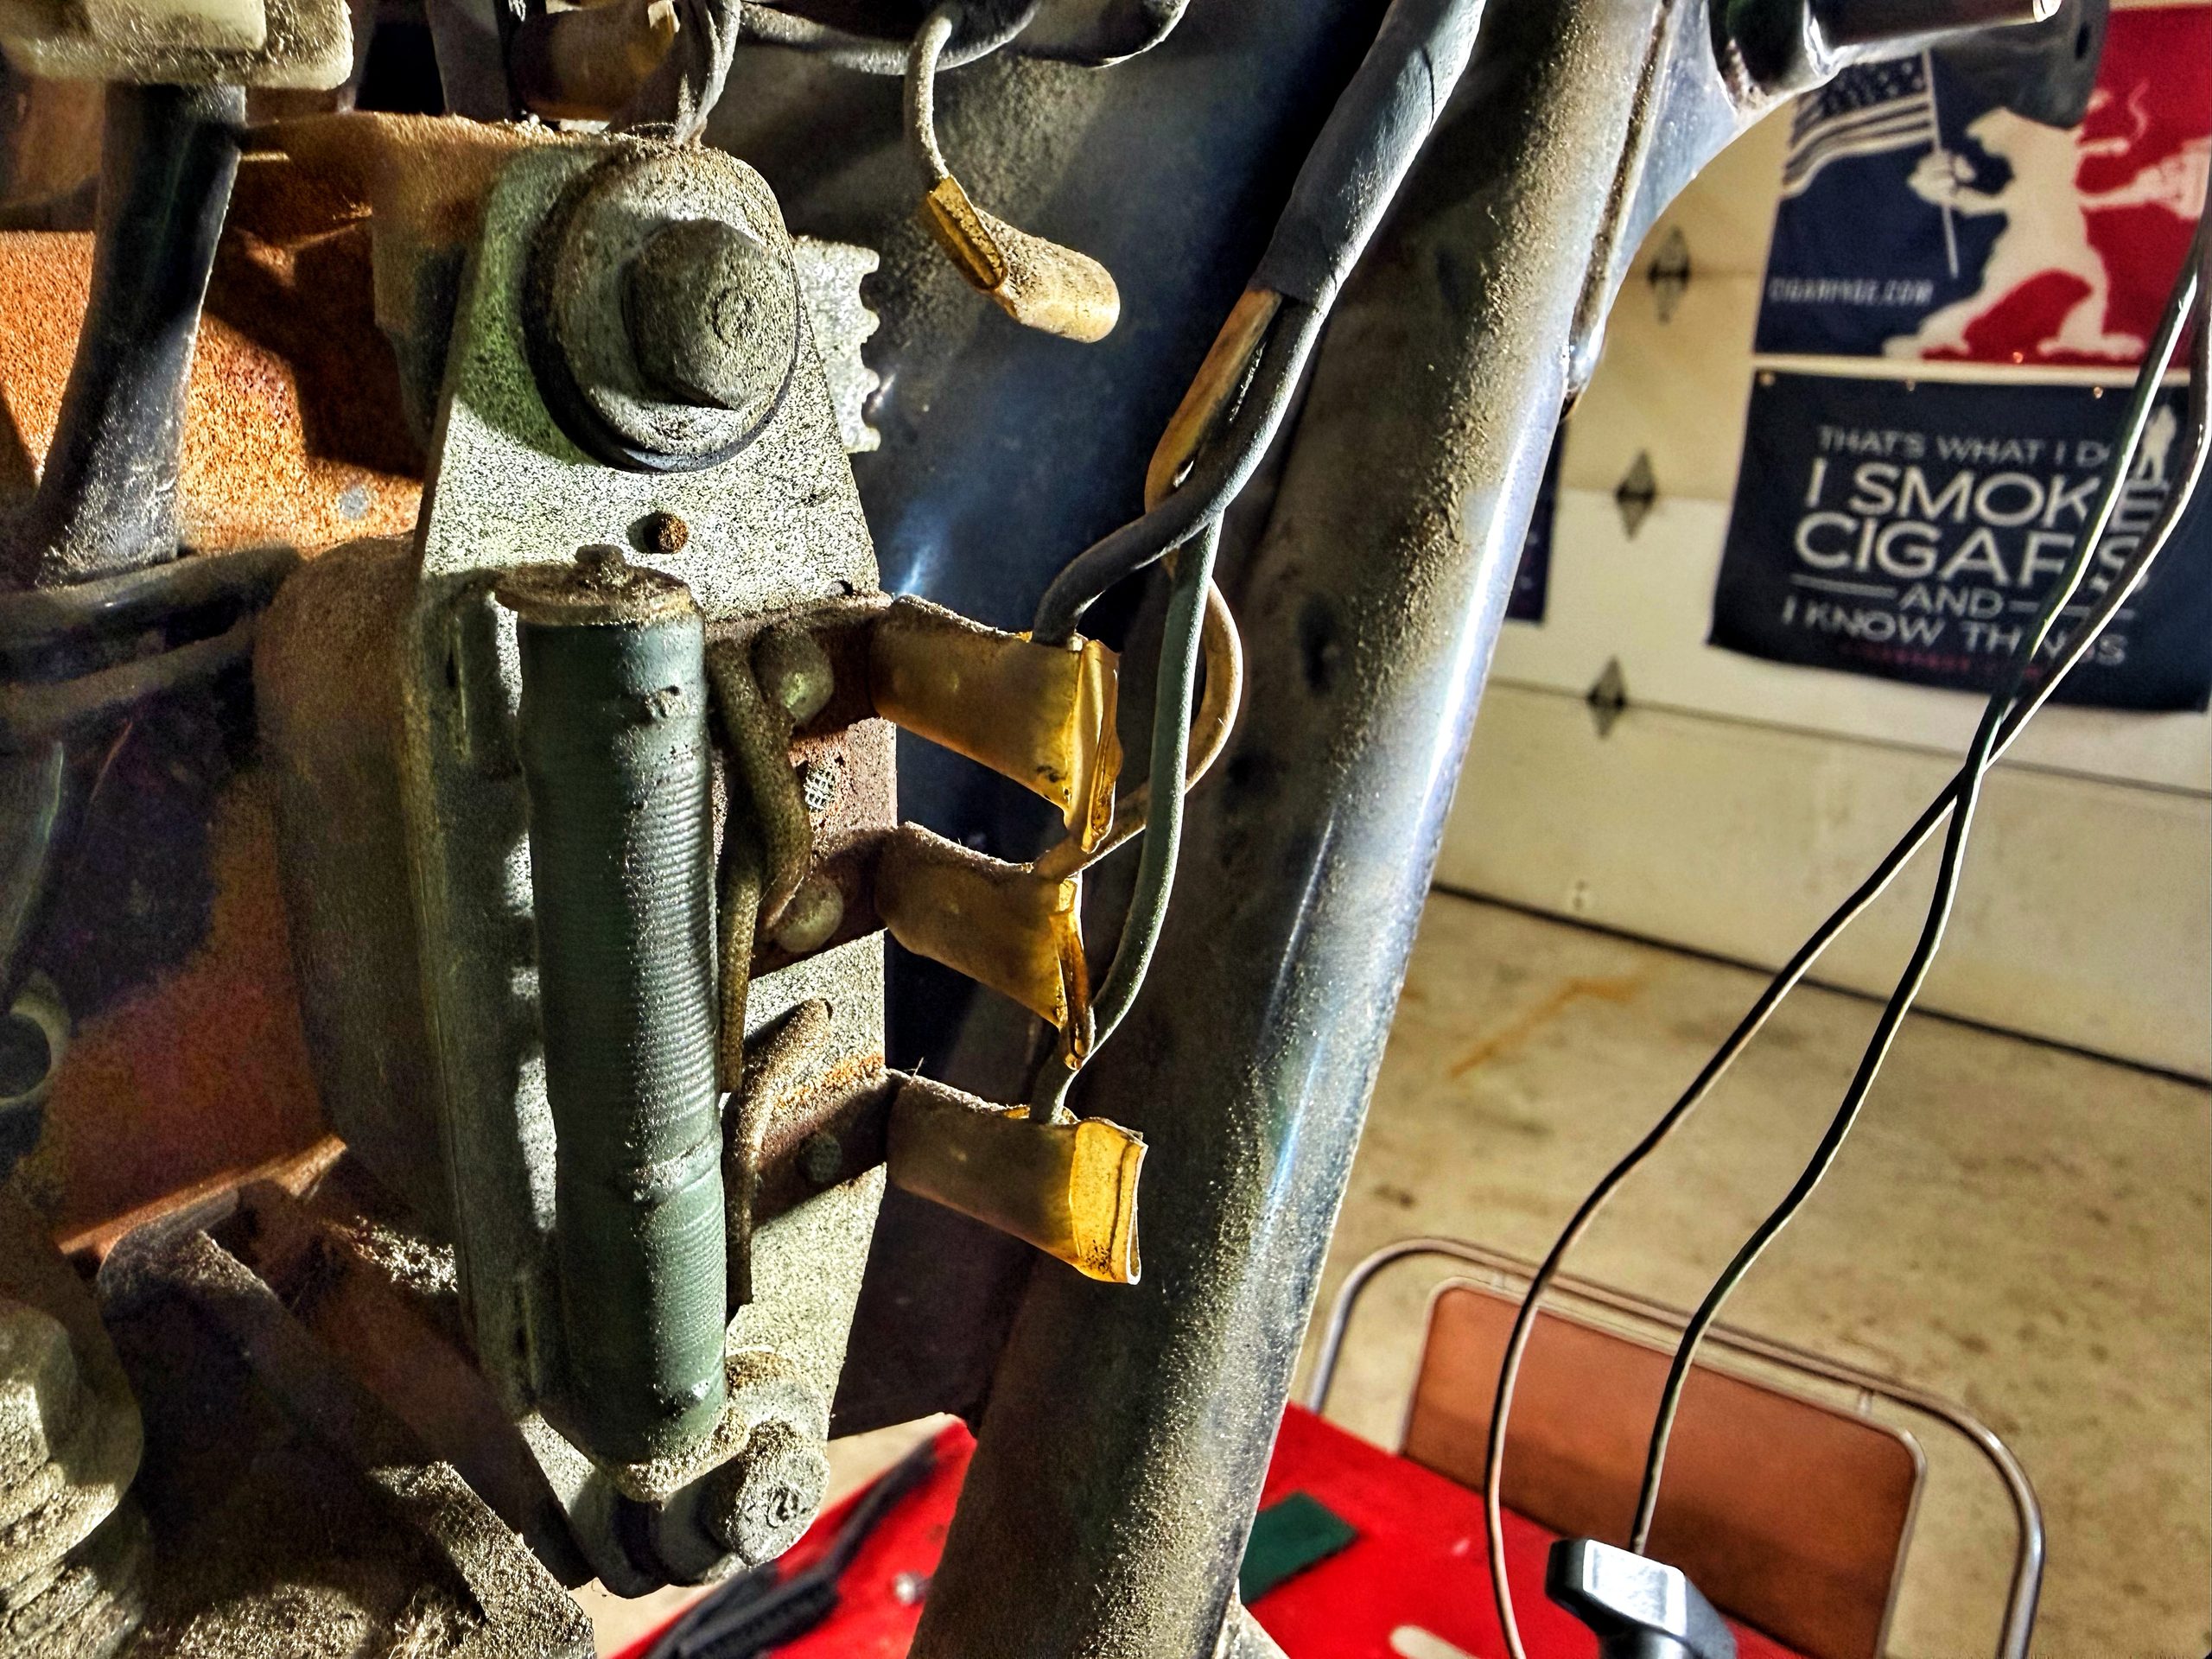
I worked through it piece by piece. The blade-style connectors came off without too much trouble once I had photos of the wire colors and positions for reference. The metal bands holding the loom in place were soft enough to remove carefully. The real holdup was a connector that sat on a tab on the battery box itself and kept hanging up on the frame as I tried to lift the box out. Eventually I realized the tool tray sitting alongside the battery box was the thing eating up the clearance I needed. Once that came out first, the battery box had enough room to twist and maneuver free.
The box itself has the kind of corrosion you would expect from decades of battery acid and condensation doing their slow work. A good cleaning, some rust treatment, and a coat of paint should sort it out. The mounting plate that came with it has rust to deal with too, but nothing that looks beyond what the wire wheel and rust reformer can handle. Once those are cleaned and painted, the electrical components can go back on and the whole assembly can eventually go back in the bike.

The Brake Caliper Rebuild Kit Decision
After comparing options, the Brake Crafters complete rebuild kit is the direction I am going for the rear calipers. The OEM rubber kit alone, which covers the interior seal, dust boots, and a bleeder valve cap, runs around $65 for what amounts to a few pieces of rubber. Each piston on top of that is roughly $45 per side. The Brake Crafters kit covers the same rubber components plus stainless steel pistons for around $109 total. Stainless pistons are more corrosion resistant than the originals, which is relevant on a bike that has already eaten through two chrome-plated pistons once. That math was not hard to work out.
Brake pads are still an open question. I have the originals, which my dad says have plenty of life left on them. But these pads are older than I am and brake technology has come a long way since 1976. Stopping reliably matters enough that new pads seem worth the money even if the originals measure out fine.
The Rear Wheel Reality Check
The rear wheel has been sitting on the garage floor since the rear axle hardware cleaning early in this build, waiting its turn. I finally picked it up and had a proper look, and it is going to be a significant job when I get there.
The sprocket looks usable. The rotor has no gouges and is plenty thick. The tire is done, the center tread indicator is nearly gone, and the rubber has gotten hard in the way that old tires do. That goes in the bin along with the inner tube. The hub and spokes are the real concern. The chrome on the rim has gone through in spots and the spokes are corroded. I found out that spoke rebuild kits are available for this wheel, which would mean replacing all the spokes rather than trying to clean each corroded individual one. That option is looking more appealing the longer I look at what individual spoke cleaning would involve.
One small thing that happened while I was examining the wheel: a bushing dropped out of the hub area. It went back in, though I am not completely certain it went in the right way. Something to note and verify when reassembly time comes.
The rear wheel is not high on the priority list right now because it is not blocking anything else from moving forward. It is there as a fallback project for whenever something else on the build hits a wall. When I do get to it, it is going to take a long time.
What Comes Next
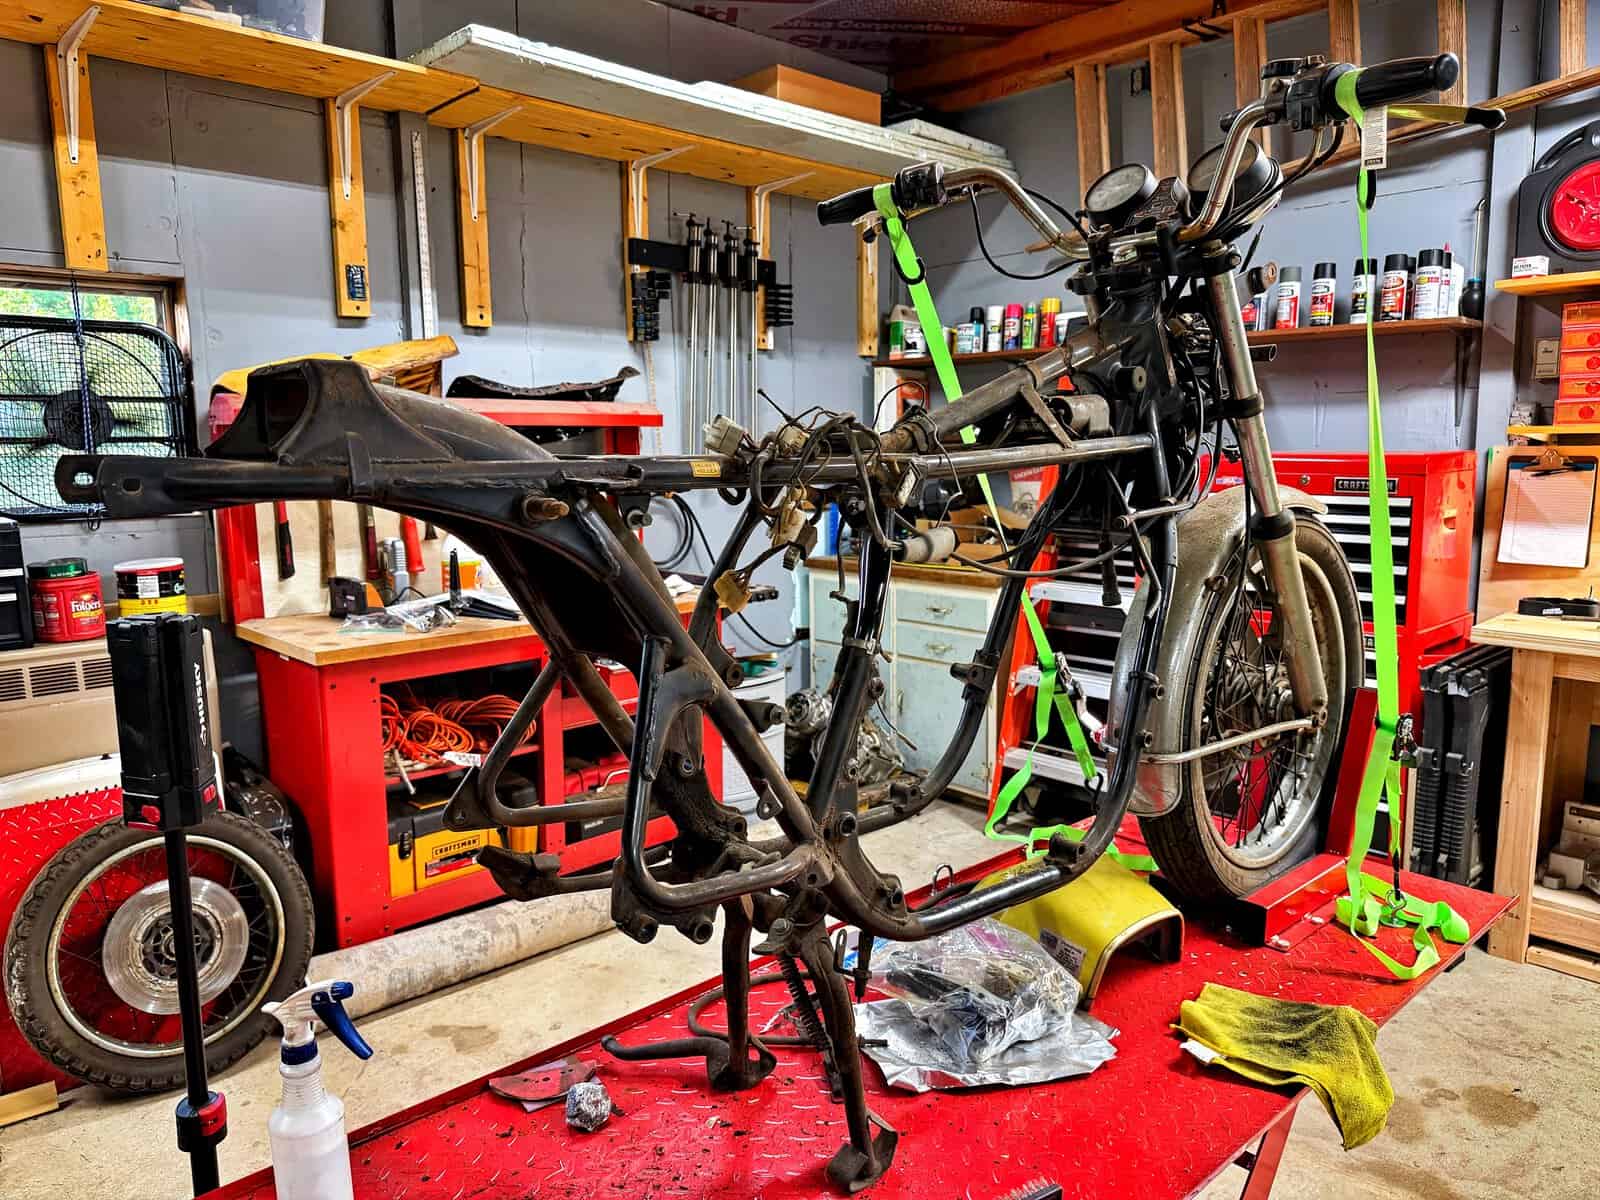
The battery box is out and will get cleaned and painted. The wiring loom is the next major thing to come out, which will finally make the frame look like the bare canvas it needs to be before I can start touching up rust spots and laying down fresh satin black where it needs it. Once the frame is addressed from the engine back it is time to start putting pieces back on rather than taking them off, which will feel like a turning point.
The gas tank still needs to be picked up from Jeff. The seat pan situation is still open. The front end work has not started. There is plenty still ahead, but the back half of this bike is getting close to as stripped as it needs to be.
Ride With Me
If you want to follow along as this build starts turning the corner toward reassembly, subscribe to the WaltInPA YouTube channel so you catch every session as it goes up. If you know someone who has dealt with a CB750F battery box or worked through a similarly tangled wiring removal, send this one their way. And if you want to be part of the conversation as the CB750F Restoration keeps moving forward, come hang out in the WaltInPA Discord where good people talk through exactly this kind of thing.
Recent Posts
Is the RevZilla RPM Membership Worth It? Here's My Honest Take
I almost didn't make it to Reading Coffee Company in time today, but I got there right under the wire and grabbed some beans before they closed at 4. Of course I managed to walk out of the house...
Goofy kicked off this episode of Kickstand Conversations by saying he keeps hearing that group riding is safer than riding solo. Scott asked if we had any data to back that up. We didn't. So instead...