
It was 96 degrees and humid and I was looking for an easy win. That is the honest framing for this session. The CB750F chain guard cleaning was supposed to be low effort, high reward. Get in, get out, feel good about something on a day where the heat was making everything miserable. I had already decided to skip the rear shocks for now since I need to sort out whether they have fluid in them before I start tearing into them. The chain guard was right there. Two bolts. How bad could it be.
Two hours later I was sweating through my shirt, my glove had been partially dissolved by throttle body cleaner, and I was scraping decades of caked chain oil out of a chrome tunnel with an acid brush. So. About that easy win.
Table of Contents
Why the Shocks Got Pushed Back
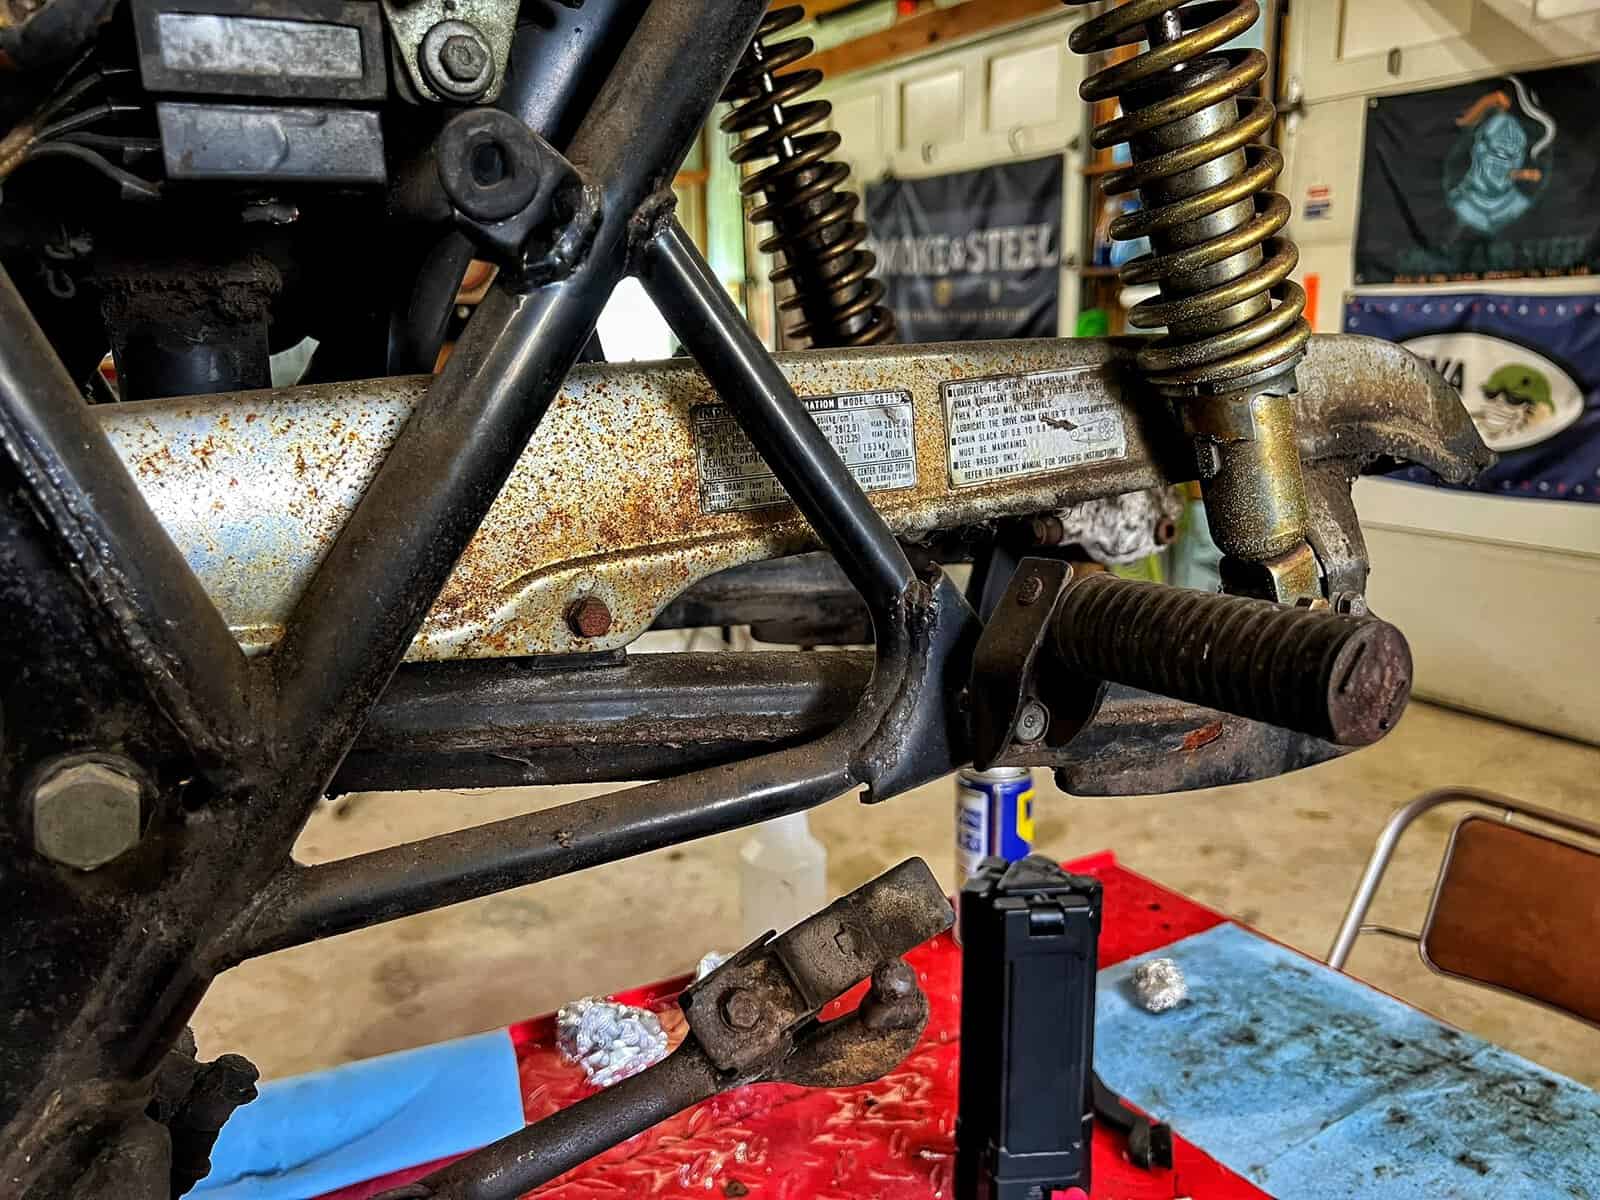
Before getting into the chain guard, a quick note on the shocks since they were next on the list. To clean them properly I need to compress the spring to pop the cap off, and I do not have a tool for that. On top of that I still do not know whether there is fluid inside the cylinder that would need to be serviced. I do not want to fight through cleaning them only to find out I have to pull the spring off anyway for a service job. So the shocks are on hold until I know what I am dealing with. They will get their turn.
Getting the Chain Guard Off
Two bolts, two washers each, and the chain guard came right off. A rubber bumper fell off the back side during removal, which I think was some kind of plug to prevent grime from getting into the thru-hole.
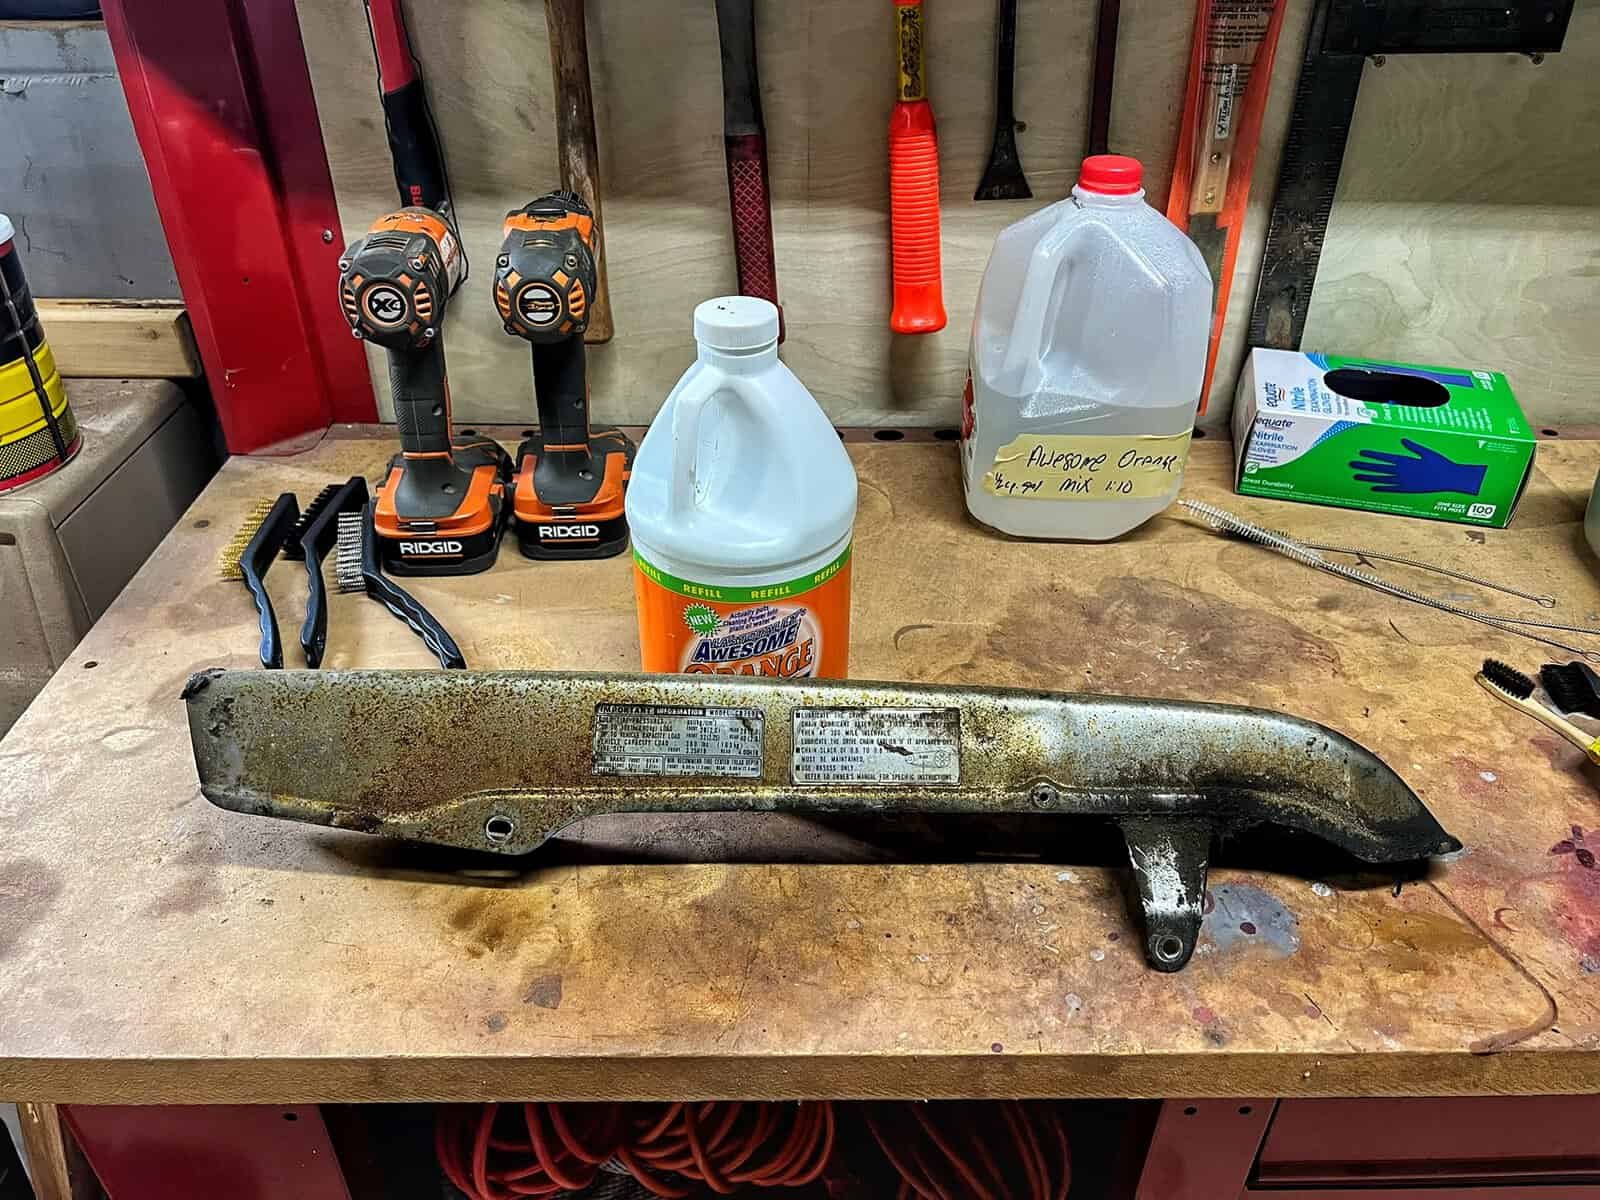
What was underneath was not pretty. The CB750F runs an old school non-O-ring chain drive with an oiling system that requires lubing the chain roughly every 300 miles. Over decades that oil gets flung off the chain and into everything nearby. The inside of that chain guard had accumulated what I can only describe as the automotive equivalent of a restaurant grease trap. Thick, black, caked-on gunk that had been baking in there since somewhere around the Carter administration.
I also lost the stickers during cleaning. There were two on the chain guard, one with tire pressure info and one with chain service intervals. I got a photo before they came off so I have them for reference, but they did not survive contact with degreaser. Not surprising given their age.


What Actually Cuts Through 40 Years of Chain Oil
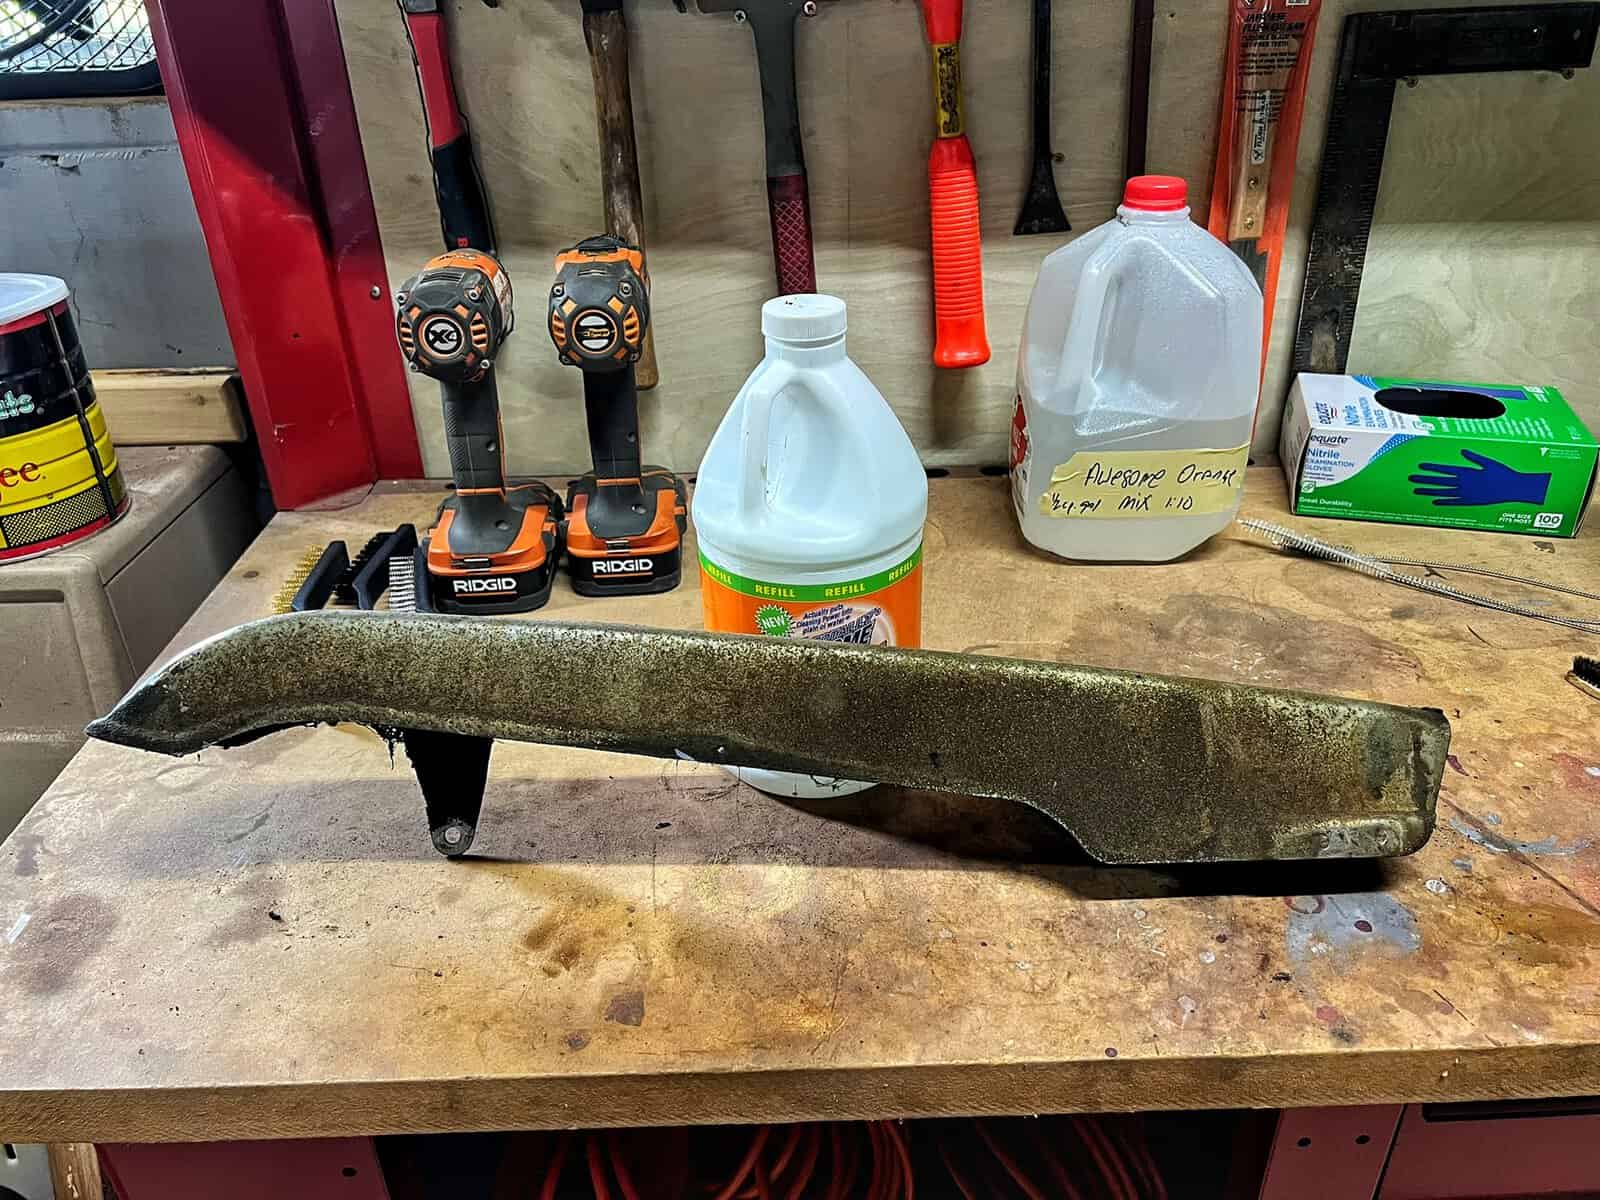
This is where the session got interesting. My usual progression of Awesome Orange degreaser and aluminum foil made a dent on the outside of the guard but did almost nothing on the inside. The gunk in there was too thick and too old for a water-soluble degreaser to dissolve. I tried the brass brush. Too soft. I tried scraping with an acid brush handle, which at least got the bulk of it moving. But the inside surfaces still had a layer of old oil that nothing was touching.
Then I reached for the carb and throttle body cleaner.
That stuff works. The grime started falling off almost immediately with minimal scrubbing. The problem is it is seriously aggressive and not particularly forgiving. It went through my nitrile glove in about 30 seconds flat. I switched gloves, kept going, and eventually put the throttle body cleaner away before it caused any more collateral damage. For the heavy interior gunk it was the only thing with enough bite to get the job done. Just wear real gloves if you go that route.
The acid brushes my wife picked up at the dollar store turned out to be genuinely useful here. I had grabbed them without a specific plan but the hollow metal tube on the handle was perfect for scooping built-up gunk out of tight interior. Not what they were designed for but sometimes you work with what you have.
The Dremel Makes Its First Appearance
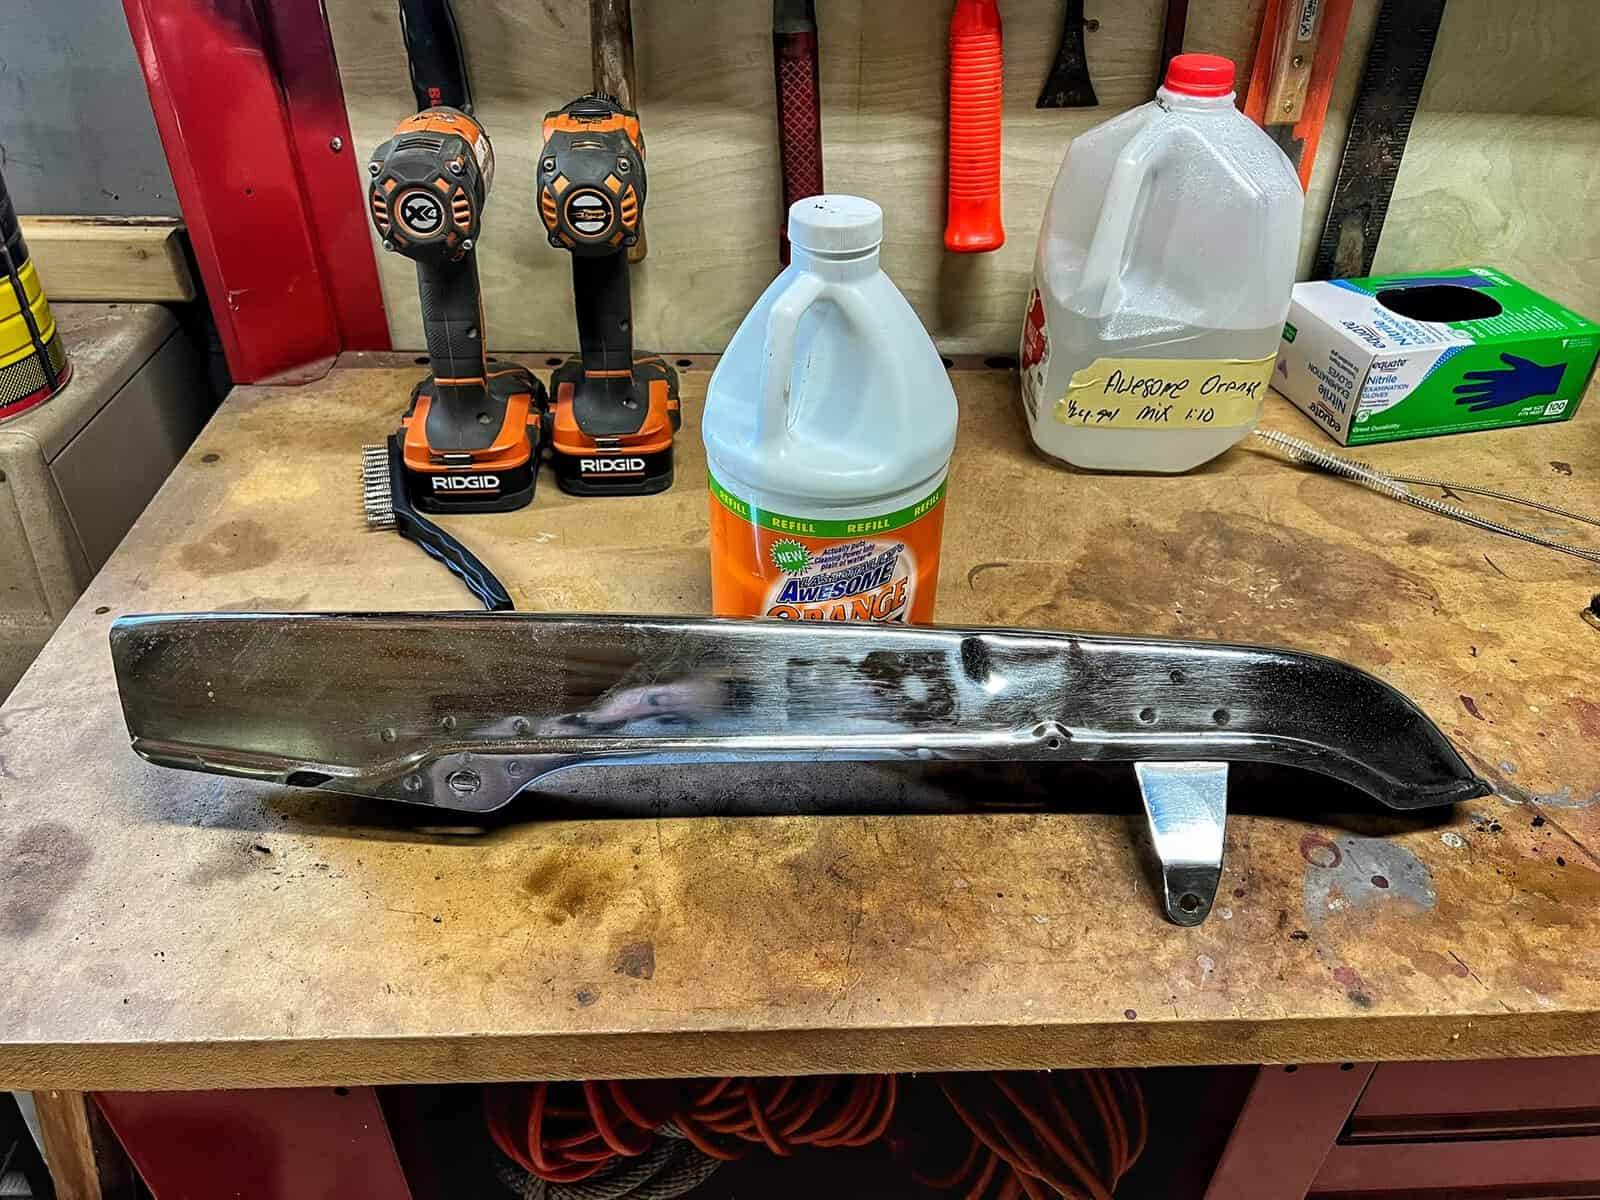
The outside of the chain guard is chrome, or was at some point. Most of it responded reasonably well to aluminum foil once the heavy grime was knocked down. There was one large patch of rust, though, where the chrome was clearly gone and no amount of aluminum foil was going to do anything useful.
I made a call. If the chrome is already through to bare metal, hitting it with a wire wheel is not making anything worse. I chucked a stainless steel wire brush into the Dremel and worked slowly around the edges of the rust patch. It took some time but the rust started breaking away in sections and eventually I was back down to bare metal with a regular metallic luster. You can see the scratch pattern where the Dremel was working and I may be able to buff some of that out later, but the rust is gone and the metal underneath is solid.
One thing I learned: the Dremel needs more torque than I was expecting for this kind of work. There were spots where the gunk and corrosion were thick enough to slow it to a near stop. Something to keep in mind if you are planning to use a rotary tool for similar cleanup work on a vintage bike.

The Chrome Situation on the CB750F
Some of it is going to be fine. Some of it is not. The outside of the chain guard cleaned up better than I expected given what it looked like coming off the bike. The inside is a different story. Large sections of the chrome plating are gone, not just pitted but actually missing, leaving bare metal with surface rust underneath. The throttle body cleaner and wire brushing got most of the rust off but there is nothing left to polish on those sections.
My current thinking is to hit the inside with Rust-Oleum rust reformer and paint the whole interior black. It would seal what is left, stop any further rusting, and honestly make it easier to keep clean going forward since I plan to run a modern chain that will not require oiling. No oiling means no slinging, which means the inside of that guard should stay cleaner for the life of the bike. I did not pick up the paint on my last Harbor Freight run even though they had it on sale for Inside Track members. I wish I had. That is going on the list for next time.
Where Things Stand After This Session
The chain guard is off, cleaned, and sitting aside. It is not perfect but it is dramatically better than it was. The chrome that survived looks good. The sections where the plating is gone are going to need the rust reformer treatment before this goes back on the bike.
Next up is getting back to the rear of the bike and working through what is left before I move forward. The shocks are still waiting on some research. The rear wheel needs serious attention and I still do not have a solid plan for the corroded spokes. And somewhere in there I need to sort out better lighting for the work area since my lift falls right between two runs of LED fixtures and I keep fumbling around with a headlamp like a coal miner.
Progress though. Definitely progress.

Ride With Me
If you are following along on the CB750F build, subscribe to the WaltInPA YouTube channel so you do not miss any of the sessions as they go up. If you know someone who is into vintage bike restoration or has ever faced down a genuinely disgusting cleaning job on an old motorcycle, share this one with them. And if you want to trade notes on what actually works for chrome cleanup and rust removal, come hang out in the WaltInPA Discord. Someone in there probably has an answer I have not tried yet.
Recent Posts
Is the RevZilla RPM Membership Worth It? Here's My Honest Take
I almost didn't make it to Reading Coffee Company in time today, but I got there right under the wire and grabbed some beans before they closed at 4. Of course I managed to walk out of the house...
Goofy kicked off this episode of Kickstand Conversations by saying he keeps hearing that group riding is safer than riding solo. Scott asked if we had any data to back that up. We didn't. So instead...