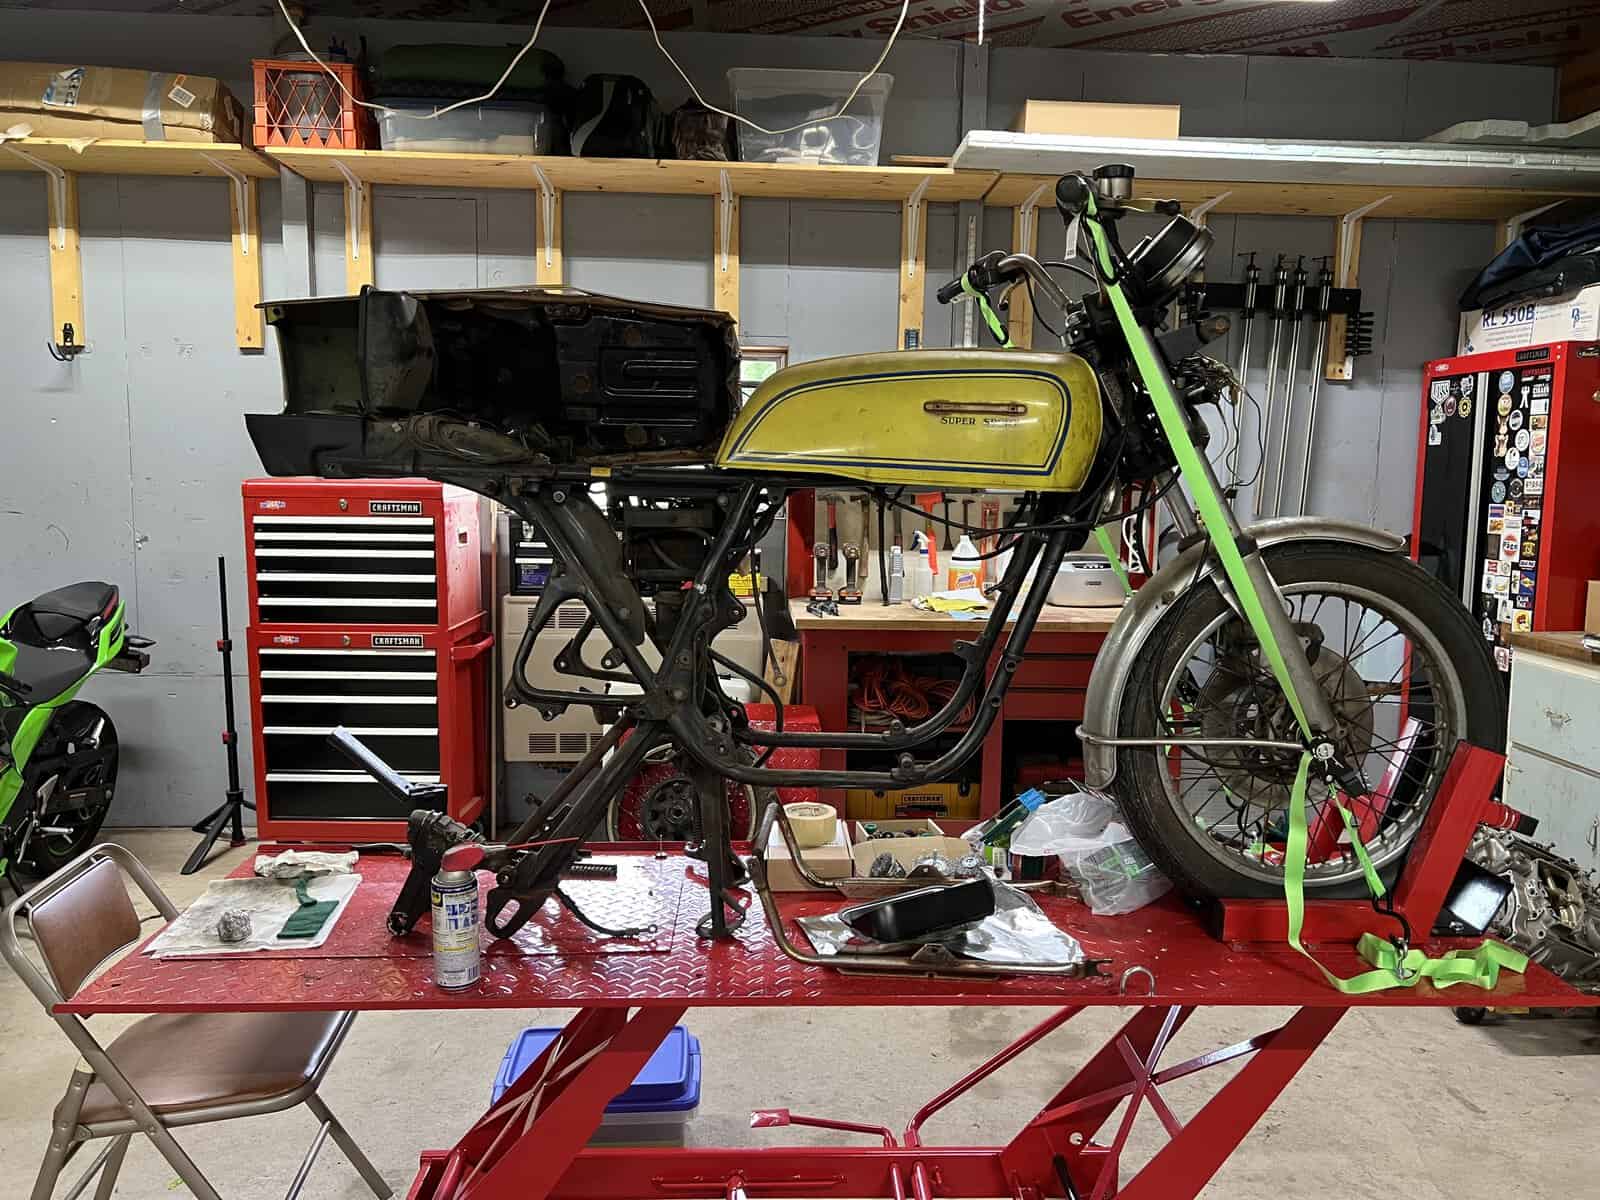
With the rear shocks finally off last session, the rear fork dropped down and the brake caliper was left swinging free, only held in place by a stay bolted to the back of the fork. That made this session’s objective pretty clear. CB750F rear brake caliper removal was the plan, and the goal beyond just getting it off the bike was figuring out whether I could get it functional again.
Spoiler. Removal went fine. Functional is a different story, and this one ends without a clean resolution.
Table of Contents
Getting the Caliper Off the Bike
The cotter pin came out without much fight this time, which felt like a nice change of pace after the one on the rear pegs snapped clean off a few sessions back. I saved this one so I can match the size when I order a replacement.
The bolt holding everything together turned out to be a 14mm and it did not want to move. I ended up putting the whole assembly on the floor, stepping on it to hold it still, and cranking on the breaker bar from above. That combination finally broke it loose. Worth remembering for anyone fighting a stubborn bolt on a similar bike: sometimes you need your body weight as much as you need the right tool.
There is a brake line running into the caliper through what is called a banjo bolt, which has a hollow center that lets fluid pass through and get forced out the working end. The two ends of that hose are not interchangeable since the fitting angles are different, so I taped a label on the end I disconnected before pulling anything apart. That is a small step that will save a real headache later.
What I Found Inside
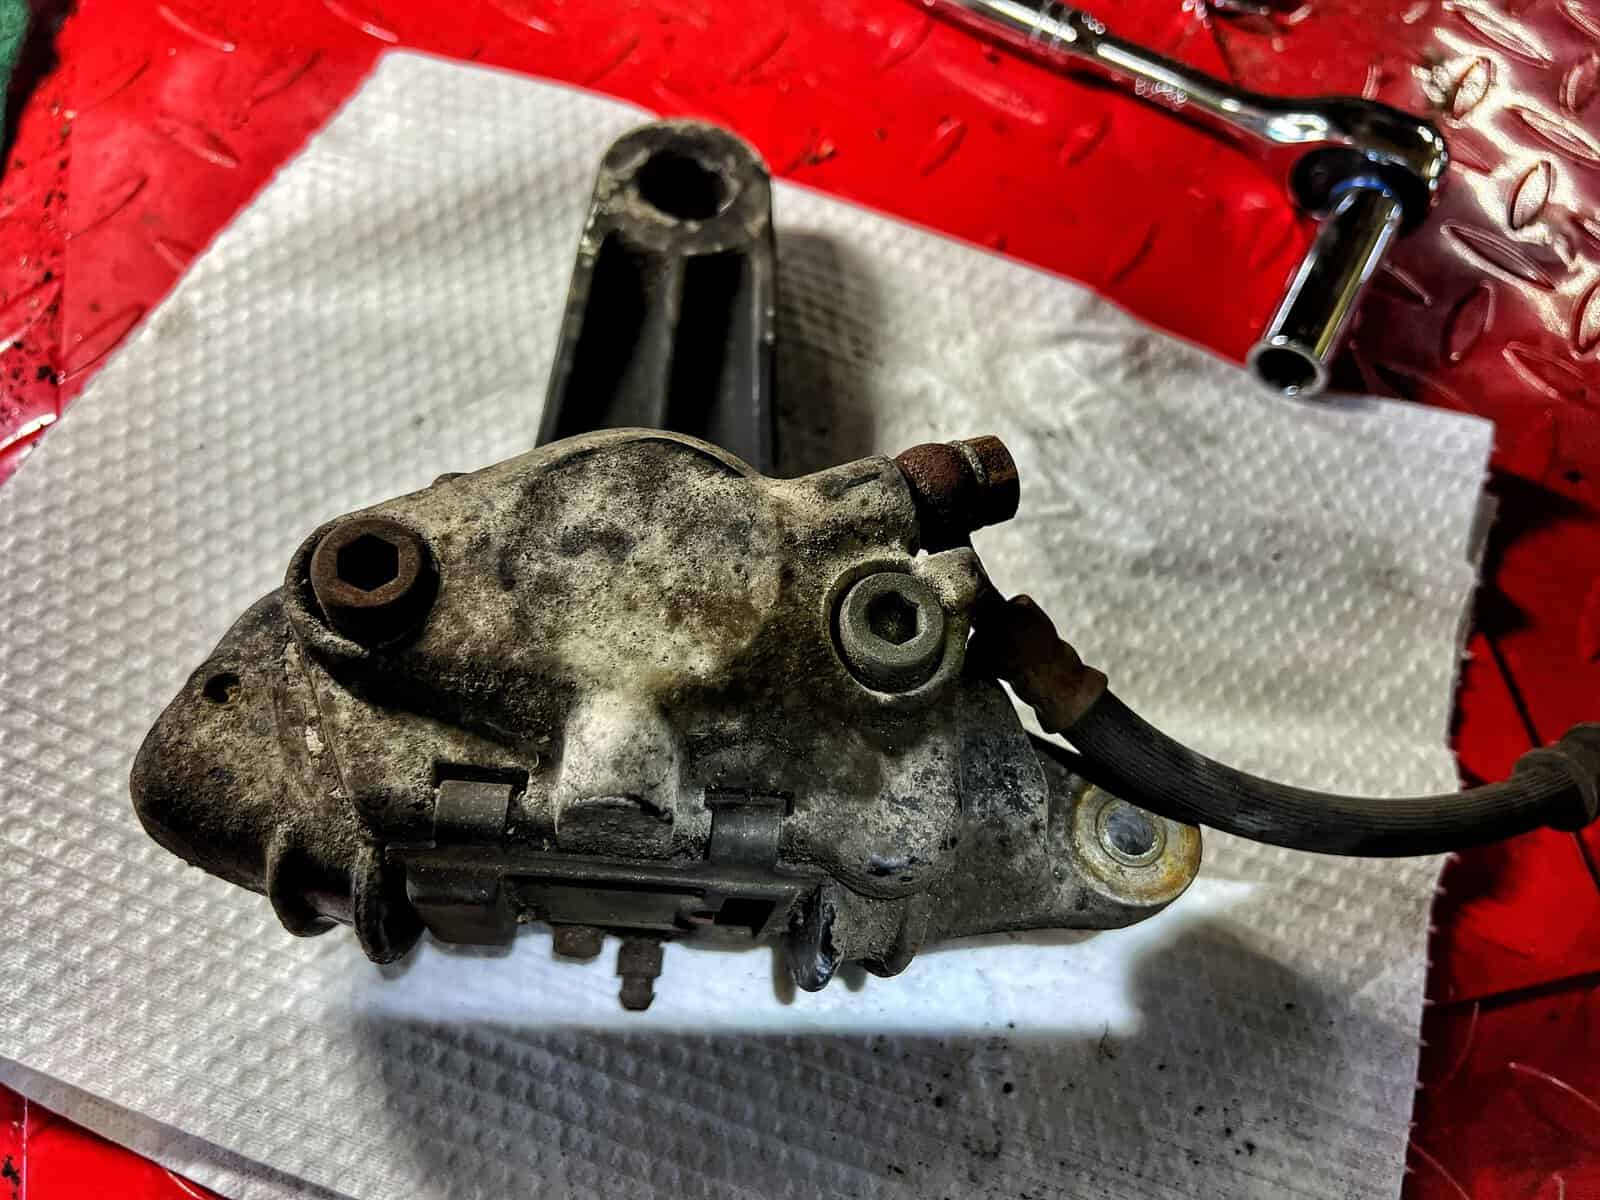
Once the caliper was off the bike, I started taking it apart to see what I was actually dealing with. The banjo bolt had visible corrosion inside the fluid passage, along with some old brake fluid still present. Crusty is the right word for it, and it explains a lot about why the piston inside might not want to move.
I talked through the basic mechanics with my dad over dinner the night before. Brake fluid pushes against the back of the piston and forces it out against the pad. The seal around that piston has a square cross section rather than round, which is apparently a fairly distinctive design choice. As fluid pressure builds, the seal rolls slightly, and when pressure releases, that same rolling motion helps drag the piston back in. It is a clever bit of engineering for something that looks simple from the outside.
He also gave me one piece of guidance that raised the stakes a little. If these pistons cannot be freed up and restored to working order, finding replacements for a bike this old could be extremely difficult or simply not possible. That put a little extra pressure on getting this right rather than rushing it.
The Disassembly Got Messy
Getting the retaining clips out so I could pull the rubber boots free took a careful hand, especially since both boots felt brittle, almost crunchy, in a way that worried me before I got a good look. Once apart, the boots themselves turned out to be pliable and in decent shape. Good news there at least.
The paint on the outside of the caliper came off easily in some spots and fought hard in others, which told me it was probably applied over the original finish at some point rather than being a factory coating. I do not think this caliper started out painted black. Between scraping with a screwdriver and a pass through the ultrasonic cleaner, I got most of the loose surface paint and grime cleared.
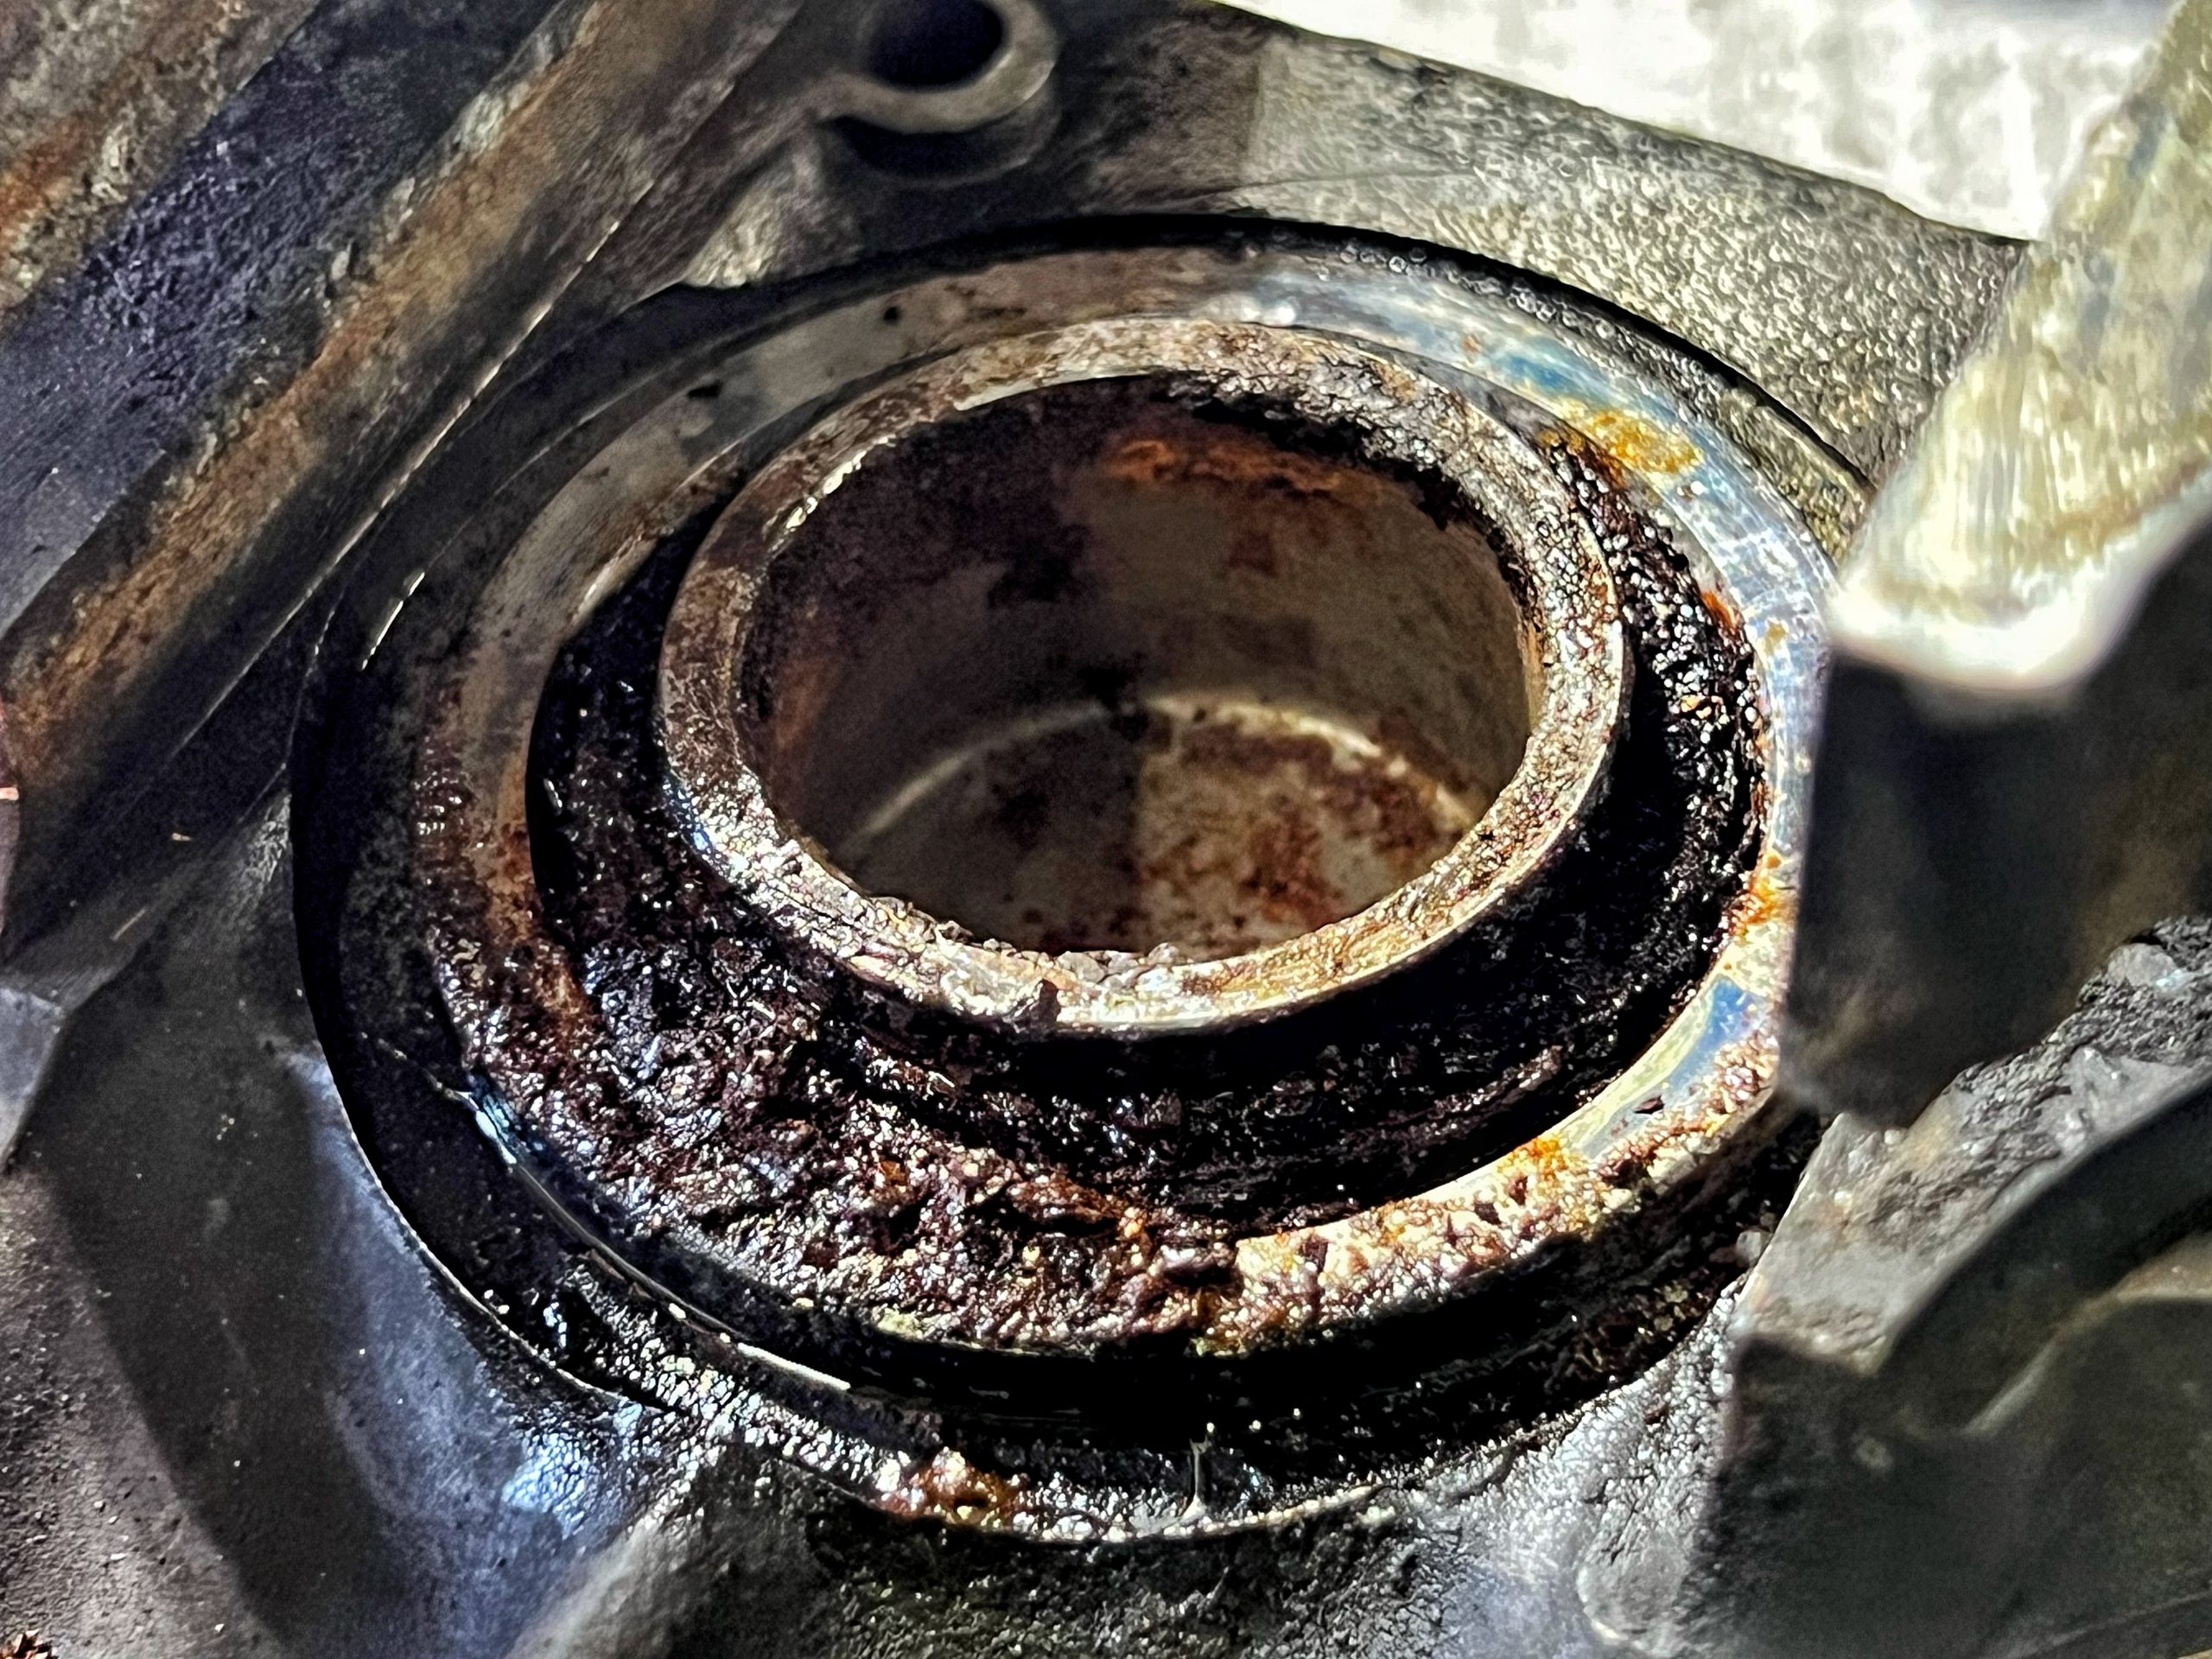
Where the Real Problem Showed Up
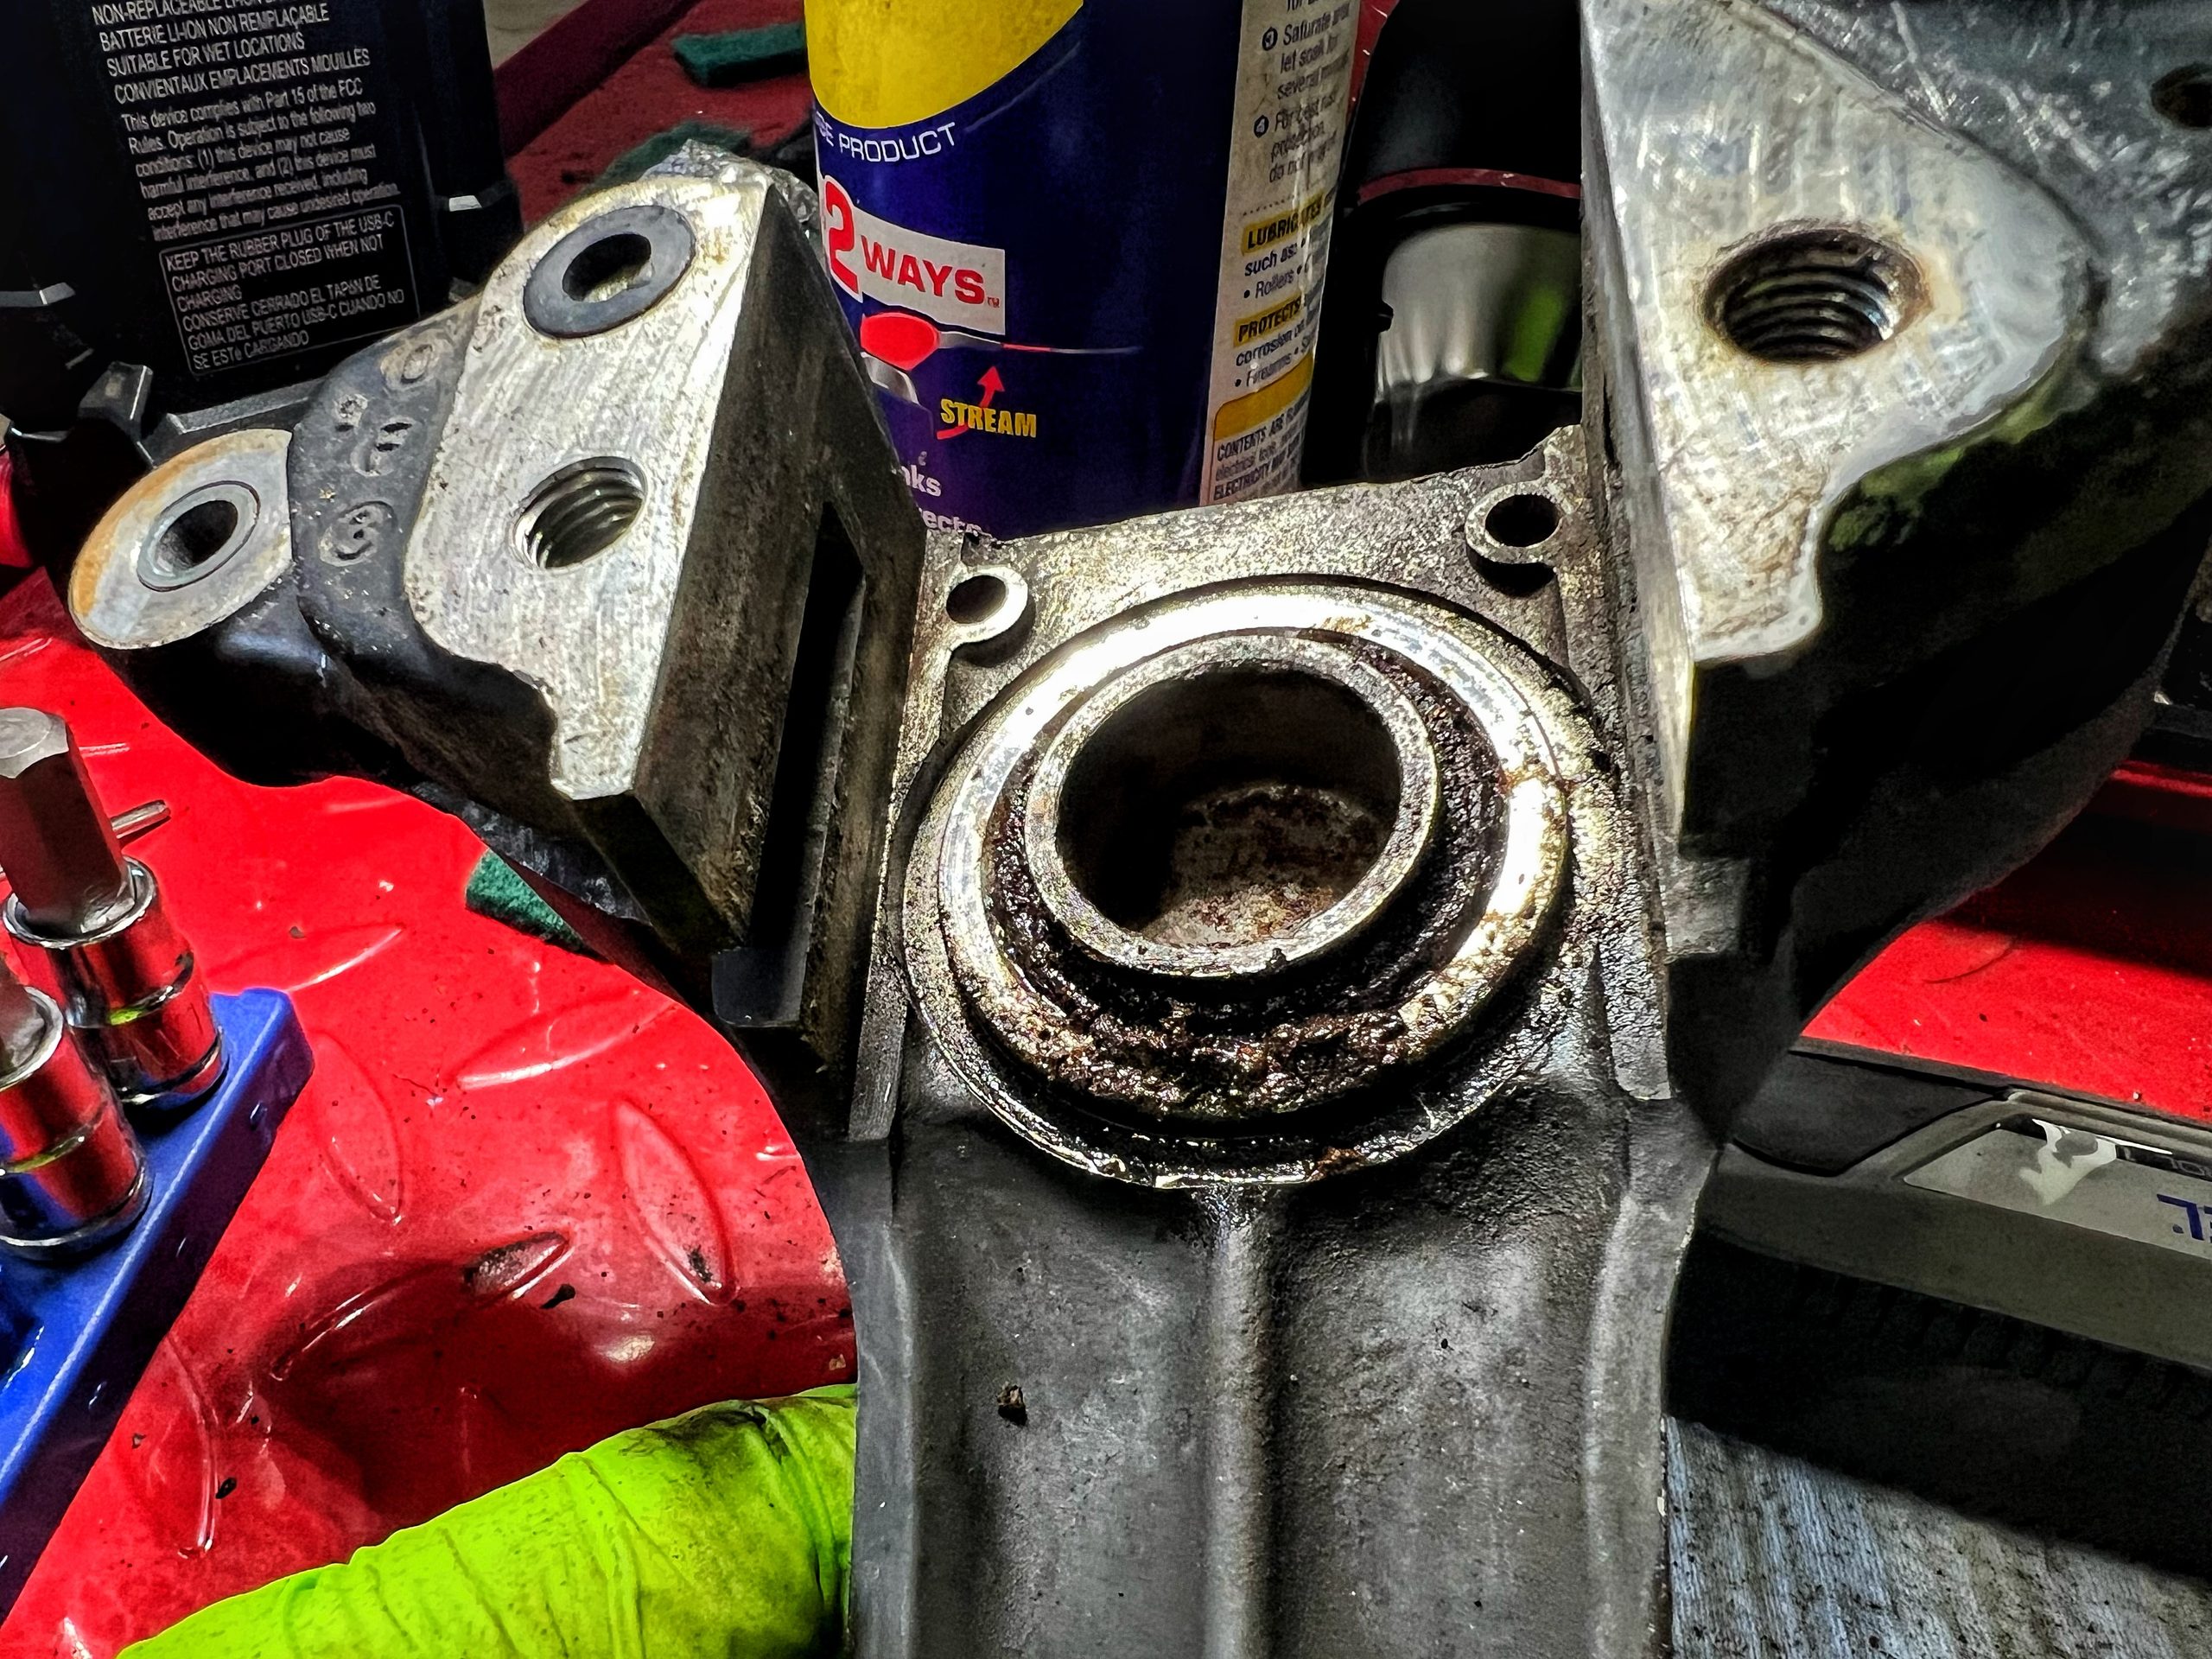
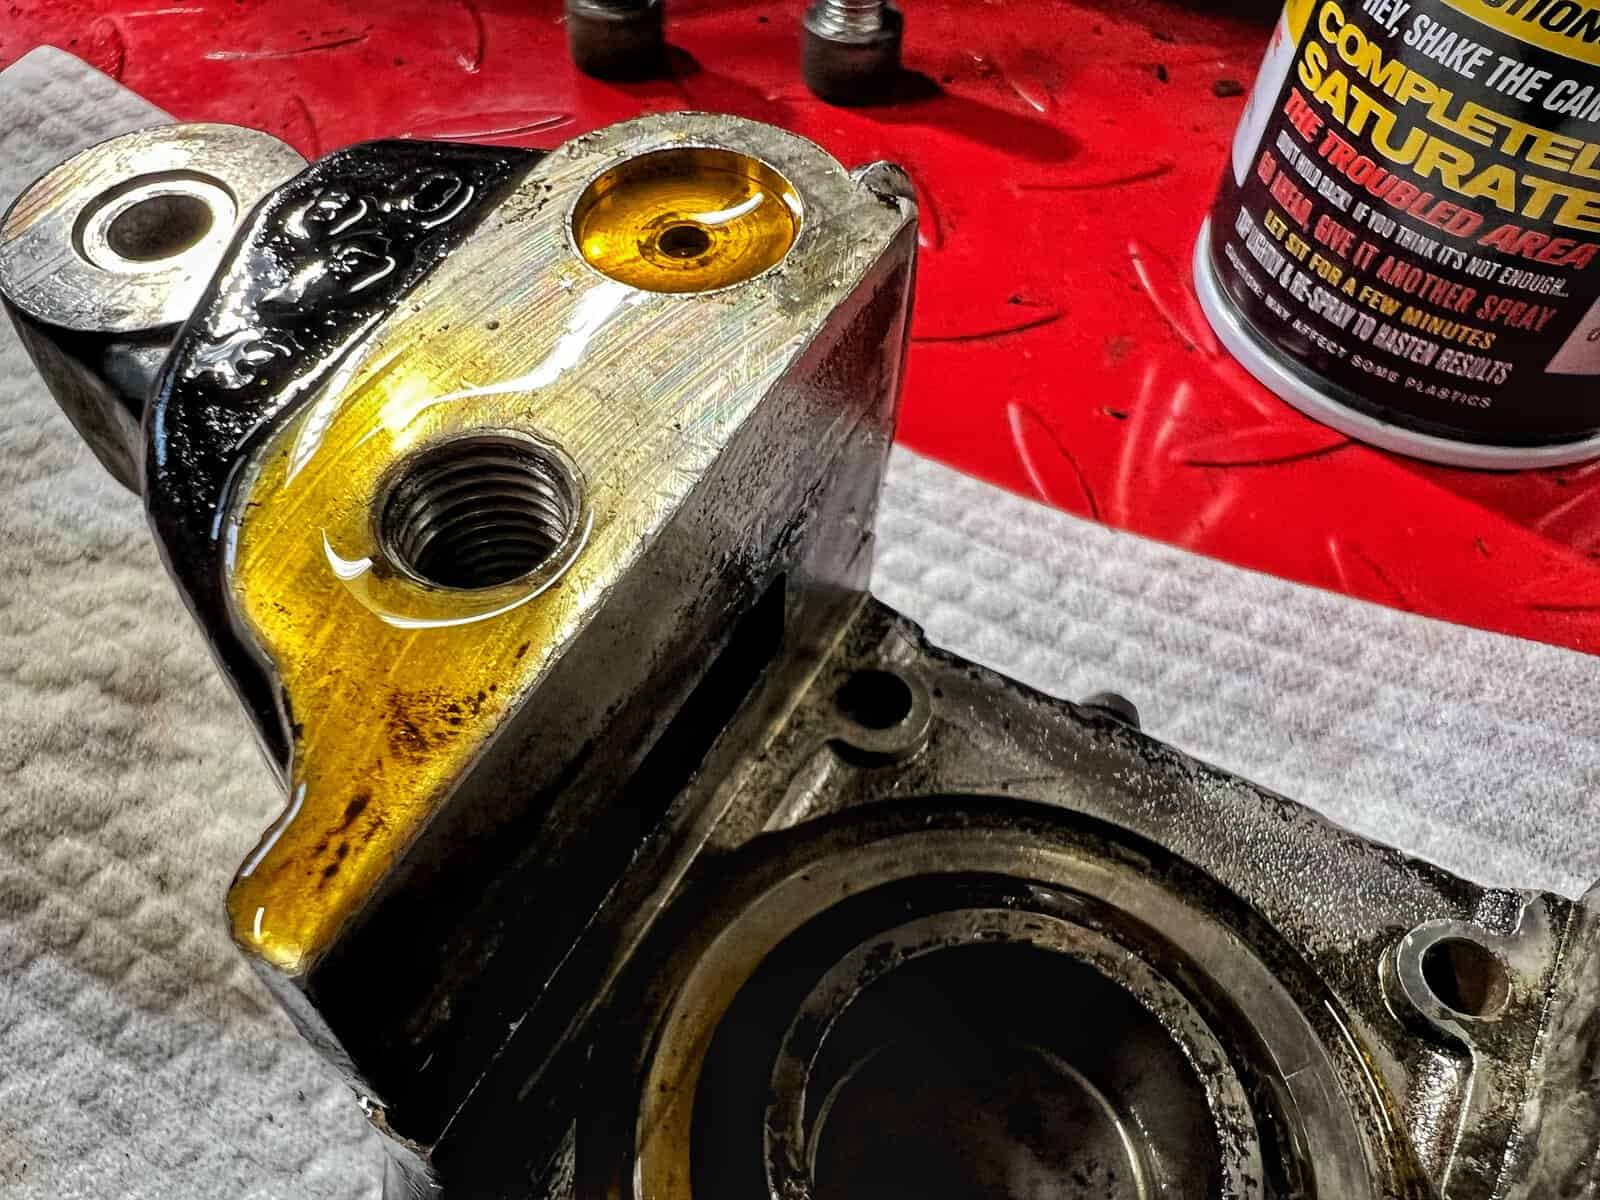
This is where the session stopped being a normal cleaning job. The piston inside the caliper is supposed to move in and out like, well, a piston. Mine does not move at all. I worked a small screwdriver around the inside track looking for debris or gunk that might be physically blocking it, and the screwdriver kept bottoming out against bare metal with nothing to dig out. I blew compressed air through the fluid inlet hoping to force movement and got airflow through to the outlet just fine, but the piston itself stayed exactly where it was.
I genuinely could not figure out if I was looking at a part that was supposed to move and was simply seized solid, or a part that worked completely differently than I assumed. That kind of not knowing what you do not know is its own special kind of frustrating.
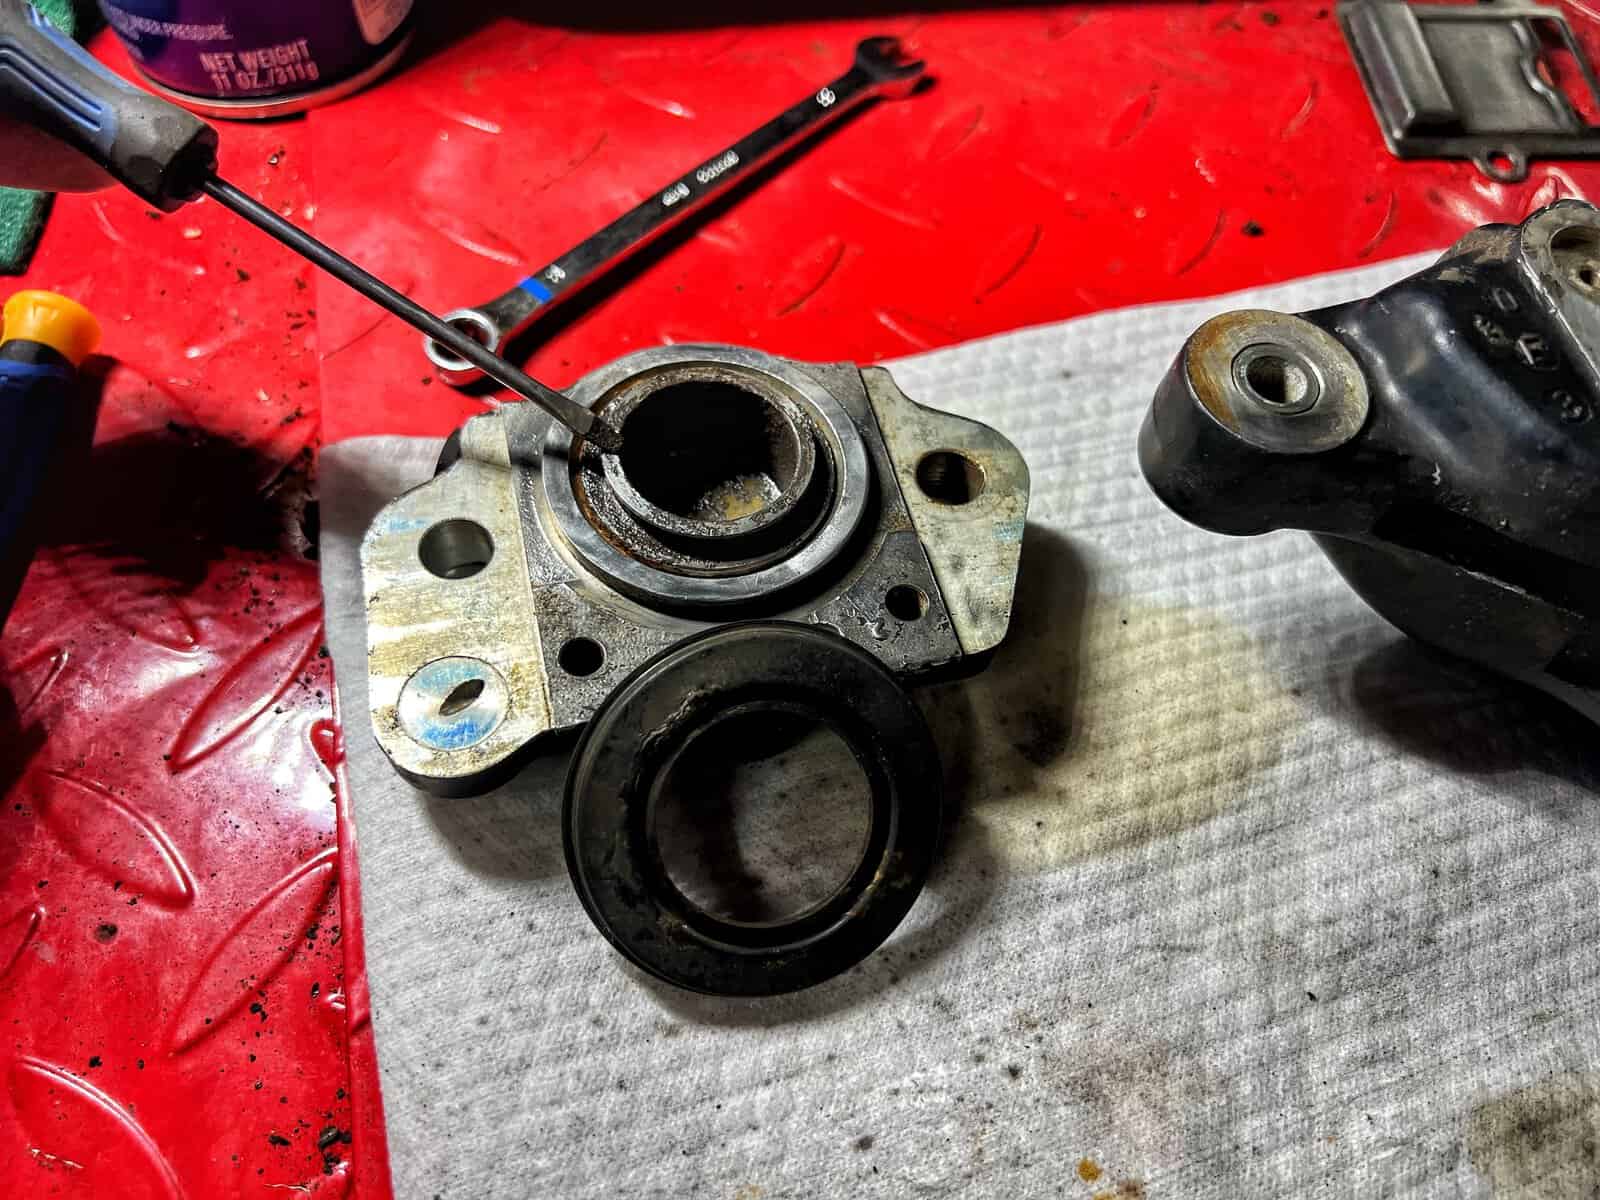
Calling in the Community
When you hit a wall like that, it helps to have people to ask. I could not reach my dad in the moment, so I posted in the WaltInPA Discord and one of the members there, who goes by Old’s Man, confirmed that yes, those interior pistons are absolutely supposed to move. He had dealt with a similar rust situation on a project of his own a few years back and said it took real patience to free things up.
His advice was straightforward. Soak the pistons in PB Blaster, give it a few hours, then introduce some gentle heat with something like a heat lamp to slowly expand the metal before trying again. That is exactly the plan now. The caliper is currently soaking while I wait this out.
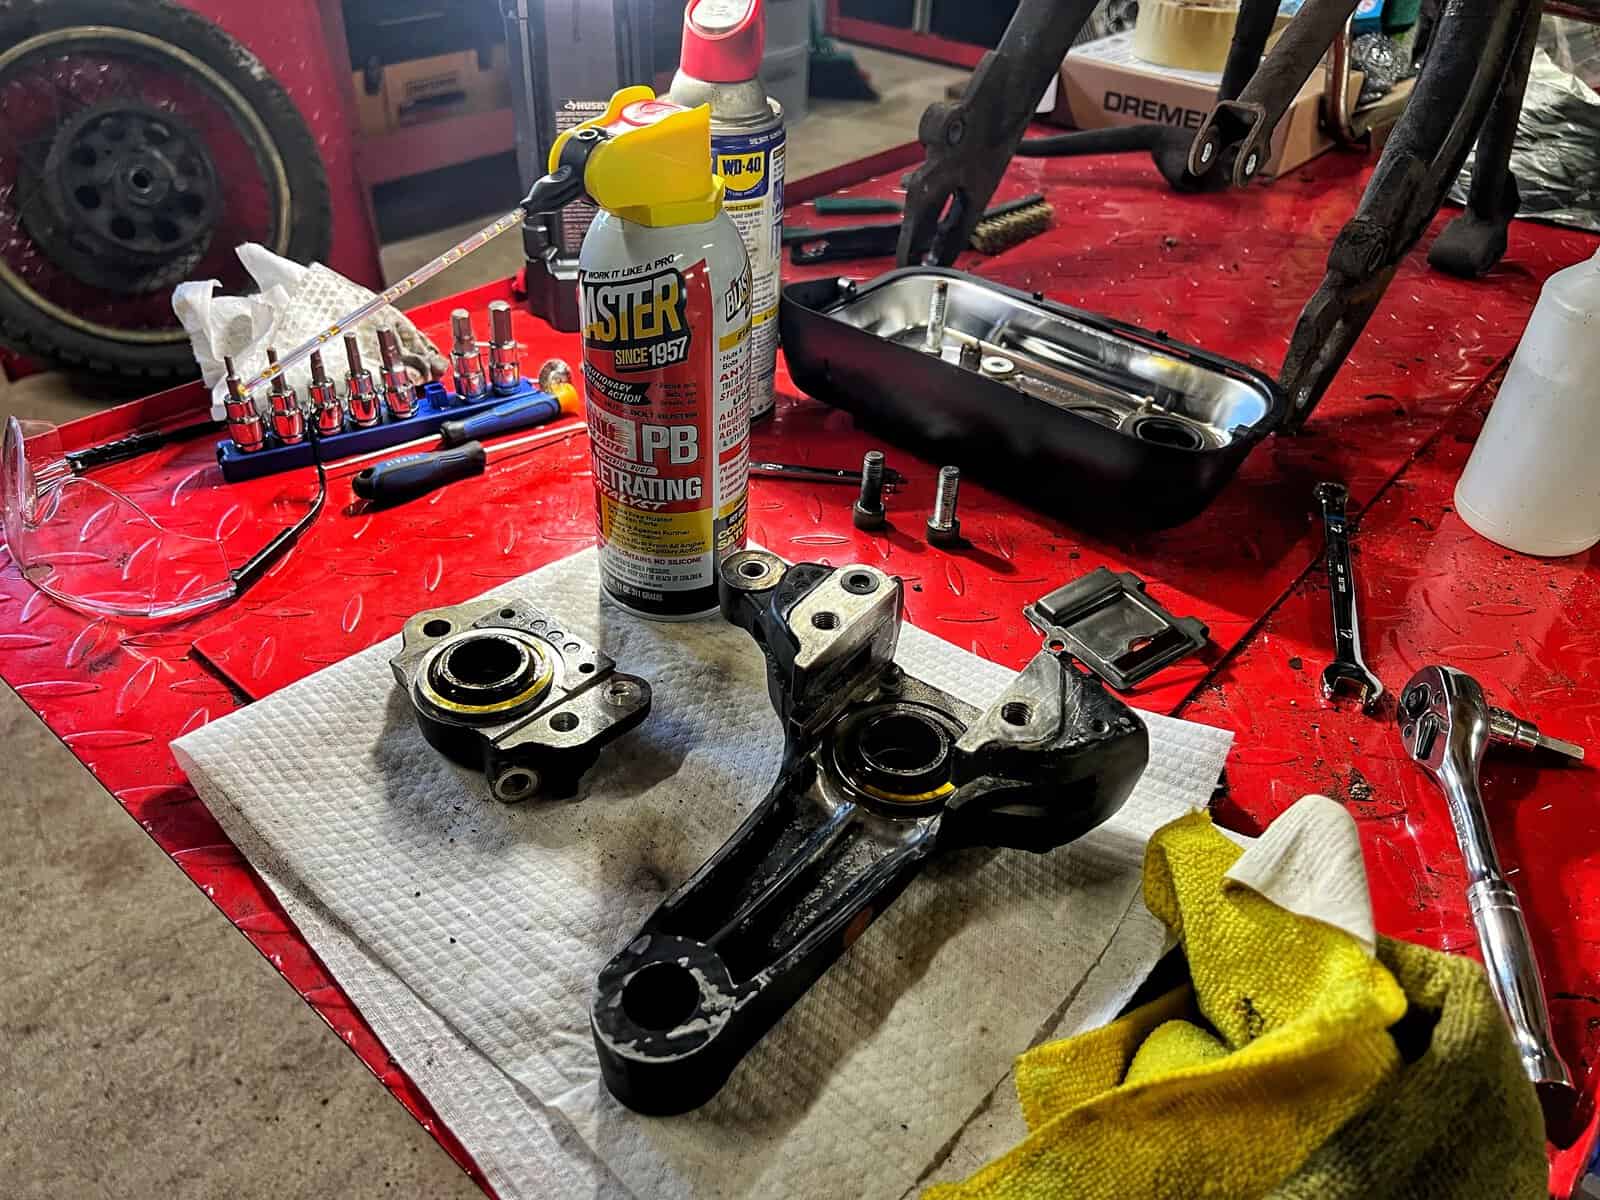
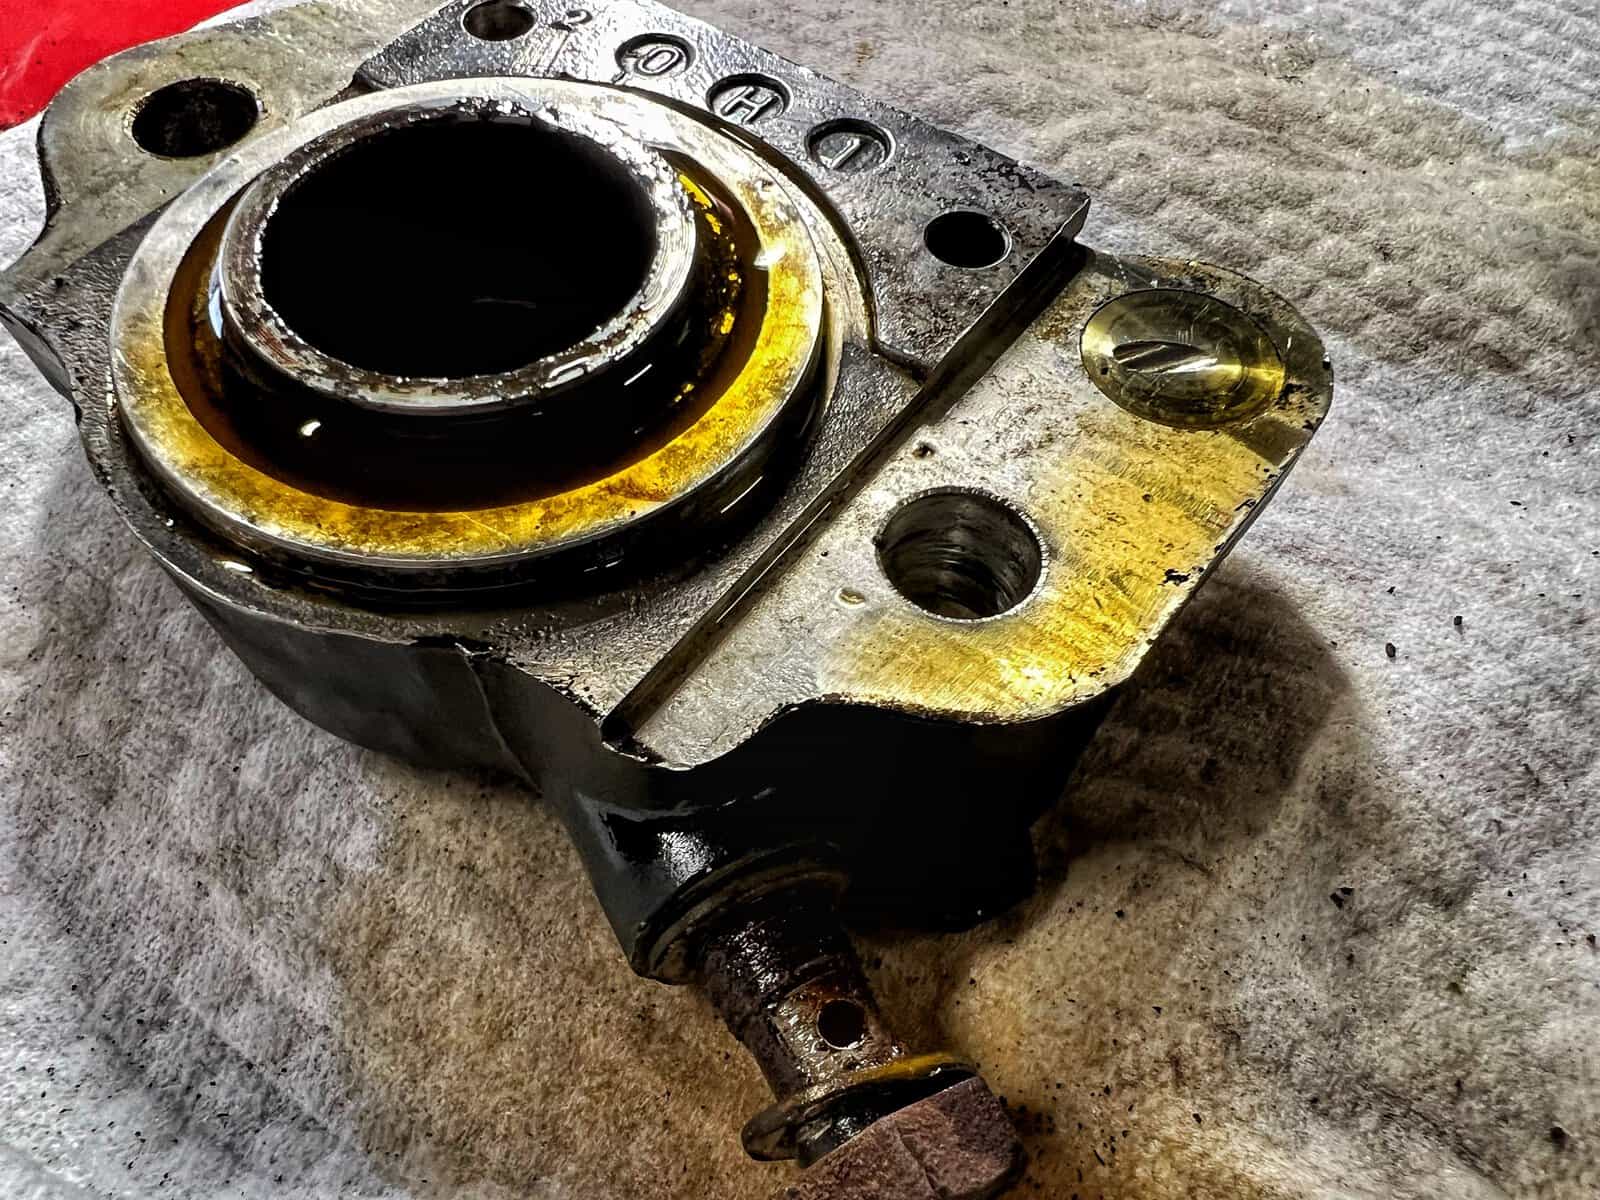
What’s Next for the CB750F
This is officially part one of the rear caliper saga. Nothing about this felt like it was going to wrap up in a single session once I realized the piston was not moving at all, so I am treating the resolution as its own future post once I know whether PB Blaster and heat actually do the job.
In the meantime there is still the caliper stay to pull off the rear fork, and the rear fork itself is getting closer to coming off the bike entirely. The rear wheel is still out there waiting, and the wiring harness cleanup using that vinegar and salt method is still on my list. Plenty to keep busy with while the PB Blaster does its work.
Ride With Me
If you want to see whether that piston actually frees up, subscribe to the WaltInPA YouTube channel so you catch the next session as soon as it goes up. If you know someone who has fought a seized brake caliper on an old bike, send this one their way, they will probably feel the frustration in this one. And if you have dealt with something similar yourself, come share what worked for you in the WaltInPA Discord. The CB750F restoration has already gotten real help from that community once this episode, and I am hoping for round two.
Recent Posts
We did it. Ten covered bridges across Lancaster and Chester County in one day, and I am not going to pretend I wasn't completely cooked by the end of it. This post is the bookend to what might turn...
Sometimes this build moves in a straight line. Then my dad shows up and twenty minutes later everything has changed. CB750F front end removal was not on the agenda for today. Painting the battery box...