
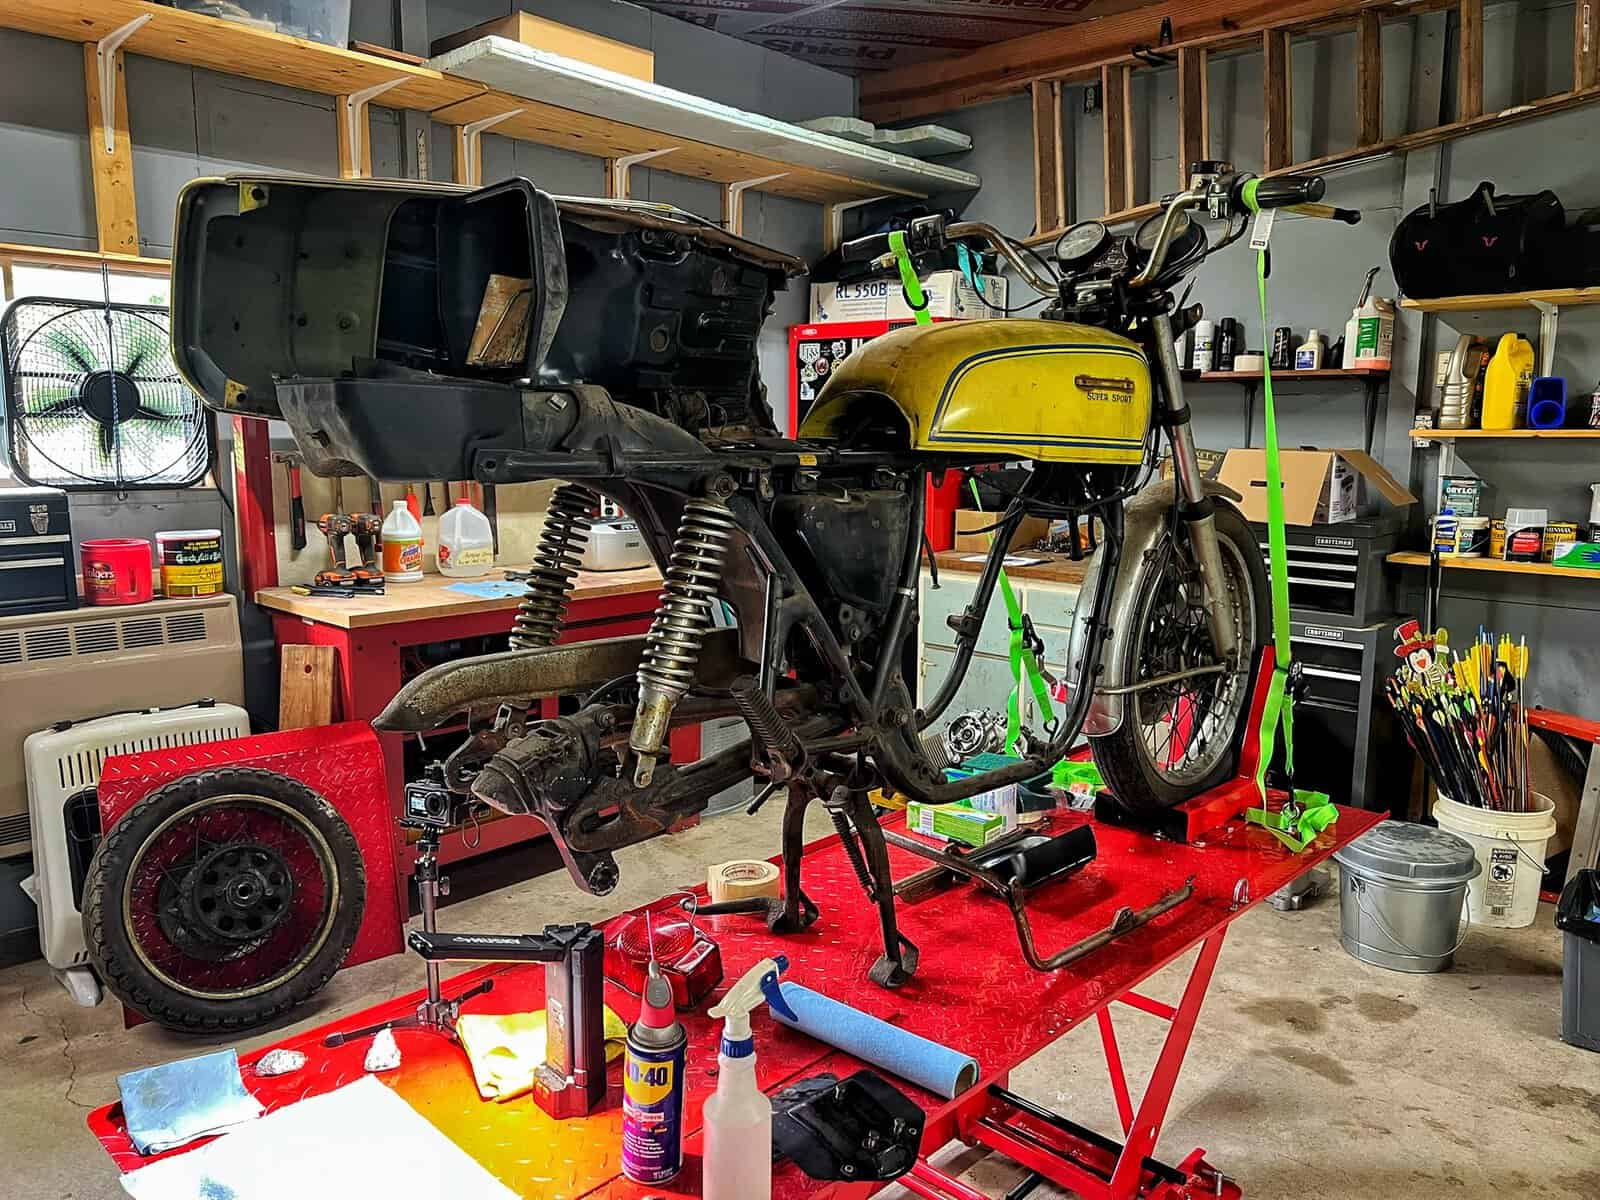
I have been talking about pulling these shocks for two episodes now without actually doing it. The spring compressor showed up, the previous session was an easy oil tank win instead, and the shocks just kept getting pushed to next time. Today was finally the day. CB750F rear shock removal was the whole agenda, and it turned into the most involved job I have tackled on this bike so far.
Two bolts on each side and the rear fork dropped right down once they were out. Getting the shocks off the bike was the easy part. Everything after that is where the real story is.
Table of Contents
Compressing the Spring
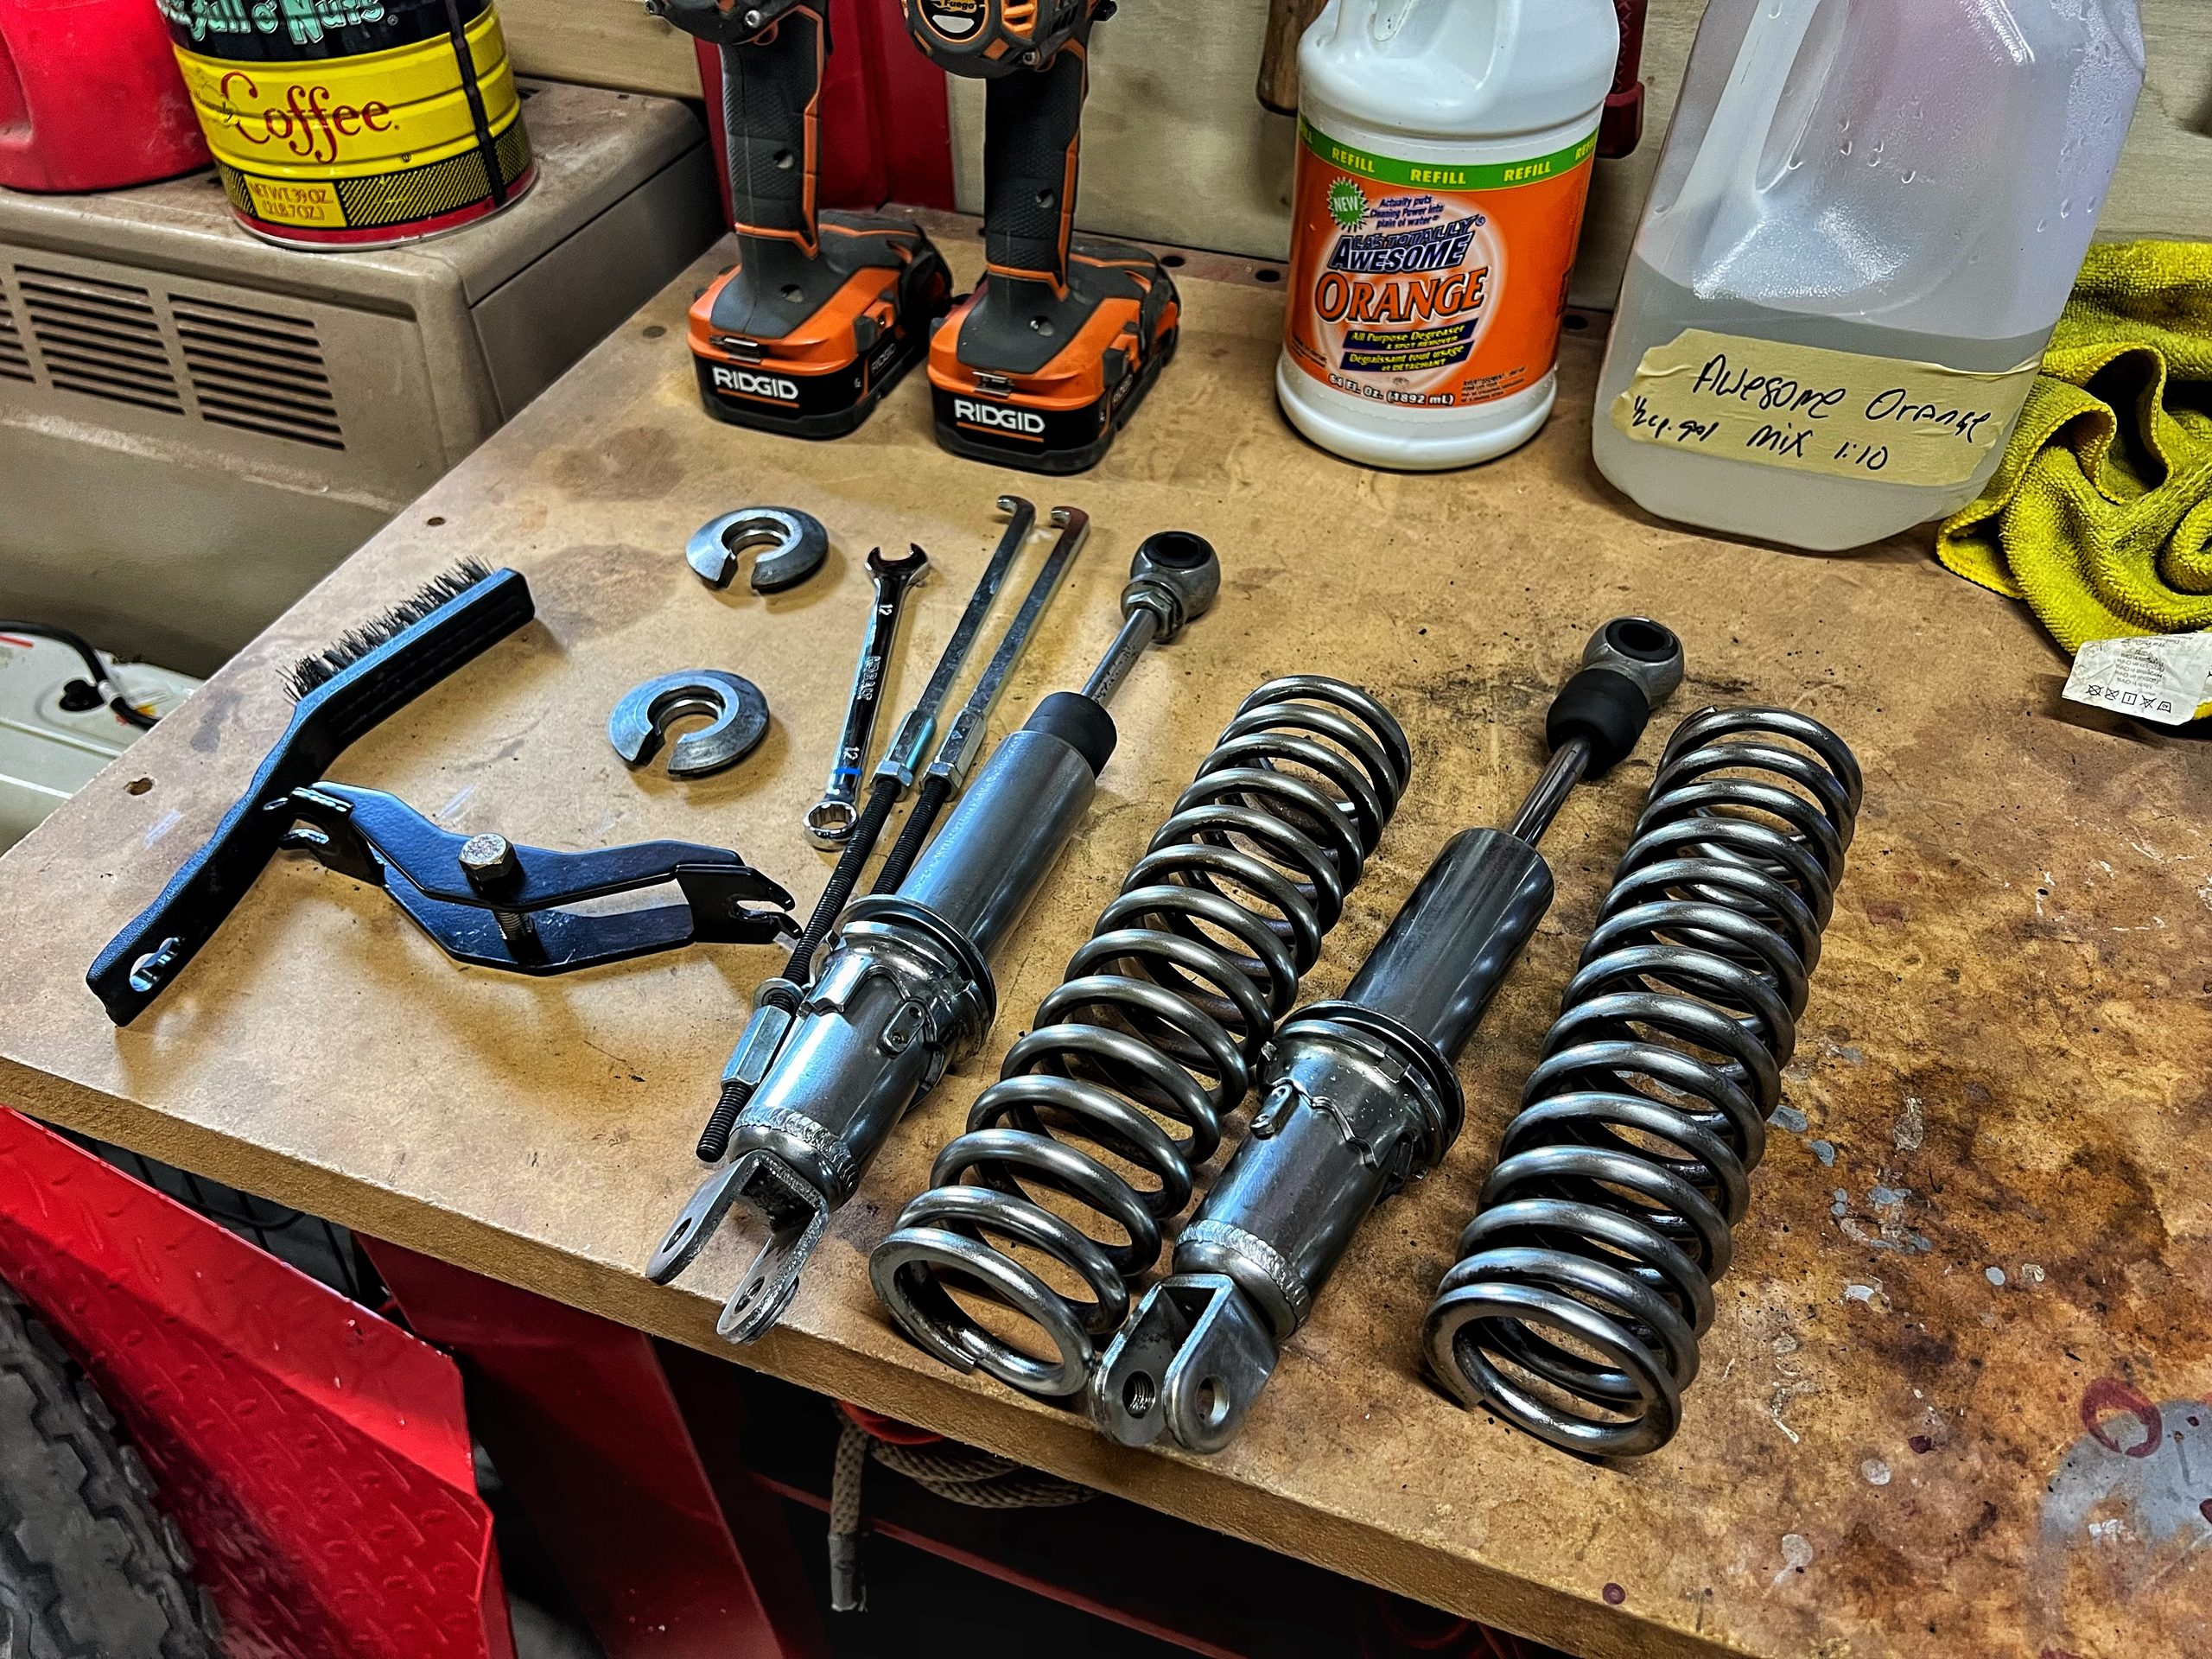
I picked up that $27 generic spring compressor from Revzilla a couple episodes back, and today was its first real test. The tool is basic. Two long threaded rods with hooks on the ends that catch the coils, and you crank them down evenly to compress the spring far enough to get the retaining collar off.
The problem was the bolt that is supposed to run straight through the bottom of the shock did not fit the way the instructions showed. I ended up rotating the setup 90 degrees so the bolt indexed against the bottom of the case instead. It worked, but it felt sketchy, and I will be honest that I went into it knowing a more rational person might have stopped and found another way. I needed the shocks apart, so I gave it a shot anyway.
Cranking the rods down evenly took patience. The hooks are independent, so if one side compresses faster than the other, the spring can shift unevenly on the helix, which is exactly the kind of thing that makes you nervous when you have got fingers anywhere near a coiled spring under that much tension. I went slow, checked both sides constantly, and eventually got enough compression to slide the collar off. Once that happened, the spring came free and the worst of the danger was over.
What I Found Inside the Shock
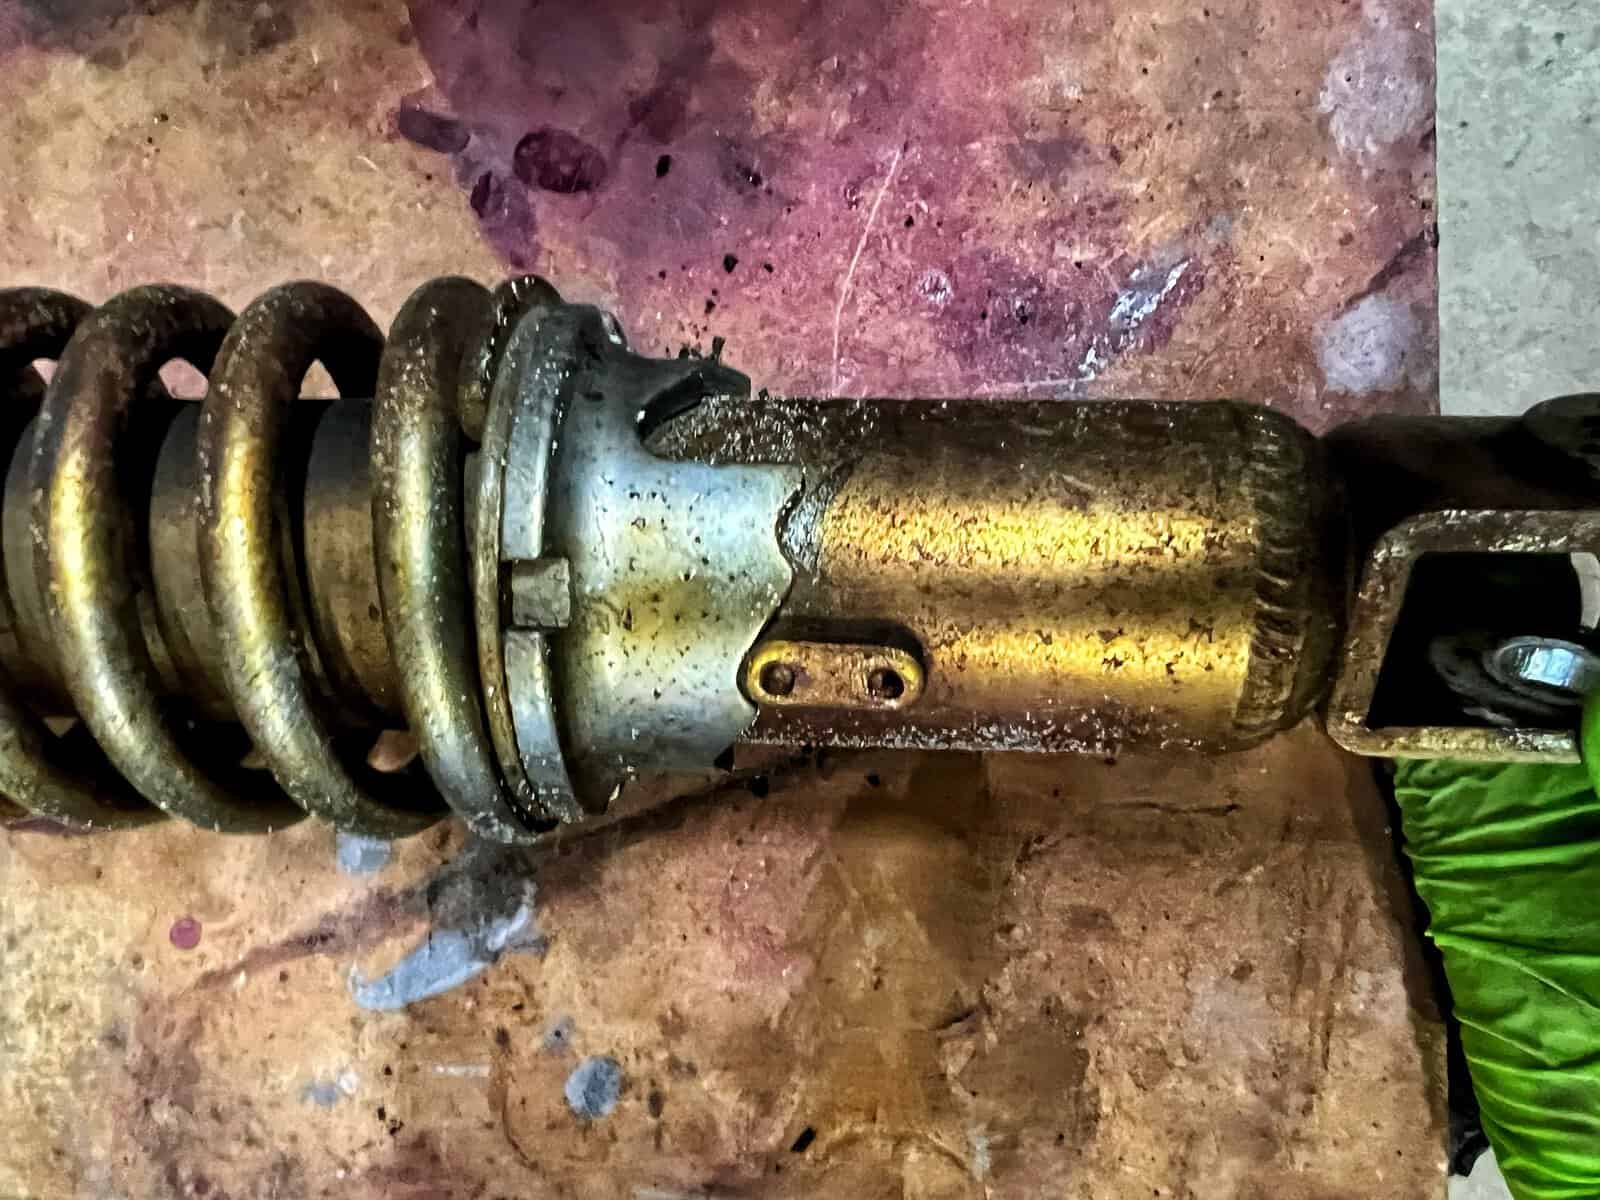
With the spring off I could actually work the piston through its full range of motion by hand. There is real resistance in there, which means the damper is doing its job. You can feel it compress under pressure and then control the rebound rather than just letting the spring snap back on its own. That is exactly what a working shock should feel like.
I checked carefully for any sign of fluid leaking out around the seals and did not find any. The shaft and piston area felt oily to the touch, which had me a little concerned at first, but there was no actual seepage anywhere I could see. My take is that this is residual lubrication rather than an active leak, though I will be keeping an eye on it. Both shocks tested out the same way. No sticking, full range of motion, no visible leaks.
The Real Challenge Was Cleaning, Not Disassembly
Taking the shocks apart turned out to be the easy part of the day. Cleaning them is what ate the hours.
The springs themselves have surface rust on the inside of the coils that I genuinely cannot reach no matter what I try. I worked strips of Scotch-Brite pad between the coils, twisted them like a screw, scrubbed from every angle I could think of, and still could not get all the way into the inner surface of each ring. I went back through with a wire brush and made some progress, but not enough to call it clean.
At one point I went looking for my wife’s old bottle brush, the kind with a worn out head that she would not miss, since I thought the shape might get into the coils better than anything I had. She had replaced it with a new spongy one with zero abrasion to it, which meant my plan to commandeer the old one was dead on arrival. That is married life for you.
I dug around under the sink and found some CLR, which helped knock down some of the rust when applied with an acid brush and given a few minutes to work. Between the CLR, the wire brush, and a lot of repeated passes with Scotch-Brite, the springs went from rough to noticeably better, but they are never going to be perfect. There is rust residue down inside the tube that I simply cannot access, and I have made peace with that.
Aluminum Foil Has Limits Too
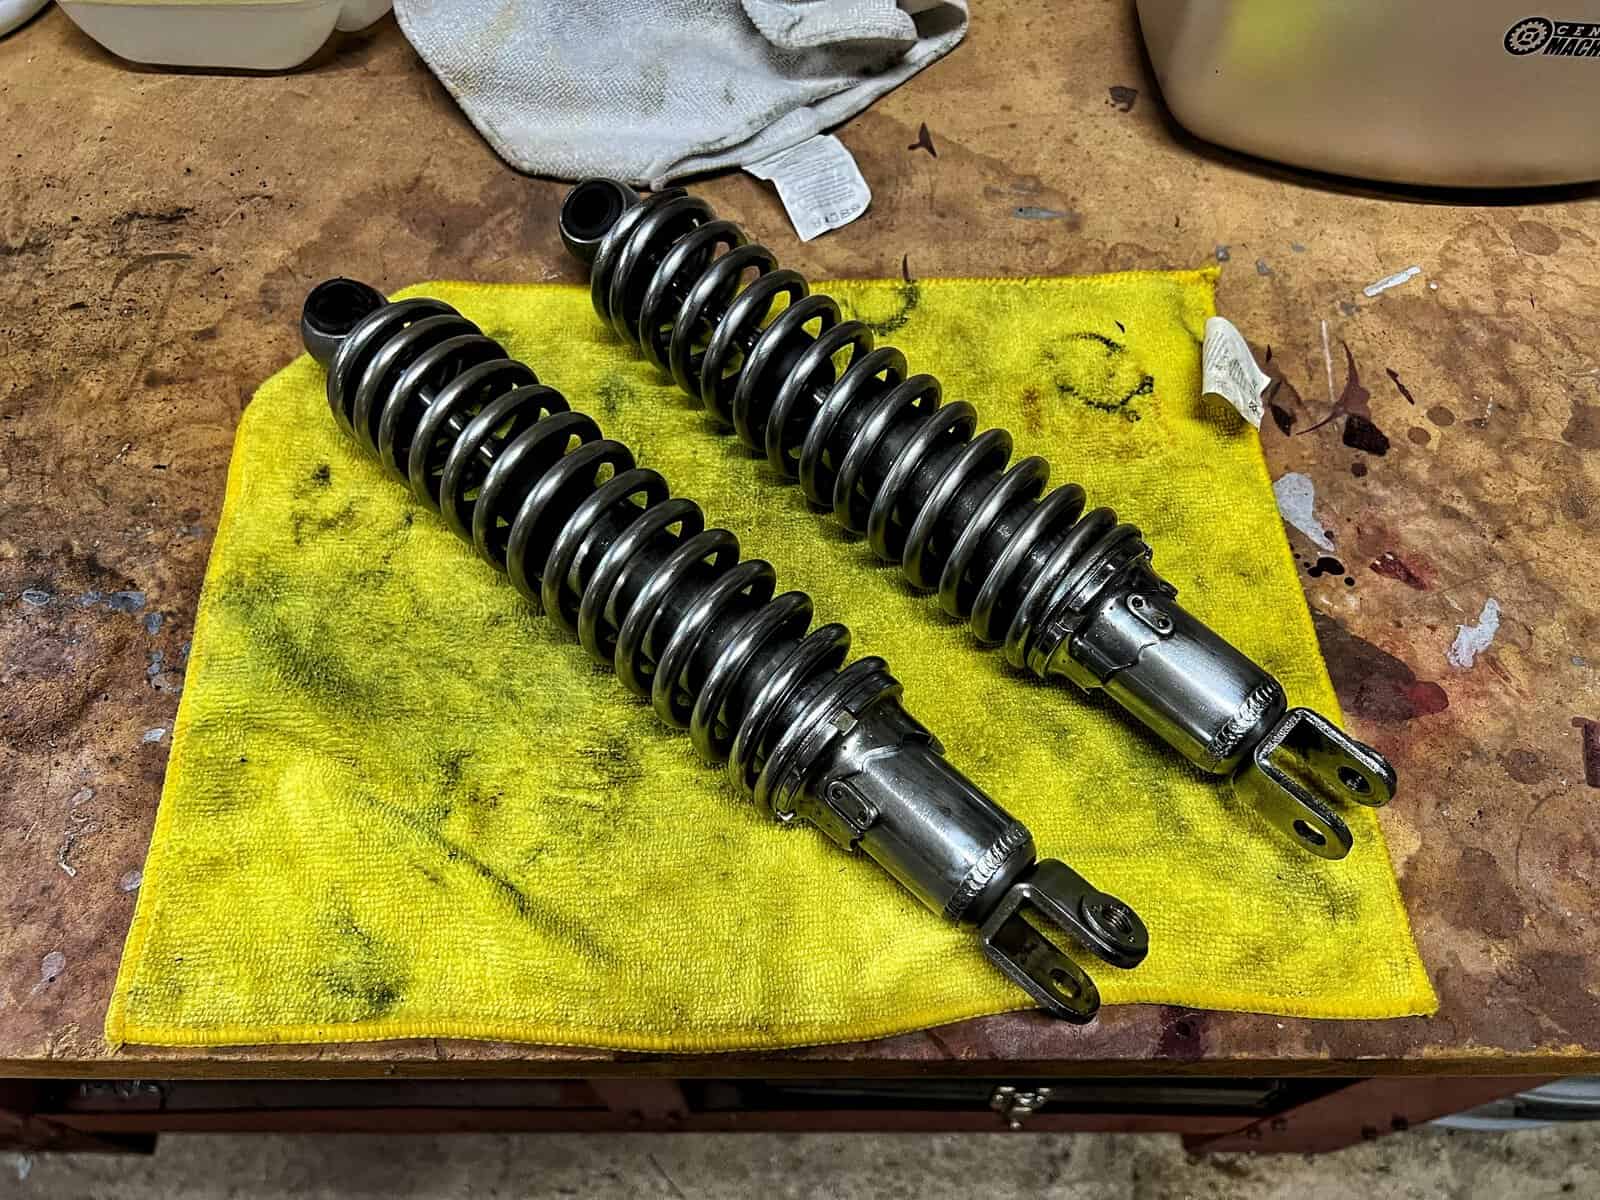
This session taught me something about aluminum foil that I had not fully appreciated before. It is great on actual chrome, but on parts with existing pitting and surface rust, it can leave a brushed, scratched look rather than restoring a clean shine. I went back and forth between foil and Scotch-Brite depending on what each specific spot needed, and there is no single tool that handles everything on a bike this old.
That is really the theme of this whole project at this point. Some parts clean up beautifully. Some parts you do your best with and accept the result. I am not chasing show quality here. I never set out to build something that belongs on a stage at a bike show. The actual goal has always been getting my grandfather’s motorcycle back on the road and looking respectable in the process. From a few feet away, this bike is going to look great. Up close, you are going to see some pitting and some scars from forty years in a shed. I am okay with that trade.
Putting the Shocks Back Together
Reassembly went noticeably faster than disassembly, mostly because everything was clean and no longer fighting years of corrosion. The compressor still needed a fair number of cranks to get enough travel for the collar to seat, and I kept an even count on both sides the whole way to avoid any uneven tension. Once the collar locked back into place, both shocks were done.
I did not get to cleaning the mounting bolts themselves this session, so that is still on the list. Otherwise this is the most substantial single task I have completed on the bike so far, and it feels good to have it behind me.
What’s Next on the CB750F
The rear brake caliper is next, along with the stay that anchors it to the rear fork. After that the rear fork itself is probably coming out, followed by the fender, the trunk, and eventually the seat. The wiring harness cleanup is moving up the priority list after seeing how well that vinegar and salt method worked for someone else’s build.
The rear wheel is still sitting there waiting too. That has not gotten any smaller as a job in my mind.
Finding Inspiration on YouTube
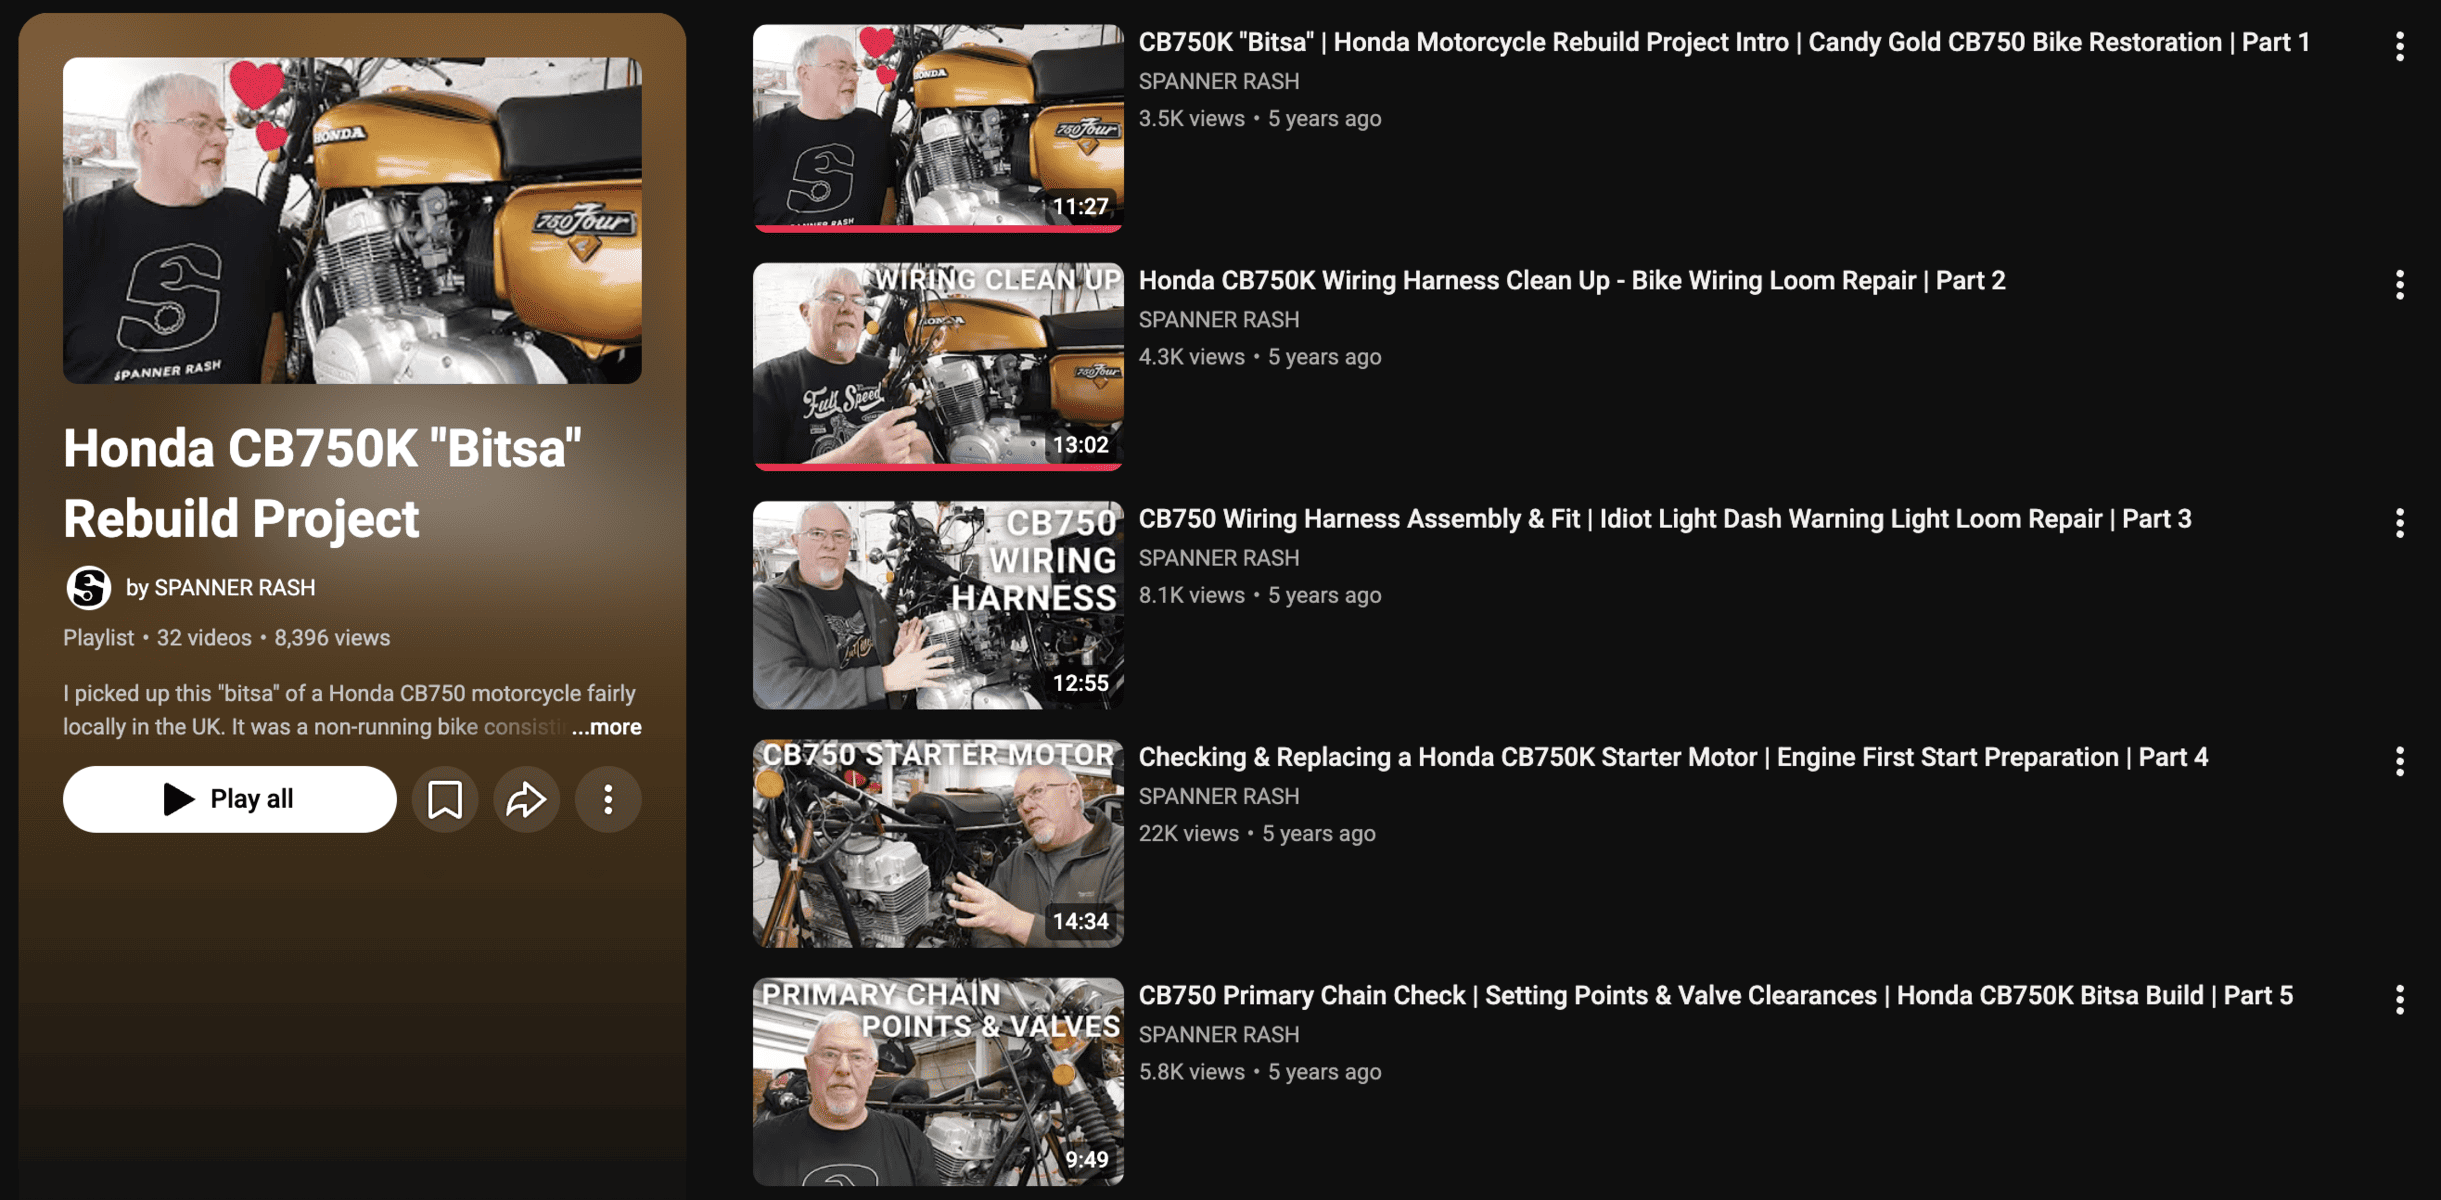
Prior to pulling off the CB750F Rear Shocks, I went looking on YouTube for anyone who had taken apart a CB750F Rear Fork so I could see what I was dealing with before committing to pulling mine. Most of what came up was finished, polished builds doing walk-arounds and engine startups, which is great content but not what I needed. Eventually I found a channel documenting a restoration the creator called a “Bitsa” bike, mixing parts from a 750F frame with a 750K motor and components from several different years. As I type that out it now dawns on me that “Bitsa” is likely “Bits of this and bits of that” creating what I typically think of as a Franken-Bike.
In one of his early episodes he pulled the wiring harness out from the battery box all the way to the headlight bucket and cleaned it using a vinegar and salt solution to dissolve corrosion in the connectors, followed by a baking soda and water rinse to neutralize the acid, then a final wash with dish soap in the kitchen sink. The result looked like factory new wiring. I am absolutely going to try that approach when I get to my own wiring harness, which is coming up sooner than later now that the back half of this bike is mostly cleared out.
Ride With Me
If you want to follow along as the CB750F restoration keeps moving through the back half of the bike, subscribe to the WaltInPA YouTube channel so you catch every session. If you know someone working through their own old bike project, especially one that involves fighting a spring compressor, share this post with them. And if you want to be part of the conversation or have ideas for getting rust out of the inside of a coil spring, come hang out in the WaltInPA Discord where good people talk shop on this stuff.
Recent Posts
We did it. Ten covered bridges across Lancaster and Chester County in one day, and I am not going to pretend I wasn't completely cooked by the end of it. This post is the bookend to what might turn...
Sometimes this build moves in a straight line. Then my dad shows up and twenty minutes later everything has changed. CB750F front end removal was not on the agenda for today. Painting the battery box...