
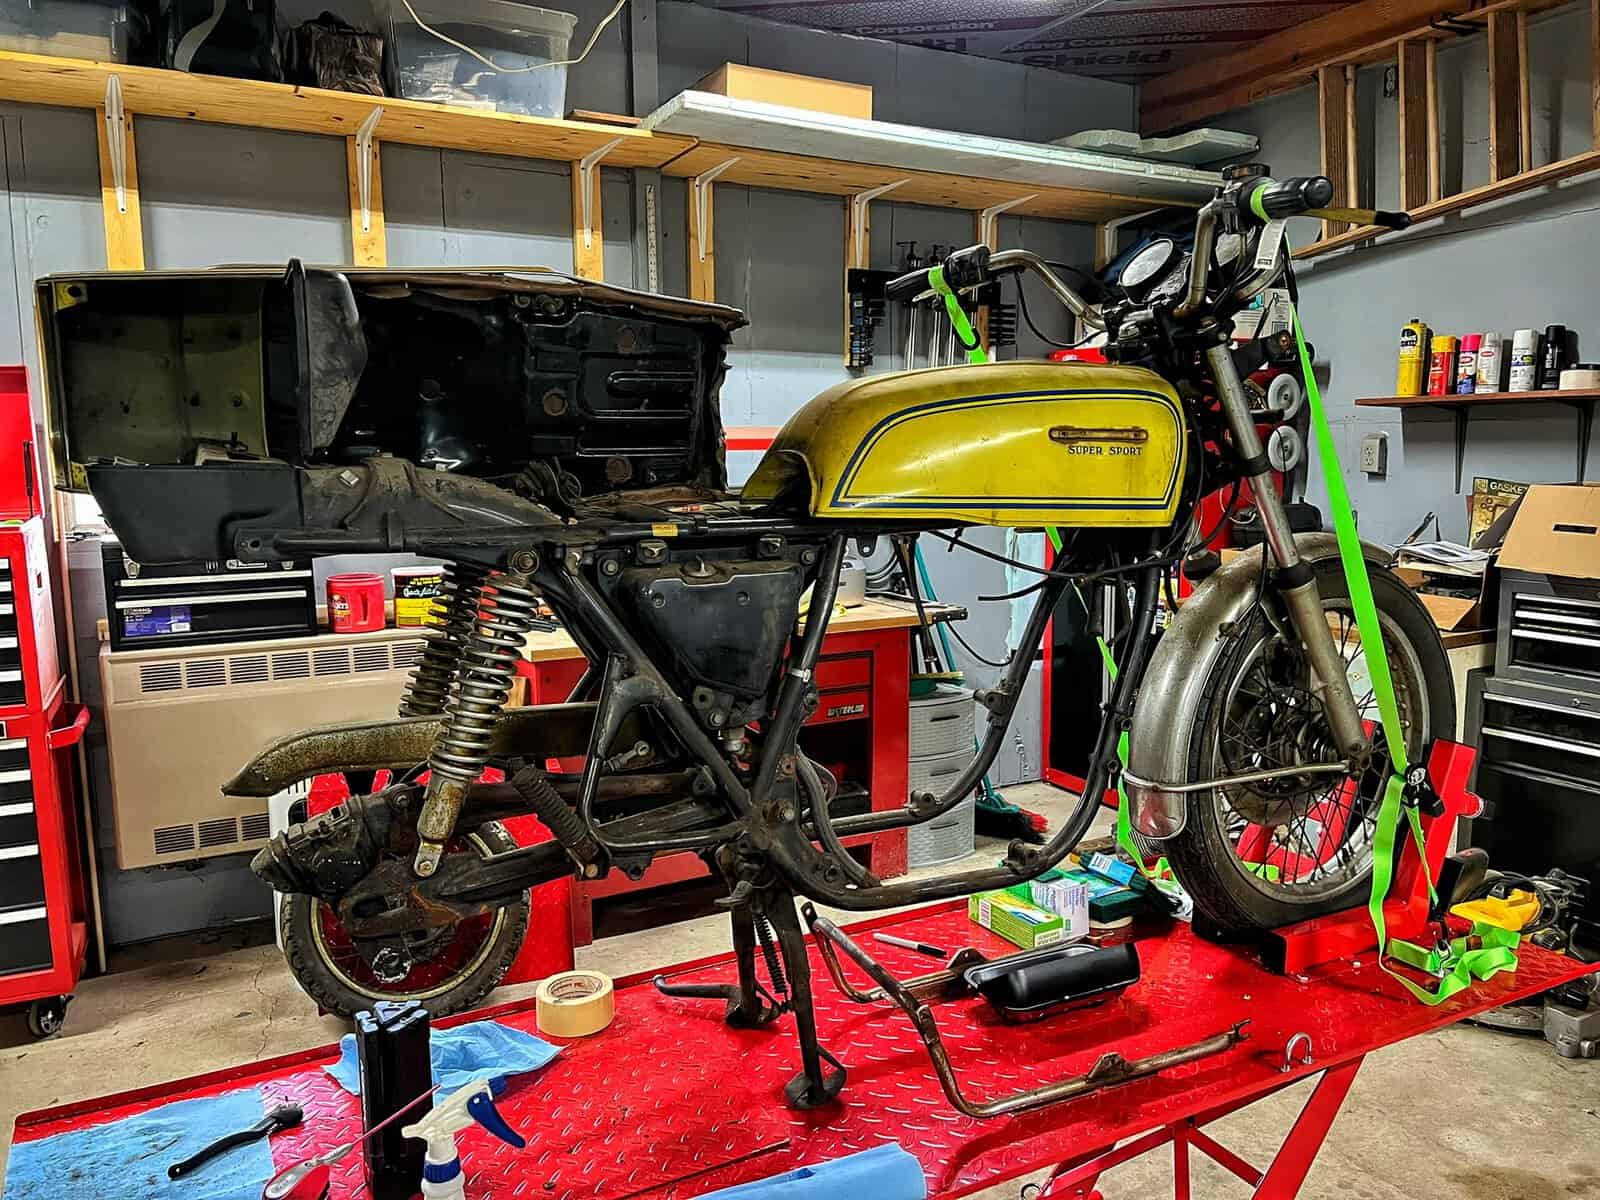
You ever tell yourself you have five minutes and you are just going to knock out one quick thing? That was me this session. I had been painting on the other side of the garage, waiting for it to dry, and I wandered over to the CB750F figuring I would just unplug the tail light wires and call it a win. Two and a half hours later I was still scrubbing parts and running the ultrasonic cleaner. That is pretty much how this bike goes.
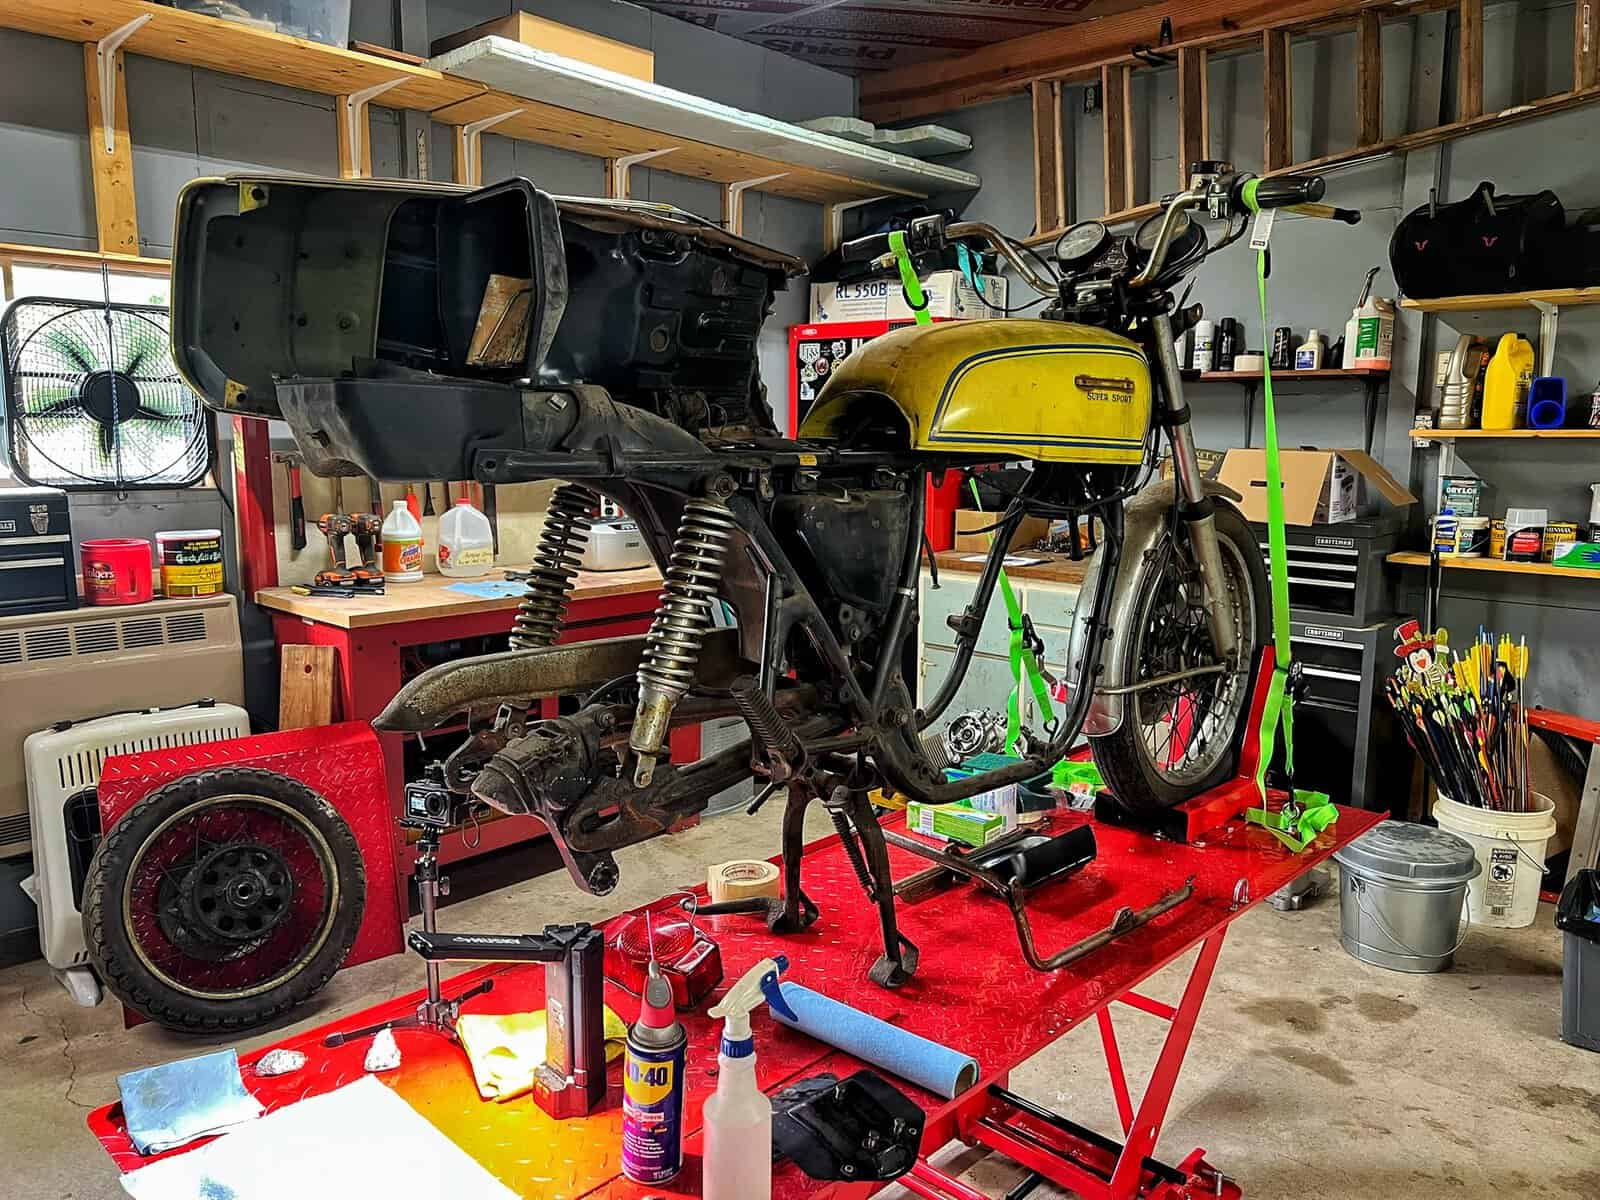
The CB750F tail light removal was the main objective for the day, along with the license plate holder and the rear frame bracket. Nothing that sounded complicated on paper. As usual, the bike had other ideas.
Table of Contents
The Tail Light Wiring Situation
The turn signals from the last session were straightforward. The wires ran up and around, color-coded connectors, pull them apart and you are done. I assumed the tail light would be similar. It was not.
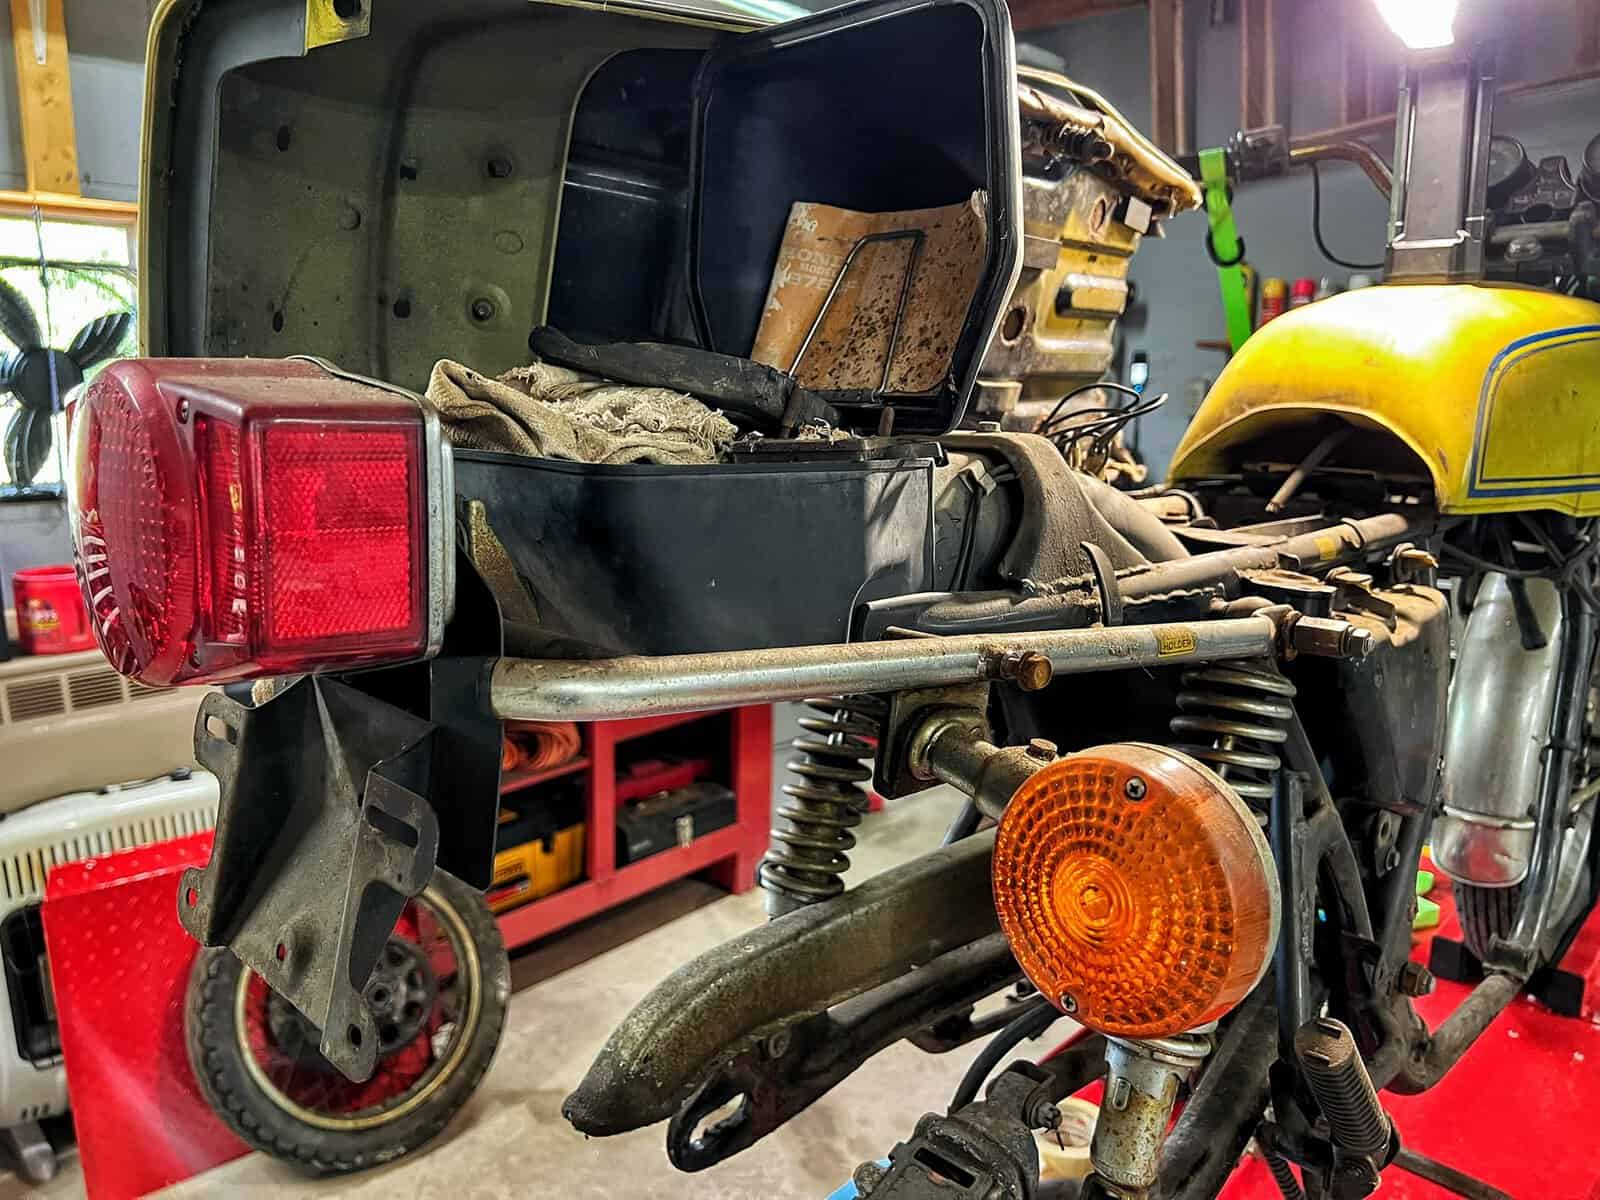
The tail light had two wires coming into the unit from one side and a third running back out to the main harness. That alone is not a big deal. The issue was that the connectors were permanently affixed rather than using the bullet connectors I was expecting. So instead of just pulling things apart at a logical separation point, I ended up with a wiring leg to manage that I was not planning for. Not a disaster, just not what I walked in expecting.
One other thing worth flagging for anyone doing similar work on a vintage Honda: this bike runs a lot of 11mm fasteners where you might expect 10mm. I was told going in that I would find odd sizes throughout, and the tail light area confirmed that. If you ever need to replace one of those bolts, you can match the thread pitch, but the head size will not be 11mm anymore since 10mm is the more common standard. Something to keep in mind before you commit to a replacement.
Pulling the License Plate Holder and Rear Bracket
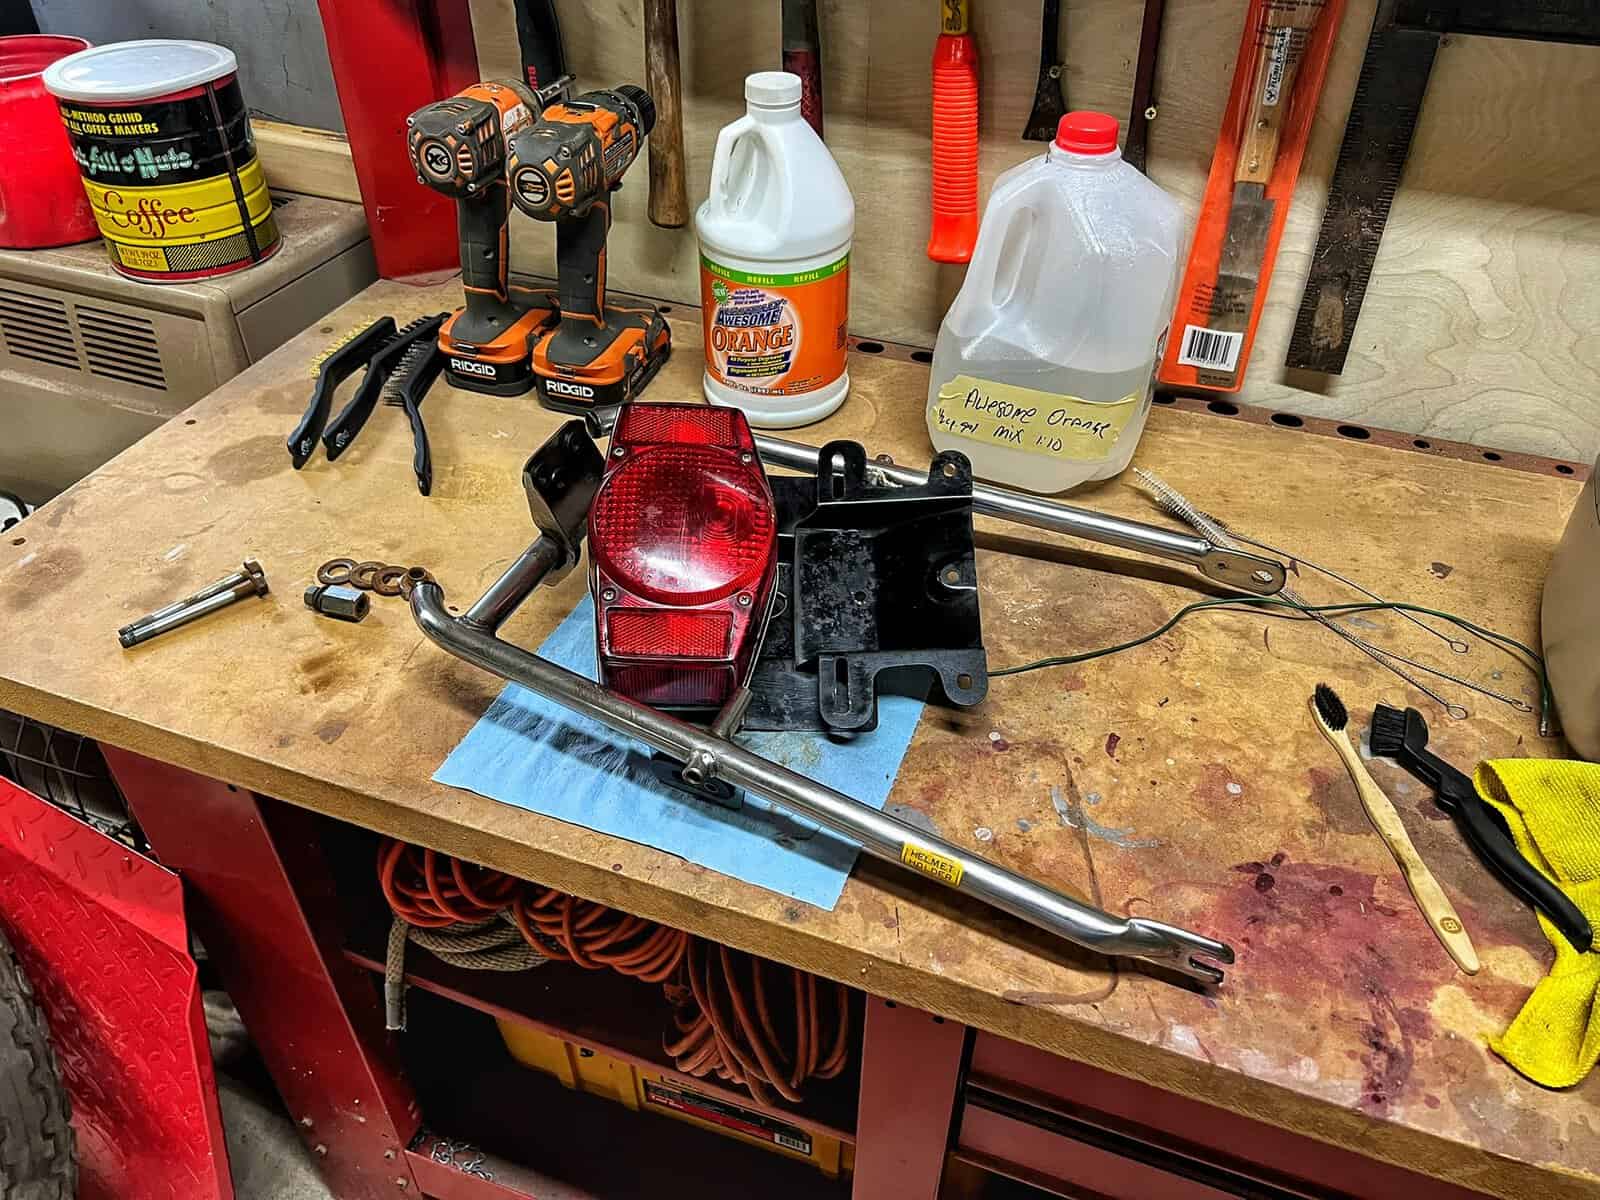
With the tail light off and set aside, the license plate holder came off without much drama. The fasteners were grimy and a couple had washers that were practically fused to them from years of sitting, but nothing that required serious persuasion.
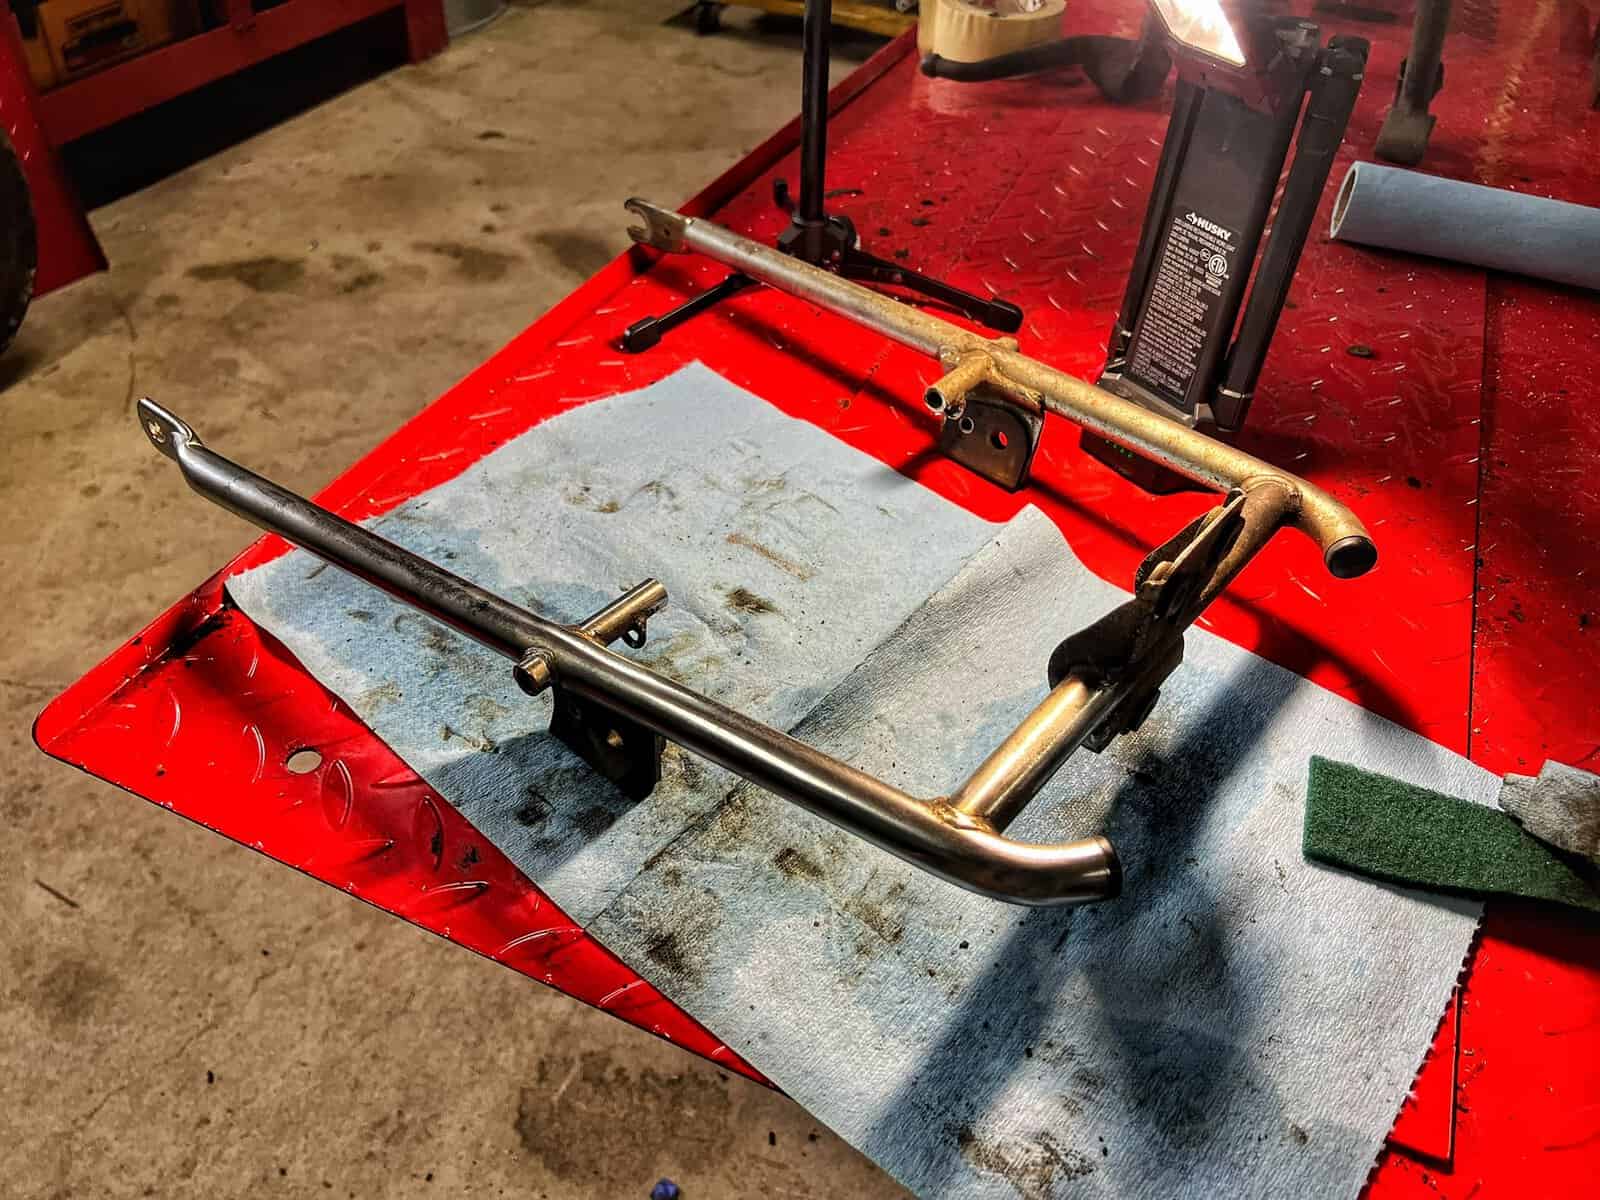
The rear frame bracket was a different story. I had the long bolts out and was expecting the whole thing to just slide free. It did not move. I spent a few minutes grunting at it before I figured out what was happening. One end of the bracket was open, which made me assume the other end was too. It was not. There was a stud running through a section I could not see clearly, and I had been pulling in the wrong direction the whole time. Once I figured that out it came right off. These are the moments that eat time on a project like this.
Cleaning the CB750F Tail Light and Hardware
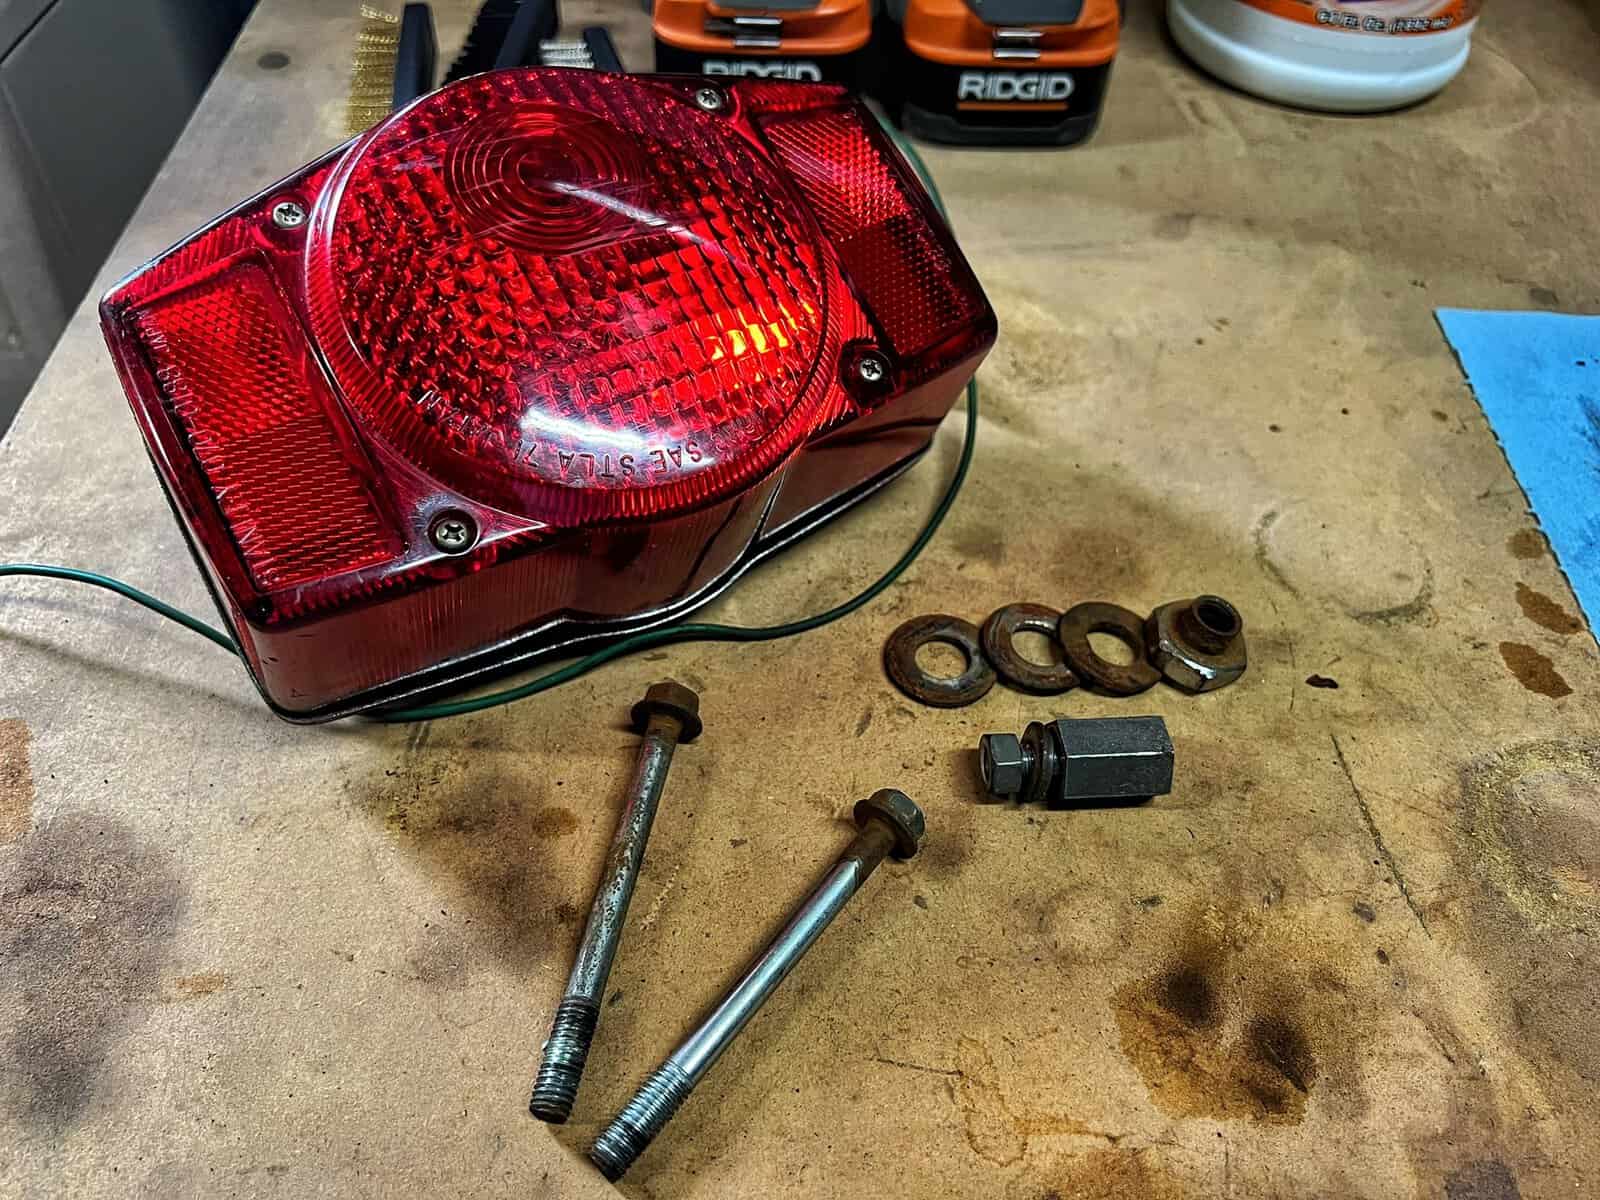
Everything that came off went through the same process as the previous session. Bolts and fasteners into the ultrasonic cleaner with Awesome Orange degreaser. One run is rarely enough on parts that have been sitting this long, so I let it cycle a few times. The hardware that came out grimy went in and came out looking like hardware again, which still feels like a small victory every time.
The tail light housing itself got a different treatment. Dawn dish soap in a spray bottle did almost nothing on the oily grime coating the lens and housing. Water just beaded off it. WD-40 ended up being what actually cut through, which I know is going to make someone in the comments uncomfortable. It works, though. The grime comes off and it brings a little shine back without scratching.
For the chrome rim on the housing I went back to aluminum foil, which I used last session with decent results. This time I learned something: aluminum foil is fine on actual chrome but it will scratch a painted or bare metal surface pretty quickly. I hit the back of the tail light housing with it before I realized that side was not chrome. Switched to a green Scotch-Brite pad and it cleaned just as well without leaving marks. The gray Scotch-Brite pads are supposedly even finer and I am going to pick some up because there is a lot of chrome cleanup still ahead on this build.
What the Ultrasonic Cleaner Is and Isn’t Good For
After three sessions with it, I have a clearer picture of where the ultrasonic cleaner earns its keep and where it does not. Small metal hardware, nuts, bolts, spacers, brackets, it handles all of that well once you give it enough cycles and follow up with a brush. The degreaser does the loosening, the cleaner does the agitation, and then a brass brush finishes the job.
Where it struggles is heavy surface rust and anything with tight internal geometry that you cannot get a brush into afterward. One of the mounting brackets from the tail light area had corrosion that the cleaner softened but could not fully remove. That one is going to get a CLR soak before I wire brush it again.
Tools I Ordered and a Cigar Night Sidebar
I ordered a 68-piece set of small abrasive brushes with an eighth-inch shank, sized to fit a Dremel. The idea is to get into the tight spots where two pieces meet and the larger brushes cannot reach. I also need bore brushes so I can work on cleaning the rear shocks without having to pull them apart. The plan is to chuck a bore brush into a drill and work it between the coils to clean things up in place. Whether that actually works is something we will find out.
I also looked at a pen-style rotary tool, smaller than a Dremel, the kind 3D printing people use to knock off support nubs. It seems like it would be easier to maneuver in tight spaces but I am not sure the shank size is compatible with the abrasive bits I already ordered. Still thinking about it.
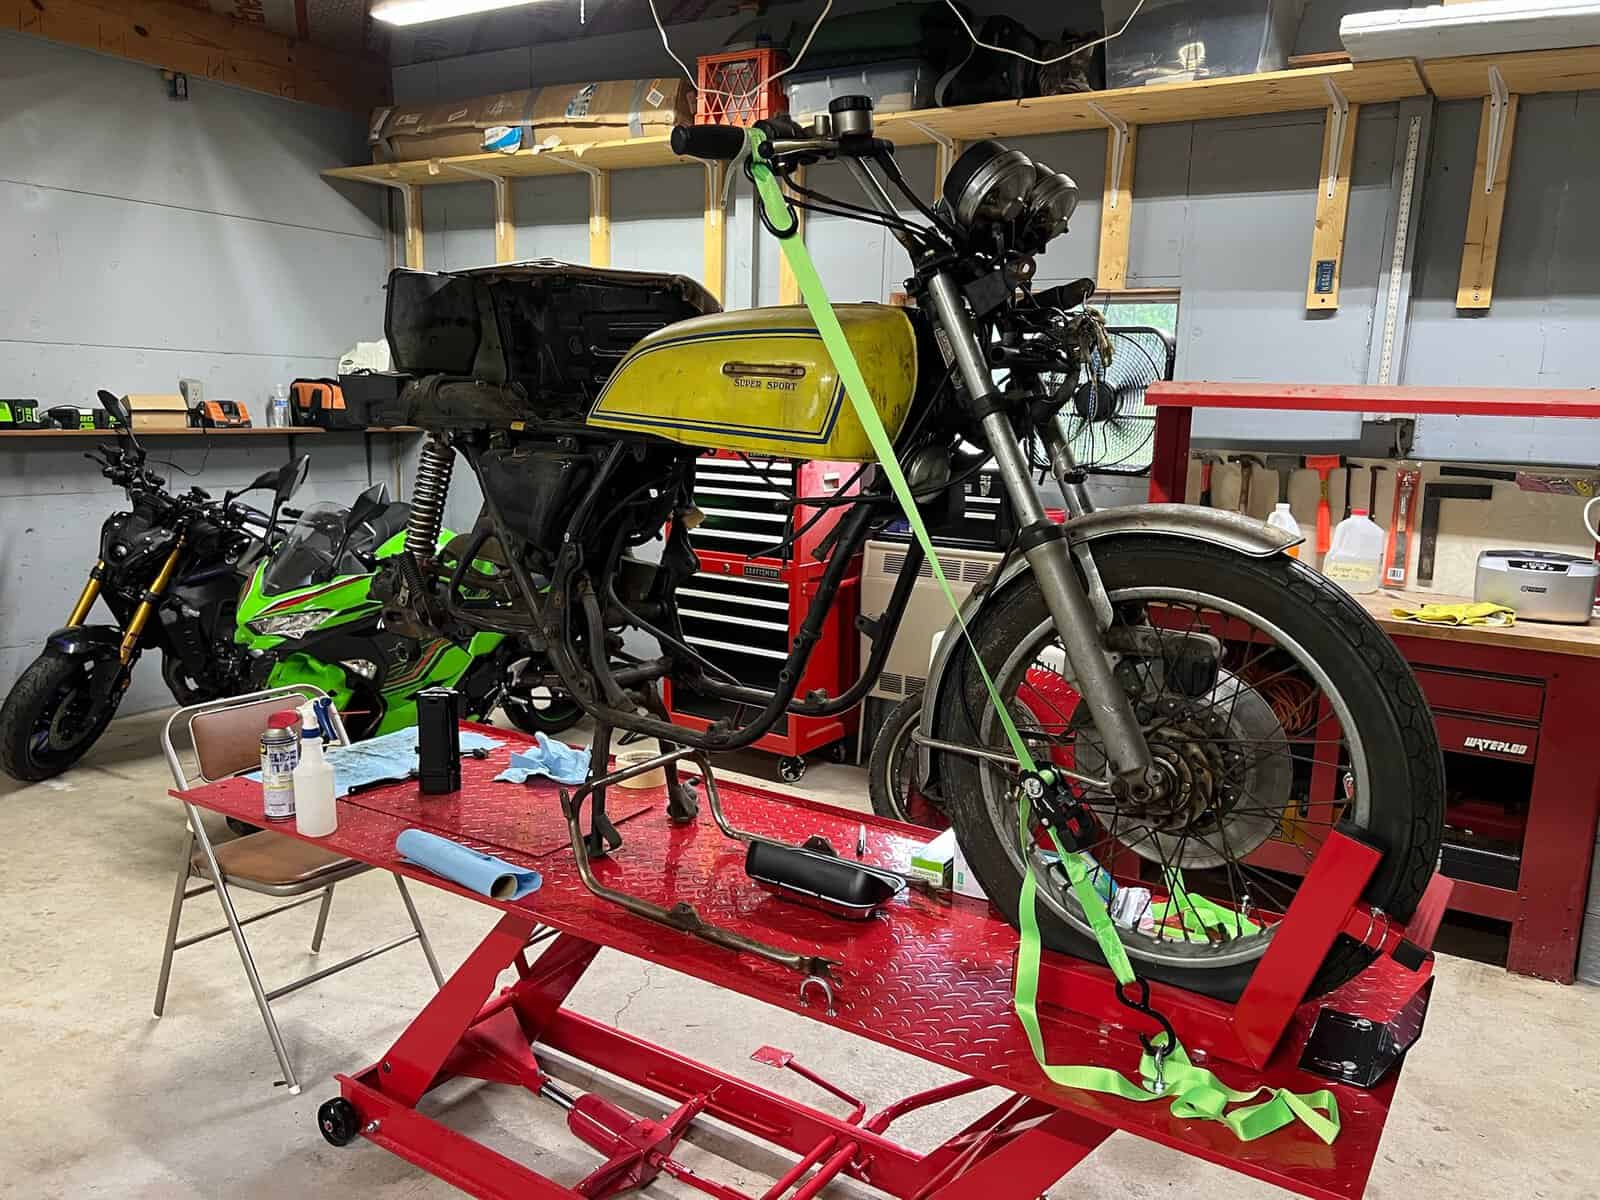
On a completely different note, I had the guys over Tuesday night for the cigar podcast we do and it was the first time any of them had seen the CB750F set up in the garage. One of them just kept gravitating back to it. He said something like, “They just don’t make motorcycles like that anymore.” Which is true in the ways that matter and not true in the ways that also matter. But it was a good reminder that this bike has a presence that the modern stuff does not quite replicate.
What’s Coming Off Next on the CB750F
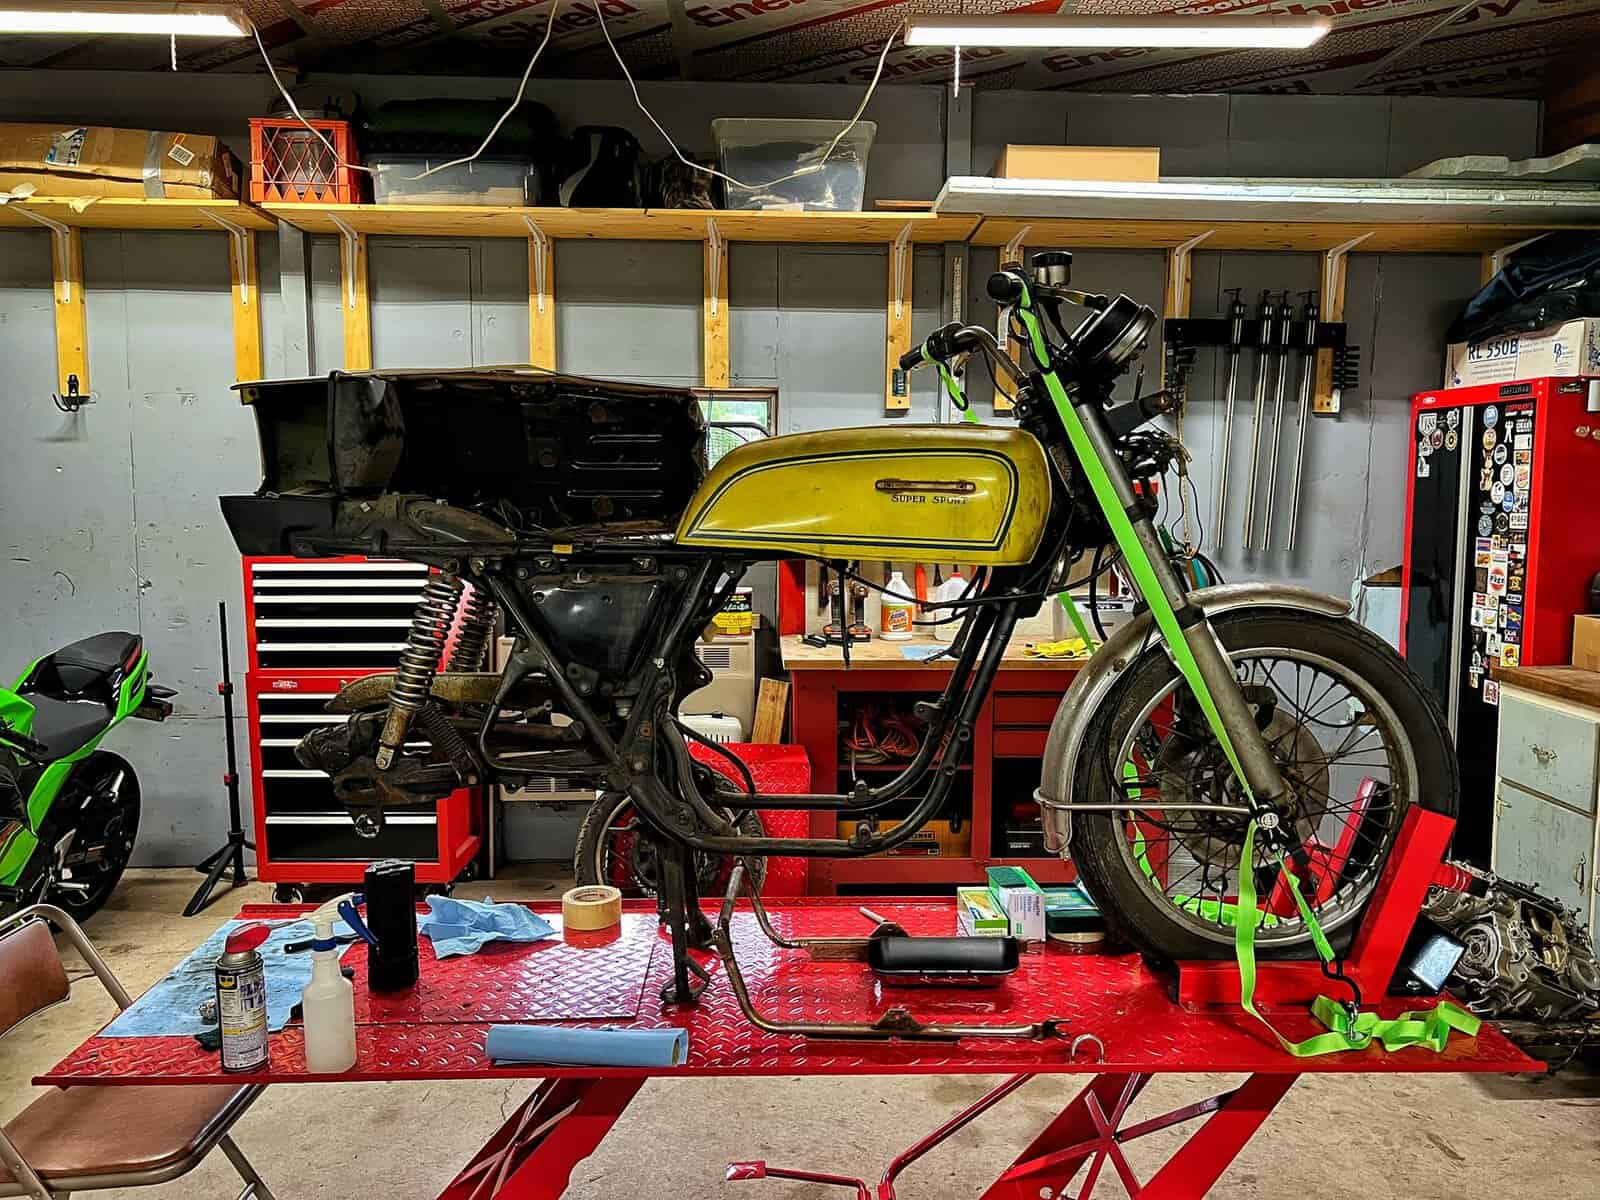
The back end is getting close to clear. Next up are the rear shocks, which I want to research a bit before I pull them. I need to find out whether they have fluid in them or if it is just a spring setup, because that changes whether they need to be serviced or just cleaned up on the outside. After the shocks it is the rear brake caliper stay and the chain guard, and then the rear wheel itself gets some serious attention. The spokes are corroded and I still do not have a great plan for cleaning them without pulling the whole wheel apart and re-lacing it.
Miles to go. But it is moving.
Ride With Me
If you are following the CB750F build, subscribe to the WaltInPA YouTube channel so you catch every session as it goes up. If you know someone who is into vintage bike restoration or is thinking about taking on a project like this, pass this post along to them. And if you want to compare notes with people who have actually wrestled with old hardware and corroded chrome, come hang out in the WaltInPA Discord. Good people in there with real answers.
Recent Posts
There's a debate that comes up constantly in the moto community and it usually goes one of two ways. Either someone is a die-hard solo rider who doesn't want to deal with the unpredictability of a...
If you have been around the channel for a few years, you might remember the Road Apple Ride. If you are newer here, you have probably never heard of it, and honestly, that is exactly why I wanted to...